RotoMetals2Inline FabricationLee PrecisionLoad Data
WidenersTitan ReloadingReloading EverythingRepackbox
MidSouth Shooters Supply Snyders Jerky
Page 1 of 7 1234567 LastLast
Results 1 to 20 of 125

Thread: Tray Ideals

  1. #1
    In Remembrance - Super Moderator & Official Cast Boolits Sketch Artist

    RP's Avatar
    Join Date
    Mar 2008
    Location
    Nahunta NC
    Posts
    3,410

    Tray Ideals

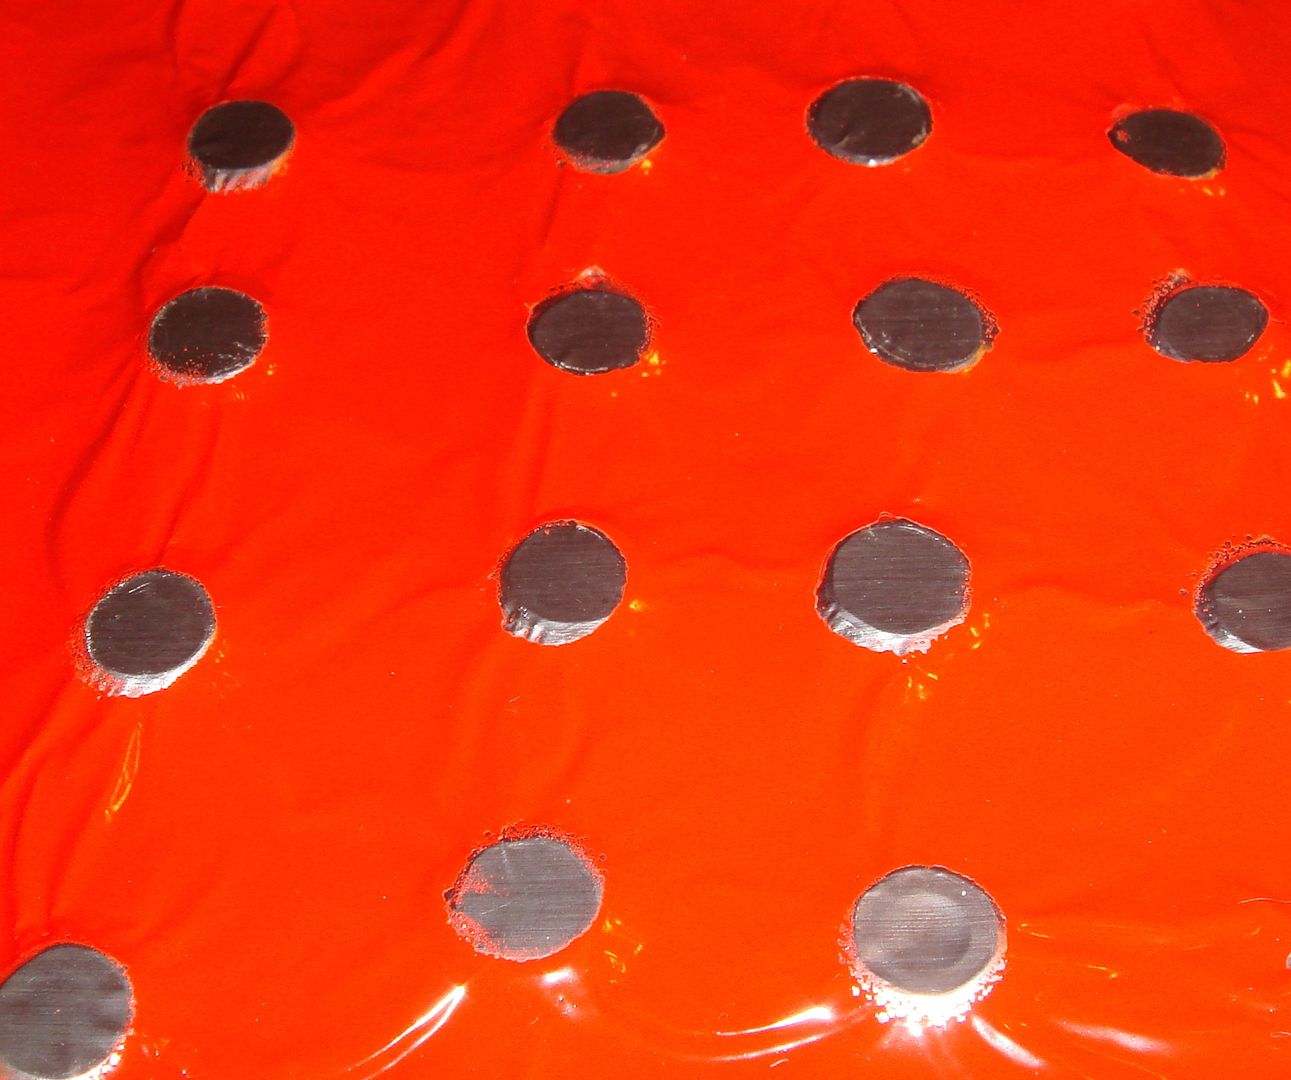
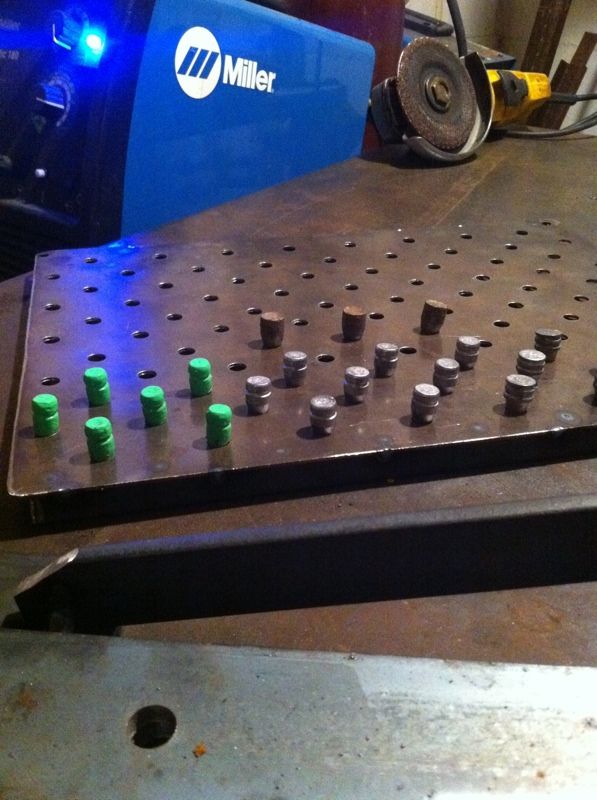
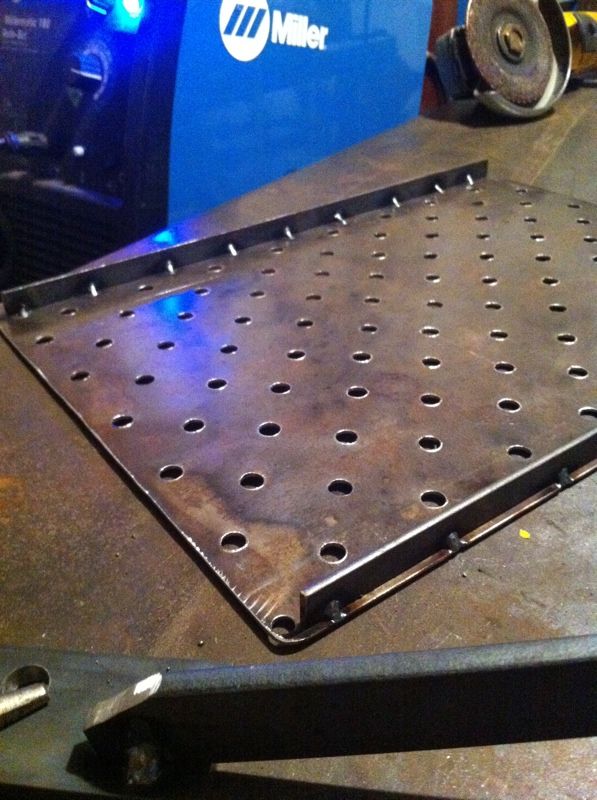
    I see some are having problems finding trays or want more trays and a few have posted their ideal on how to fix the problem. I have found PC without foil or wire the boolits stick to the tray. There is your glue. Now for trays nothing says it has to be a oven tray that comes with a oven right. I have used old signs they are thick enough to hold the weight and work just fine just use the back side or the bare side. I have also used just plain old sheet steel I had laying around. It just has to be able to with stand the heat and bear the weight. You can cut the signs with most wood saws and blades but WARNING it will kick back so a skillsaw or table saw would not be the safest thing to use a jig saw or band saw is a lot safer. I would place lets say the raiser if they are nuts or washers or nails on the sheet with some PC between the two and cook it. That's my thoughts on it and maybe it help some out with finding a way to have several trays waiting for the oven.
    Reloading to save money I am sure the saving is going to start soon

  2. #2
    Boolit Grand Master

    Beagle333's Avatar
    Join Date
    Mar 2012
    Location
    Back in the woods a piece, just outside Auburn, AL.
    Posts
    5,499
    I'm using JB-Weld for the glue. It's working pretty good. Thrift stores have lots of aluminum cookie sheets cheap, and tin snips make them fit the little ovens. (safer than an electric saw)
    KE4GWE - - - - - - Colt 1860, it just feels right.

  3. #3
    Banned
    Join Date
    Feb 2010
    Location
    S.E. Reno, NV
    Posts
    70
    I've been thinking along the same lines. In the process of shearing some 14 gauge sheet metal to slide in the toaster oven with holes drilled to be able to set gas checked bullets up right. Also could be used to PC spray with bullet tips down. Do you guys think stainless metal would work better?

  4. #4
    In Remembrance - Super Moderator & Official Cast Boolits Sketch Artist

    RP's Avatar
    Join Date
    Mar 2008
    Location
    Nahunta NC
    Posts
    3,410
    Have not tried the SS so I can not say the thing about cookie sheets is how stiff they are after they are loaded that's way I lean towards the thicker sign alum. I cut it several times the warning is for people that have never mess with it.
    Reloading to save money I am sure the saving is going to start soon

  5. #5
    Frosted Boolits

    IllinoisCoyoteHunter's Avatar
    Join Date
    Feb 2009
    Location
    Eureka, MO
    Posts
    1,808
    I have not taken the plunge into PCing but have given it considerable thought. If I take the plunge, here is how I would do it.

    I would take a piece of 1/4" mild steel cut to just under the width and depth of the internal dimensions of the oven... so it can slide in easily. Next I would mark out a grid on the sheet, say with the marks approxiamately 1/2" apart. Then at every mark I would drill a hole all the way through the steel with a drill bit that is just a touch smaller than the shank on a roofing nail. The hole would have to be bid enough to "nail" the roofing nail into the hole. The next step would be to place anther piece of steel under the sheet you just drilled all the holes in. This second sheet will act as a "stop" to stop the roofing nails when they reach the bottom of the hole you just drilled. Nail in all the roofing nails, being careful not to distort the heads too much.

    Now that you have your tray, grab a 2x8 piece of lumber (maybe larger depending on how big your piece of steel is) and mark it out the same you marked out your grid on your steel. Drill these holes just a touch larger than the bullet diameter you intend to PC. Depth needs to be just a bit longer than the length of the boolit.

    Now load your boolits nose first into the wooden tray. Once it is full, take your steel jig and place it over the wooden jig so the nail heads just go into the holes you drilled in the wood. At this point they should be in contact with the base of the boolits. Next step is the same process as using a primer flip tray. Flip the entire assembly over and carefully take the wood tray off the top. The bullets should be sitting on the nail heads nicely and ready for PC.

    If the nail heads get a little PC on them I would think that a quick hit with a grinder with a wire wheel should take care of it.

    Like I said, I have NO experience with PCing. Any thoughts and critiques are most definetly welcome!
    My Feedback : http://castboolits.gunloads.com/show...iscoyotehunter

    An armed society is a polite society.

    the BB knows

  6. #6
    Boolit Master

    sparky45's Avatar
    Join Date
    Apr 2010
    Location
    SE, KS
    Posts
    2,405
    How about just using a hardwood block?

  7. #7
    Boolit Grand Master

    Beagle333's Avatar
    Join Date
    Mar 2012
    Location
    Back in the woods a piece, just outside Auburn, AL.
    Posts
    5,499
    It appears to me, through experimentation, that anything you use will get PC on it. The stuff will creep under boolits and drift down into washers and nuts and coat nail heads, preventing the conductivity needed, and so everything must be covered in non-stick foil so you can change it easily, or you'll have to occasionally go through the brush/burn process of getting it off. I have not seen this to be nearly as easy as just swapping out a sheet of foil every couple of coats. The only exception is the HP's hung nose down on nails.
    But this coating thing is kinda like tumbling and pan lubing.... there are a bazillion techniques and all of them work better for different people.

    Have fun making pretty, non-sticky, easy-sizing, non-leading boolits!!!


    My tray before:


    My tray after:
    KE4GWE - - - - - - Colt 1860, it just feels right.

  8. #8
    Boolit Master el34's Avatar
    Join Date
    May 2013
    Location
    N Texas
    Posts
    1,190
    I do it just like Beagle. It's correct that the powder will build up and make a fixture unusable unless non-stick foil is on top (see Beagle's pics). The foil gets replaced every 1-3 uses.

    I thought about using powder to glue nuts to the tray but wasn't sure what would happen remelting it with every PC cycle. 24-hour JB Weld withstands 500 deg heat but not the quick-set stuff.
    "The urge to save humanity is almost always a false front for the urge to rule." --H. L. Menchen

  9. #9
    Boolit Master


    Join Date
    Jul 2013
    Location
    TN
    Posts
    1,895
    Has anyone tried very lightly oiling each bullet base before sitting them directly on foil?

  10. #10
    In Remembrance - Super Moderator & Official Cast Boolits Sketch Artist

    RP's Avatar
    Join Date
    Mar 2008
    Location
    Nahunta NC
    Posts
    3,410
    Well I was out in the shop today coating some bullets and learned a few things to do and not to do. I made a tray like beagle I used bullets glued with PC to a tray and alum over them. I found the more bullets is maybe not the best thing. The thing I did that varied from him was I sprayed on my raised alum tray then moved to my cooking sheet of alum plate covered with the foil until I was full. What I found is all the over spray on the first tray was fine to reuse. That fits right in with me being cheap lol. Now what I am going to do next time is set my risers on my steel table cover with foil and spray making the recovery of the over spray easier and more effective. Yes it may take more time moving the bullets from spray tray to cook tray but I like the method so far and my cooking sheet can be used a lot more times I ran 5 runs on it today and it showed no sign of needing replacing. I use the medical clamps to move them around with no damage or marks to the PC. I think this will speed up the process since I can cook while spraying more bullets and loading up another tray so production is not on hold waiting for a empty cook tray. Thanks to all that have shared their thoughts and posted pics it sure helps with the trial and error part of this process. The only thing I am having problems with now is my GCs on the 45s for my 454 I got these in a trade not sure if they are rifle or pistol GCs. When I size the bullets without GCs with very little effort but add a GC and things go south fast. They are hard to size at GC then it shaves one side of the bullet on most of them. If I run them nose first and it caves in the GC. I have no problems with my 30 cals or 44s. My thoughts are its the checks I was told they are hornady brand also I have not used a great deal of GCs and this is my first time having problems with them and first time using 45 cal.
    Reloading to save money I am sure the saving is going to start soon

  11. #11
    In Remembrance - Super Moderator & Official Cast Boolits Sketch Artist

    RP's Avatar
    Join Date
    Mar 2008
    Location
    Nahunta NC
    Posts
    3,410
    Well I tried a new twist to my PC process. I used a cookie sheet large oven style with the lib all away around it. I read
    that the no stick sheets will not conduct the current well so I laid a sheet of foil on the tray then just set the boolits on it as my bases. Then setting the boolits I want to coat on top of them and sprayed I did this several times. After spraying I moved them to my cooking (alum signs I have cut to fit my toaster oven) trays. Then I took the bullets that I used for bases and cook those to since after spraying several bullets on top of them they also were coated. The big thing was all the powder on the spray tray was ok to reuse. I have a fine hair brush that sweeps it up well but I think I will borrow one of my wife's makeup brushes I think it will work better. After sweeping up the overspray I was able to coat three more rounds of bullets then I repeated it again for later use. Yes its time consuming but to me its worth the trouble. I think a wood block for the HP may work fine I would use a hard wood or something that did not have a lot of oils that may vapor in the oven. Thing is with me I am always trying different ways until I find something I am happy with.
    Reloading to save money I am sure the saving is going to start soon

  12. #12
    Boolit Master el34's Avatar
    Join Date
    May 2013
    Location
    N Texas
    Posts
    1,190
    Quote Originally Posted by RP View Post
    Thing is with me I am always trying different ways until I find something I am happy with.
    Good trait. Although using Reynolds ns foil (dull side up) over nuts or just flat works pretty well for several people, if you find another good way please post it. This is kind of an evolving science.
    "The urge to save humanity is almost always a false front for the urge to rule." --H. L. Menchen

  13. #13
    Boolit Master

    Join Date
    Sep 2010
    Location
    Colorado Springs, Colorado
    Posts
    2,085
    I bought a few galvanized sheet metal flashing pieces (approx 6" x 12", .97 at Home Depot) and cut them to fit the trays in my toaster oven (approx 5.5" x 6"). I cover the sheet metal with non stick aluminum which works great. I use styrofoam ammo trays to evenly space my boolits on the foil by skipping every other hole. After loading the boolits nose down in the ammo tray I place the foil covered sheet onto the trays and invert. Voila! Lots of boolits in nice even rows.

    I don't pull the styrofoam off until the tray is in my spray booth (3 sided card board box, nothing fancy). I put the sheet metal onto a plastic jar lid so the sheet metal isn't sitting on the card board bottom of the box. Someone suggested a lazy Susan but the plastic lid seems to work fine. I spray, turn 180* and spray again. After baking the boolits fall of the foil.

    For my gas checked boolits I drilled holes in a tray for .22 boolits and epoxied gas checks onto a tray for .30 boolits. That worked well but I wasn't using NS foil at the time. Now I'm using fender washers epoxied to the sheet metal and covering with NS foil before placing boolits. The washers seem to work better as the gas checks would eventually pop off the sheet metal. Everything I've learned about regarding PCd boolits I learned on this website. I'm digging the performance of PCd boolits in my pistols and my AR platform 5.56 rifle. Parts are on order to finish building a 300 blk, and I already have lots of Lee 312-155 2R boolits PCd, gas checked, and sized. I'm digging PCd boolits.
    Common sense Gun Safety . . .

    Is taught at the Range!

  14. #14
    Boolit Master
    Join Date
    Apr 2009
    Location
    Houston TX
    Posts
    761

    window Screen

    The best I have found to keep the bases relatively clean is to put screen wire on top of non-stick foil.

    I use a powder coating gun for applying the powder coat.

    The powder falls through the screen wire and very little sticks to the base of the bullet.

    I cook in a small convection oven purchased at Target, make by GE somewhere in China.

    Cola Can gas checks are installed after sizing with a Lee push through sizing die.

    The bullets shown are for the 45 ACP.

    The powder coated bullets with the Cola Can gas checks shoot very well.

  15. #15
    Boolit Master

    sparky45's Avatar
    Join Date
    Apr 2010
    Location
    SE, KS
    Posts
    2,405
    How many times are you able to use the screen before it needs to be cleaned?

  16. #16
    Boolit Grand Master

    Beagle333's Avatar
    Join Date
    Mar 2012
    Location
    Back in the woods a piece, just outside Auburn, AL.
    Posts
    5,499
    'Gotta love the cola can gas checks!

    KE4GWE - - - - - - Colt 1860, it just feels right.

  17. #17
    In Remembrance - Super Moderator & Official Cast Boolits Sketch Artist

    RP's Avatar
    Join Date
    Mar 2008
    Location
    Nahunta NC
    Posts
    3,410
    Well I use bullets for my risers and after I coated a few the bottom ones were coated all the way to the base and looked great. I cooked them up still looking fine just a little thicker. Then I went to size and that's where my first problem showed up I noticed that sizing I got a flare on the thicker ones I do not think it will be a problem but I really did not like it the flare may burn off going down the barrel. Now working on coating the bases of some soft alloy 247 to shoot with out GCs standing those long suckers up is a pain. I been reviewing others post to come up with something I like thanks for everyone sharing their progress.
    Reloading to save money I am sure the saving is going to start soon

  18. #18
    In Remembrance - Super Moderator & Official Cast Boolits Sketch Artist

    RP's Avatar
    Join Date
    Mar 2008
    Location
    Nahunta NC
    Posts
    3,410
    Well again a day of trial and error to learn some more on why things just don't work. I tried some wire mess today with the 1/4 holes I used a punch to round up about every forth one thinking this was the answer to those long 247 30 cals. Well I could spray the bottoms and sides great but when the boolit met the wire no coating and what did coat was not to my liking. So I baked them then stood them on the base and sprayed again and bakes to get a fair coating. I read somewhere a fellow was using a micro nail gun and shooting the base of the boolit and bending for a hanger may try that out.
    On a positive note I have found a way to make tray to spray my HP bullets that was easy and worked good. I took some plywood I had on hand and some alum siding coil cut a piece for the top and bottom of the plywood and shot 2 in brads in a grid. I figured with one sheet of alum on the top and one on the bottom it would make a good current path. I loaded it up with some HPs grounded on of the brads and sprayed getting a nice coat with little effort and cooked the entire thing. I got some smoke not sure if it was from the alum having a pvc coating or the wood but not to bad. I baked three times with them and all seems to be working fine. The sides of the wood did not show any signs of burning and they were easy to make. If anyone else wants to try it keep your eyes out for someone having siding installed and I am sure if you ask the guys they give you some scrap I would nail it coating side towards the wood.
    The other thing I learned today is its not the air flow or the bullet being right on the foil that keeps it from getting coated as I thought but the current flow when they are up on the nails it draws the PC to the bullet. I should have knew that but did not click until today.
    Reloading to save money I am sure the saving is going to start soon

  19. #19
    Boolit Master


    Join Date
    Jul 2013
    Location
    TN
    Posts
    1,895
    Part of me thinks the best solution to easy PC'ing is just to switch to all-hollowpoint molds and just go to harder alloys if you don't want expansion. I realize that this isn't a workable solution for everyone, but I'm only shooting cast in pistols right now, so it'll do for me........if the mold group buys I signed up for ever go through.

  20. #20
    Boolit Master Russel Nash's Avatar
    Join Date
    Jan 2008
    Location
    Proud new citizen of the Show Me state
    Posts
    1,285
    Quote Originally Posted by C. Latch View Post
    Part of me thinks the best solution to easy PC'ing is just to switch to all-hollowpoint molds and just go to harder alloys if you don't want expansion. I realize that this isn't a workable solution for everyone, but I'm only shooting cast in pistols right now, so it'll do for me........if the mold group buys I signed up for ever go through.
    I am right there with you. About to sell my regular non-hollow pointed moulds.

    I haven't done any powder coating yet. My Harbor Freight electro-static gun is still in the box.

    But this is my tray, the first tray I made:


    For that tray ^^^, I was planning on using the non-stick Reynolds foil.

    I have another piece of that same sheet metal. I figure once I get the hollow point moulds, I will lay out a staggered pattern like before. However, there is a drywall screw with a self-cutting or self-tapping point used for hanging drywall on metal studs. I would use those, driven through the sheet. With the tray pointey side up, I'd just set my hollow pointed boolits down onto the points.
    Last edited by Russel Nash; 01-01-2014 at 05:49 AM.

Page 1 of 7 1234567 LastLast

Posting Permissions

  • You may not post new threads
  • You may not post replies
  • You may not post attachments
  • You may not edit your posts
  •  
Abbreviations used in Reloading

BP Bronze Point IMR Improved Military Rifle PTD Pointed
BR Bench Rest M Magnum RN Round Nose
BT Boat Tail PL Power-Lokt SP Soft Point
C Compressed Charge PR Primer SPCL Soft Point "Core-Lokt"
HP Hollow Point PSPCL Pointed Soft Point "Core Lokt" C.O.L. Cartridge Overall Length
PSP Pointed Soft Point Spz Spitzer Point SBT Spitzer Boat Tail
LRN Lead Round Nose LWC Lead Wad Cutter LSWC Lead Semi Wad Cutter
GC Gas Check