Ok.
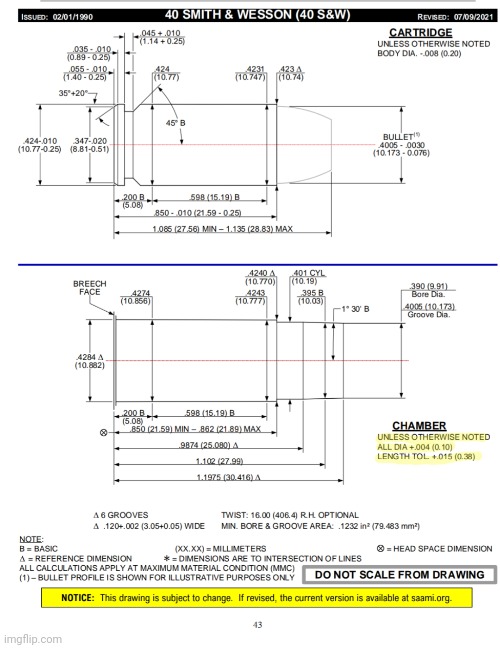
This is the cartridge drawing and chamber drawing of a 40 s&w.

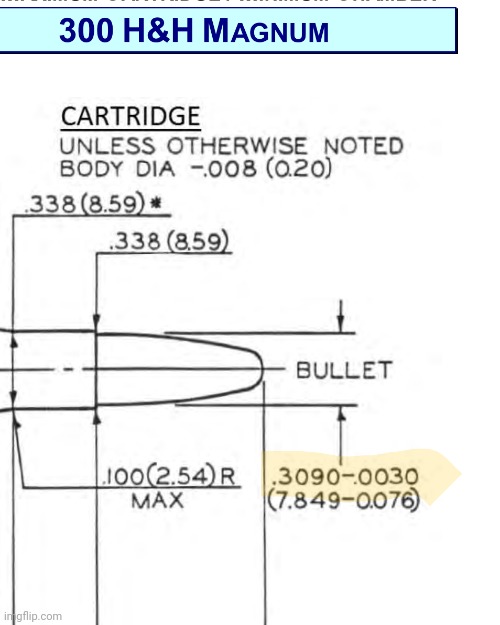
Notice the cartridge drawing has diameters on it, and it specifies body diameter, unless otherwise noted can be as much as .006 smaller. This could have also been written as "all diameters unless otherwise noted" and it would have meant the same thing. As the bullet and the rim already have a range, and would be in the unless otherwise noted category.
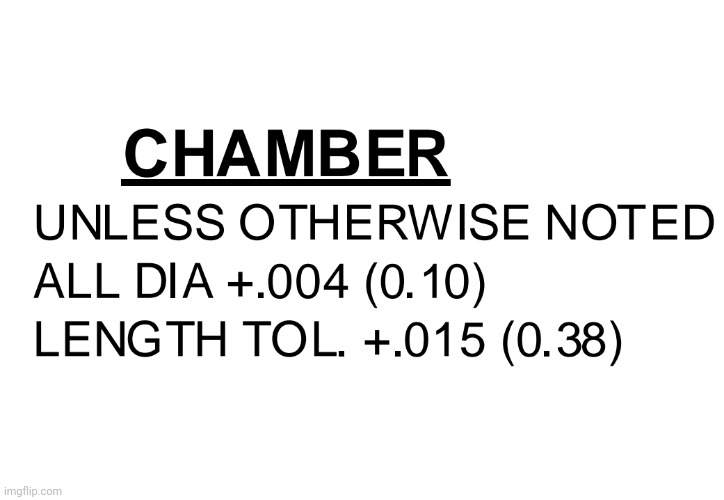
Now see the Chamber drawing, and
ALL the diameters that are included on it. It has the throat and leade diameters, it has the bore and groove diameters, there's all kinds of diameters included on this chamber drawing.

Now, for
ALL the diameters on this drawing, they can be up to .004 larger unless otherwise noted.

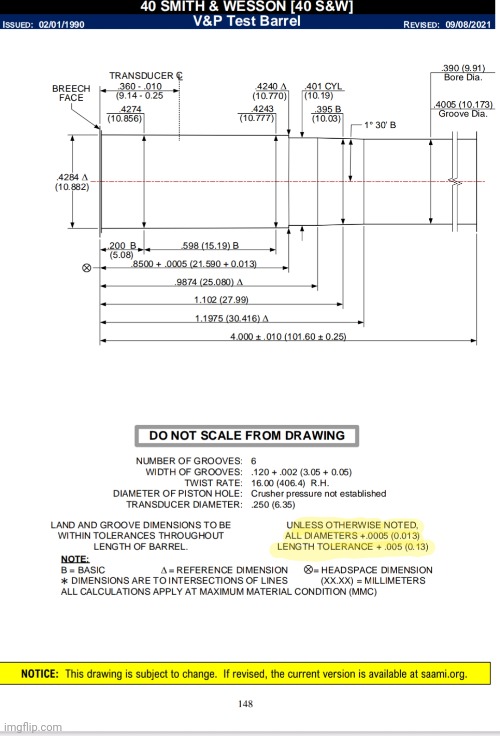
Now here's the test barrel drawing for the 40 s&w, this is what's to be used to pressure and velocity test ammunition, it's held to much tighter tolerances. See
ALL the diameters on the test barrel drawing, it has the throat and leade diameter, it has the bore and groove diameter, it has the rear of the chamber diameter, it has the end of the chamber diameter, it has all kinds of diameters.

Now for every single diameter on this drawing,
ALL of them, unless otherwise noted, it can be up to .0005 larger. Also notice the break line at the barrel and the note "Land and groove dimensions to be within tolerance throughout length of barrel". Everything on the test barrel, chamber included is much tighter than a saami spec one, to give consistent results when testing ammunition.


 Reply With Quote

