

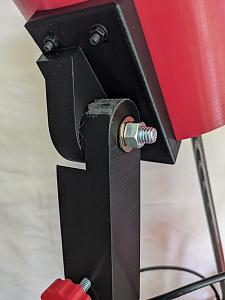
Tyler, I was having trouble keeping the mount stationary without cranking down on the bolt and when I bumped it, it sometimes slid down. I remixed your mount to remedy this and now you only have to finger tighten the nut OR just use a wing nut. I remixed in Tinkercad but would love a better copy in DesignSpark Or 360 but my knowledge is limited to creating boxes like in tinkercad. Love the what your doing and thank you so much!

|
   
   
|


|

 Reply With Quote


