HATCH
HATCH


Both. They do different functions.
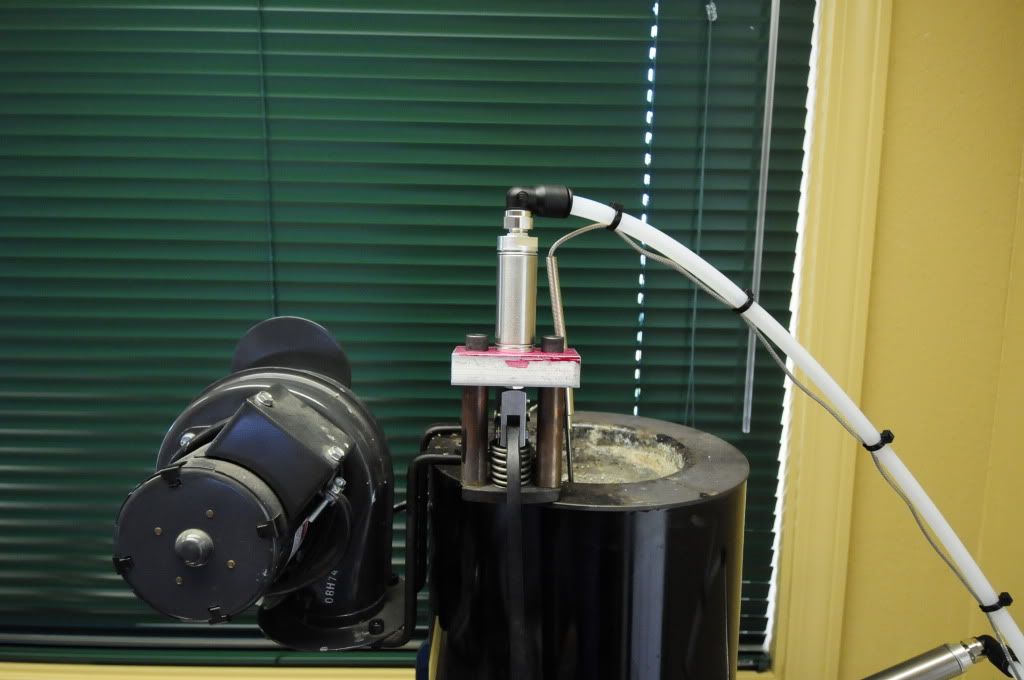
Rear fan cool lead in mold.
Bottom fan cools mold when it's open.

|
   
   
|
|

Both. They do different functions.
Rear fan cool lead in mold.
Bottom fan cools mold when it's open.
For those following the thread.
Version 6.0DT has been released
This version has the selectable 'doubletap'
input 4 is used to select single or doubletap.
Doubletap isn't to correct word as its a multitap based on the program. It can be an additional single tap or a dozen taps. There is no limit.
Also a major change was the STOP button stops the machine no matter where it is in the cycle.
Before if the mold was in motion it would wait till that was finished to.stop. Now it just stops and returns to top.
Don't like being hammered by the Cast Boolits Staff, then don't be a nail.
The rules are simple to follow.
The final version is in testing.
Fixed a flaw in the double tap and fixed another flaw that would cause double lead pour.
Non-dt versions do not have the double pour flaw
What's amazing is that wyman is running version 3.0 with no changes to anything. He is running default times. I know this because I built his controls and he doesn't own a program cable. He cast 5000 a month or more!!
Unless a major flaw is found, this will be the last version. Gonna run it a week or so then send it out.

Hatch.
Any idea when you might get around to making the automation for the Star for me? I woildmapprecae the program for the Master Caster,
Let me know what you need from me.
Thanks.
Fox
To be honest fox, I have been very busy.
I was on vacation last week in south Fla. Drove 1200 miles in 5 days with 4 stops to visit places.
I just was able to wire up my star control panel yesterday. Its not finished but i will stop and work on yours today if I have free time
As far as the program goes... This is the deal.
The new program requires a $50 donation to Ken (45nut).
If you have already donated to the board then I give you 1/2 credit for the amount you donated.
For example, i am a board sponsor and donated $40 so i get a $20 credit and the program would cost $30.
The program is copyright protected.
Several people have already donated to get the new program including people that had the original program. The donation covers you for all future updates and limited tech support.
If you have any questions then send me a PM. Do not ask about the star project in this thread as it has its own thread and to be honest your post should if really been in a pm.
Don't like being hammered by the Cast Boolits Staff, then don't be a nail.
The rules are simple to follow.
Version 6.1DT is available for release.
Unless a major flaw is found this will be the final release.
There is one bug in it but its not a issue.
If you switch from double tap to single tap while the machine is doing double tap it will stop the machine with the mold at the bottom.
You will have to hit the stop button then the start button to restart it.
I can live with this issue as it isn't a "life safety issue"
I will be sending out the program to all those that have donated later this week.
Thank you for sharing your automation. I plan on automating the pour of my masterpot and was wondering what you actually used to depress the pot handle? I am new to the automation thing and don't believe I saw the part listing (saw the timing relay and variable resister) but I may have missed it.Originally Posted by HATCH

Any help would be greatly appreciated!
Do automate the lead pour on the pot you will need the following
6498K195, SST air cylinder, 3/4� bore-1/2� stroke, spring return, nose mount, $18.02
6498K42, rod clevis for 3/4" bore, $4.08
4501K72, 1/4" SCH40 brass pipe, 12�L, $8.88 (cut to 2.125� for 1/2� stroke cylinder stand off)
91251A370, 5/16-24 x 3� SHCS, $7.02 (for mounting 1/2� stroke cylinder to lead valve)
Artisan 4300a-3-1
variable resister. 250K ohm
air switch [MAC PART # IS 35a-aaa-ddaa-1ba]
You will need to do some sort of switch as what I used on the MC will not work for the MP
You need to look at this thread -> http://castboolits.gunloads.com/show...-Master-Caster
That was referenced in the first post of this thread
Hatch - Turns out the information was there and I just didn't realize it. Thank you helping me out!
No worries... Helping out others is what's this place was started for....


Has anybody done this with a Ballisti-Cast manual setup? I love the work that's been done so far, I hope to see more. I am going to attempt to build a nose down collator and will post the G code for it if I get it to work.
Did you get the nose down collator built?
Don't like being hammered by the Cast Boolits Staff, then don't be a nail.
The rules are simple to follow.
Not yet. I have been working on the master caster on and off,
I am looking at using this as my source for the gcode for the sprocket:
http://www.idleamusements.com/?page_id=367 and I am thinking of using one of the online laser cutting services to cut it out.
The CNC mill I have access to is really too small. It only has the following travel X8.1", Y3.75" and Z12", thus I don't think that I will be able to cutout the sprocket on my own. I have a set of motors.
Attached is the code I have so far for the master caster.
master_caster.txt
I have it mocked up with an Arduiono, I am designing a custom board with modular connectors. http://www.seeedstudio.com/service/i...ite/pcbService
I can share the eagle files once I get it does if anybody wants them.
Had a issue this past weekend that I thought i would pass on.
The machine was running fine. I added some sprues back into the pot then the machine would stop at the bottom and hold. I would have to hit the stop button or kill the power.
Turns out that some hot lead had splashed out on to the limit switch and locked it down (on) .
Once I removed it, the machine worked fine.
I have never had this happen so I thought I would pass it on.
Don't like being hammered by the Cast Boolits Staff, then don't be a nail.
The rules are simple to follow.
love to try this project
Just takes money and time.....
Don't like being hammered by the Cast Boolits Staff, then don't be a nail.
The rules are simple to follow.
Work in progress.
Sub panel still needs lead pour timing relay installes
Don't like being hammered by the Cast Boolits Staff, then don't be a nail.
The rules are simple to follow.
9 hrs to get it to this point
PLC is programmed
Need to install the following
Lead pour timing relay
Hook wires up from lead potentiometer to relay
Hook up cables for remote mounted air switches
The SSR for the pid pot control is going to be remote mounted as I don't know what voltage the MC is set up for.
Last edited by HATCH; 08-29-2014 at 12:09 PM.
Don't like being hammered by the Cast Boolits Staff, then don't be a nail.
The rules are simple to follow.
T ry using a magnetic contact switch instead of the mechanical switch. I t is not as position sensitive as the mechanical switch.
F ox
 Posting Permissions


| BP | Bronze Point | IMR | Improved Military Rifle | PTD | Pointed |
| BR | Bench Rest | M | Magnum | RN | Round Nose |
| BT | Boat Tail | PL | Power-Lokt | SP | Soft Point |
| C | Compressed Charge | PR | Primer | SPCL | Soft Point "Core-Lokt" |
| HP | Hollow Point | PSPCL | Pointed Soft Point "Core Lokt" | C.O.L. | Cartridge Overall Length |
| PSP | Pointed Soft Point | Spz | Spitzer Point | SBT | Spitzer Boat Tail |
| LRN | Lead Round Nose | LWC | Lead Wad Cutter | LSWC | Lead Semi Wad Cutter |
| GC | Gas Check |

 Reply With Quote