Here is a project rifle I started on last week. It's a Marlin 122 "Auto-Safe" .22 single-shot. Less than 6,000 of these were made under the Marlin brand, but it would seem that thousands and thousands more were made for Sears Roebuck& Co. under the J.C. Higgins brand. Someone let me know if I have the Sears name wrong...
Anyhow-- Here's the rifle. I got it on the cheap at a pawn shop at $95.00 dollars. Considering the damage, the price was high IMO, but there wasn't anything wrong with it that couldn't be fixed-- that's the key to finding a project rifle!
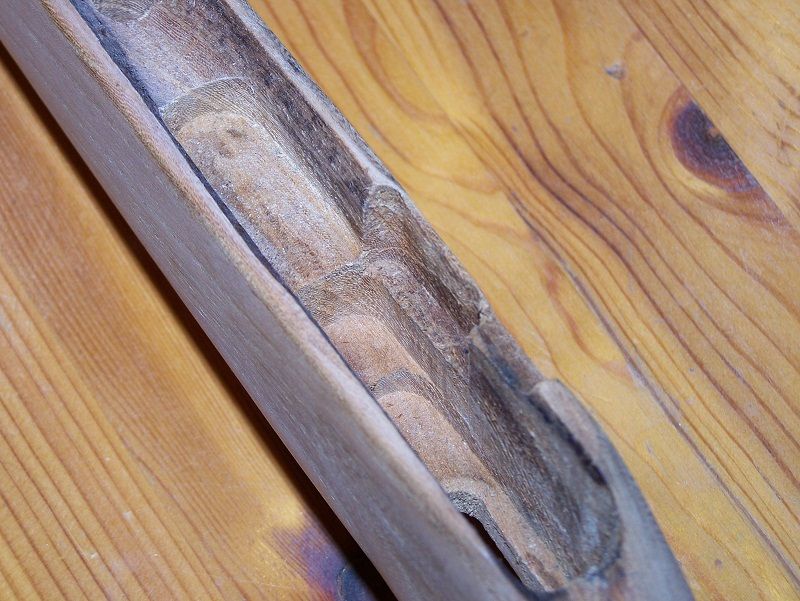
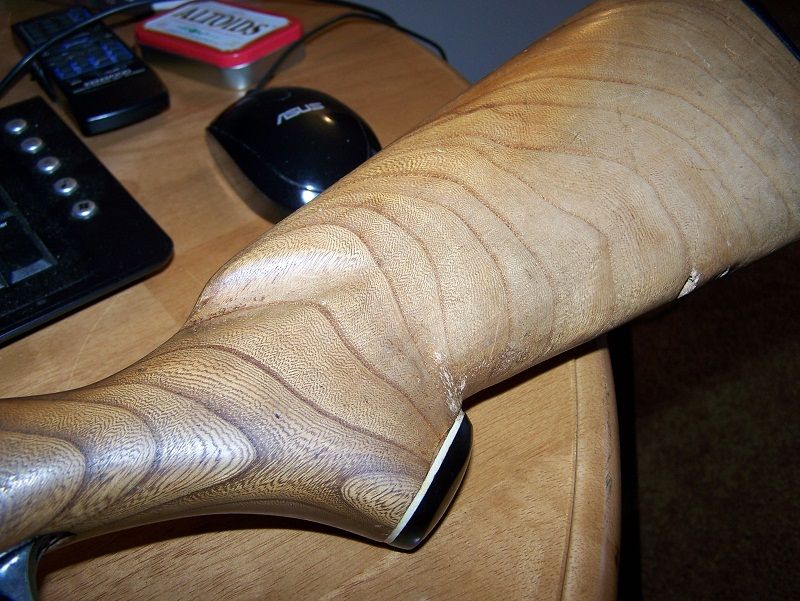
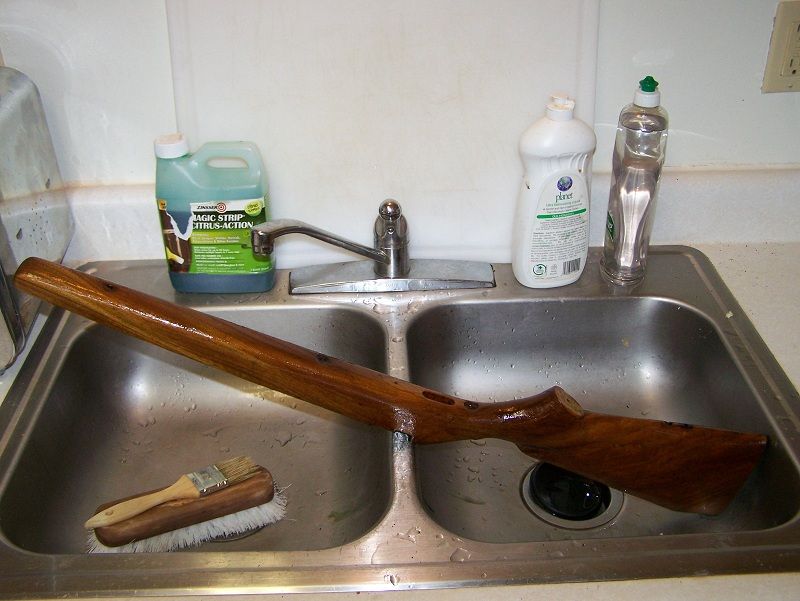
Here is a photo that is largely representative of the stock before I started working on it... Whatever it was that was on the stock previously, was looking pretty nasty. It all had to come off anyway, what with all the other repairs that I needed to do-- so out comes the stipping agent.
Anymore, I would recommend doing this in a room that is away from the rest of the house and in a place that you can shut the door. That, or do it outside (on a warm day) with some no-kidding hard-core stripping solution. The low-odor and indoor-safe sripping chemicals just aren't really worth the extra elbow grease IMO.
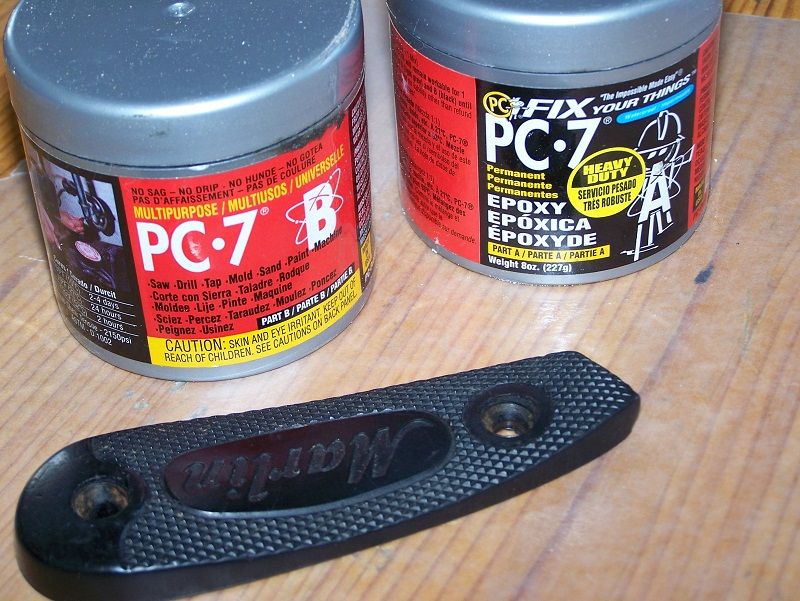
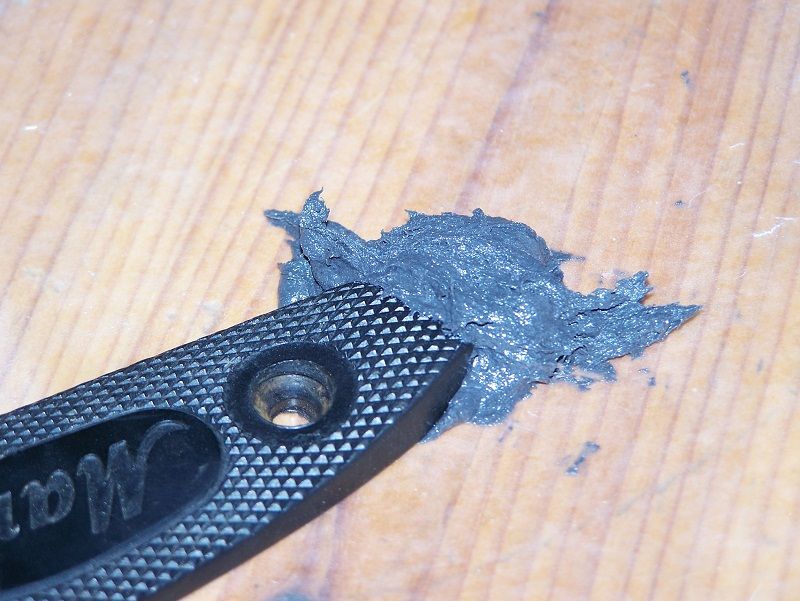
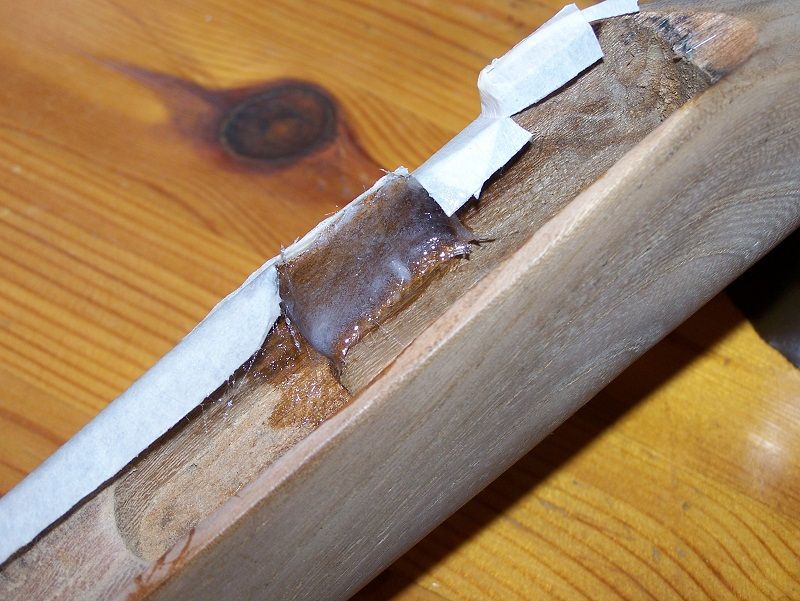
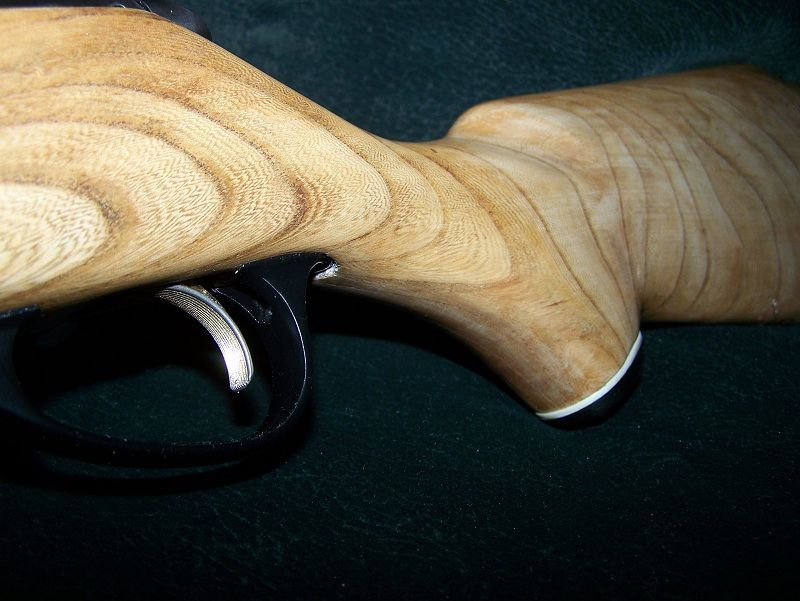
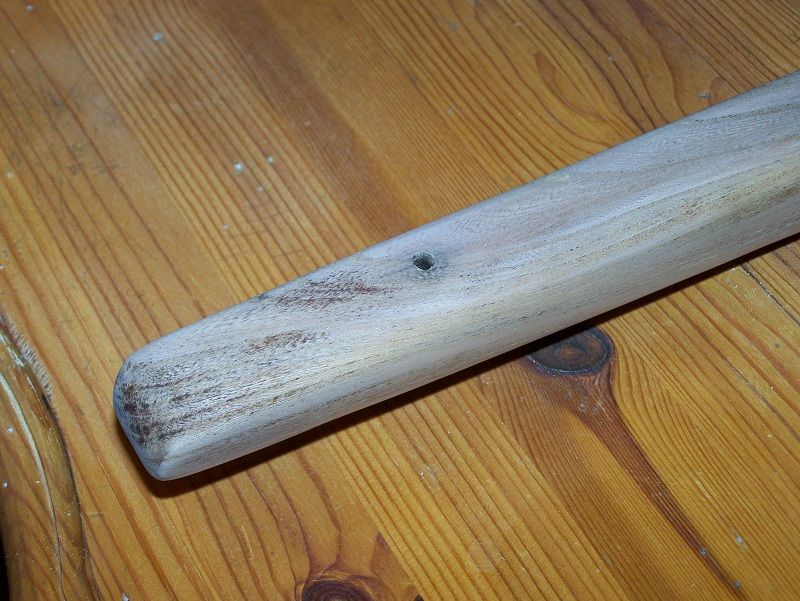
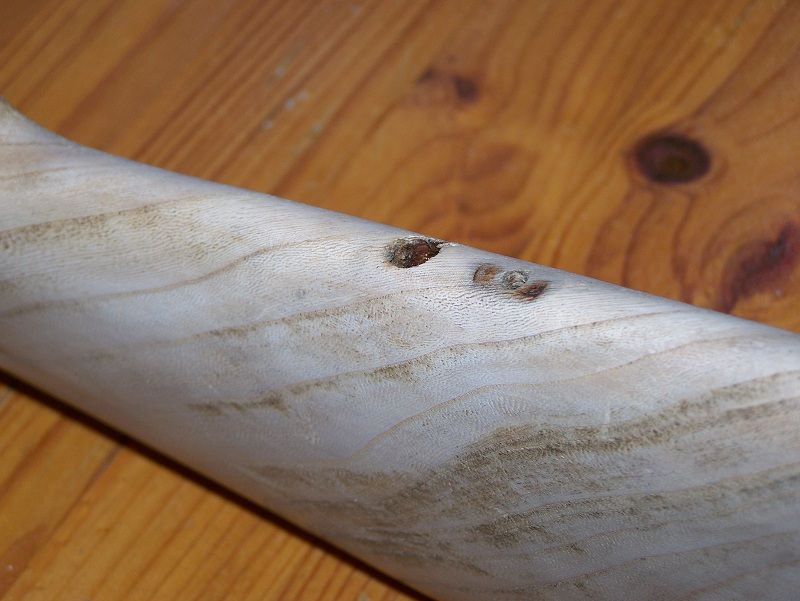
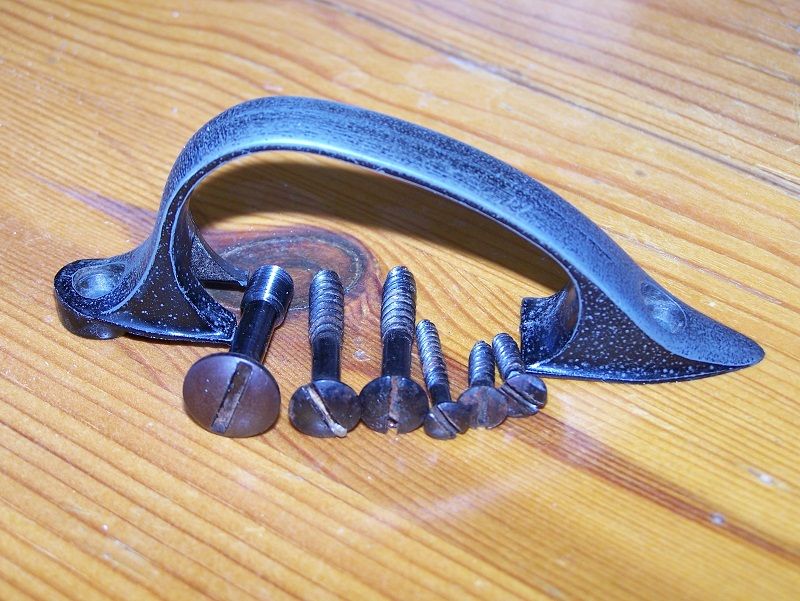
Here are the old sling swivel mounting locations. I am fairly certain that these are not factory original locations, and if they were, they needed to be filled in and repaired anyway because they are both torn-out and stripped-out. The rear sling mount location looks like the previous owner tried to install a new sling swivel mount-- and failed badly. I didn't have anywhere on the stock to make a cutout-plug that I would feel comfortable drilling at, so I used a cutout-plug from a different piece of hardwood. It's never going to fully match the stock, but I think it better than trying to fill it in with epoxy/wood shavings that are perpetually too-dark in color. I made some cutout-plugs for the other two holes using material from the barrel channel area.
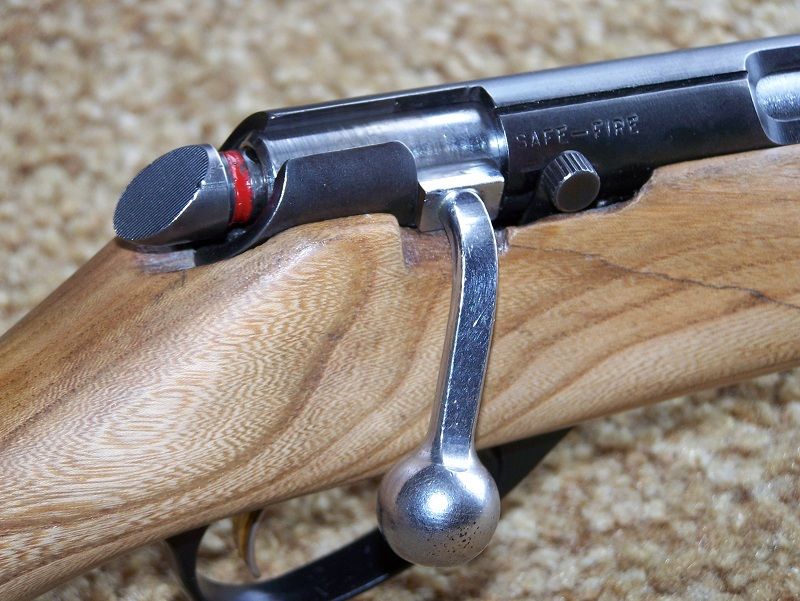
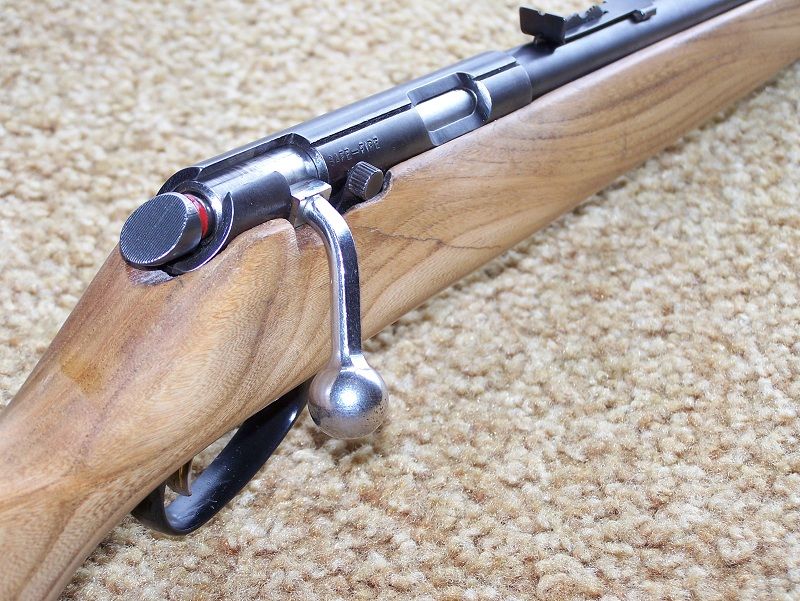
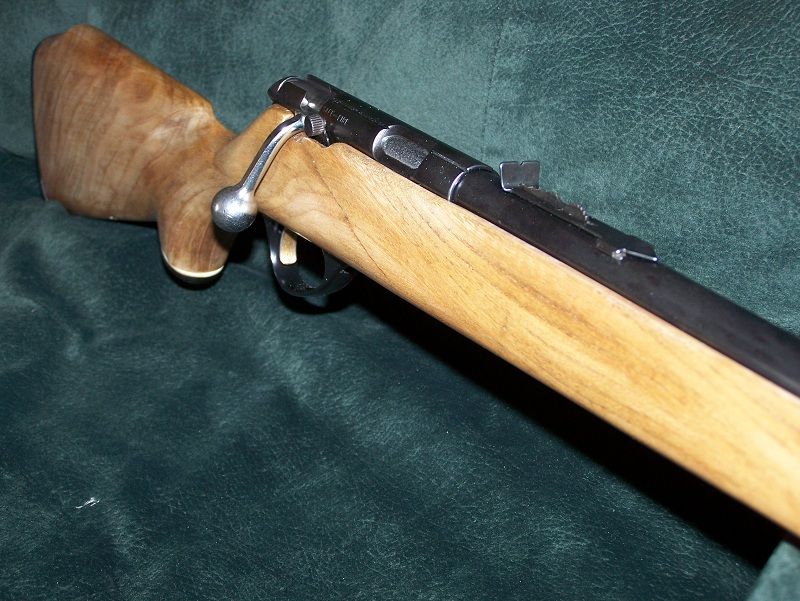
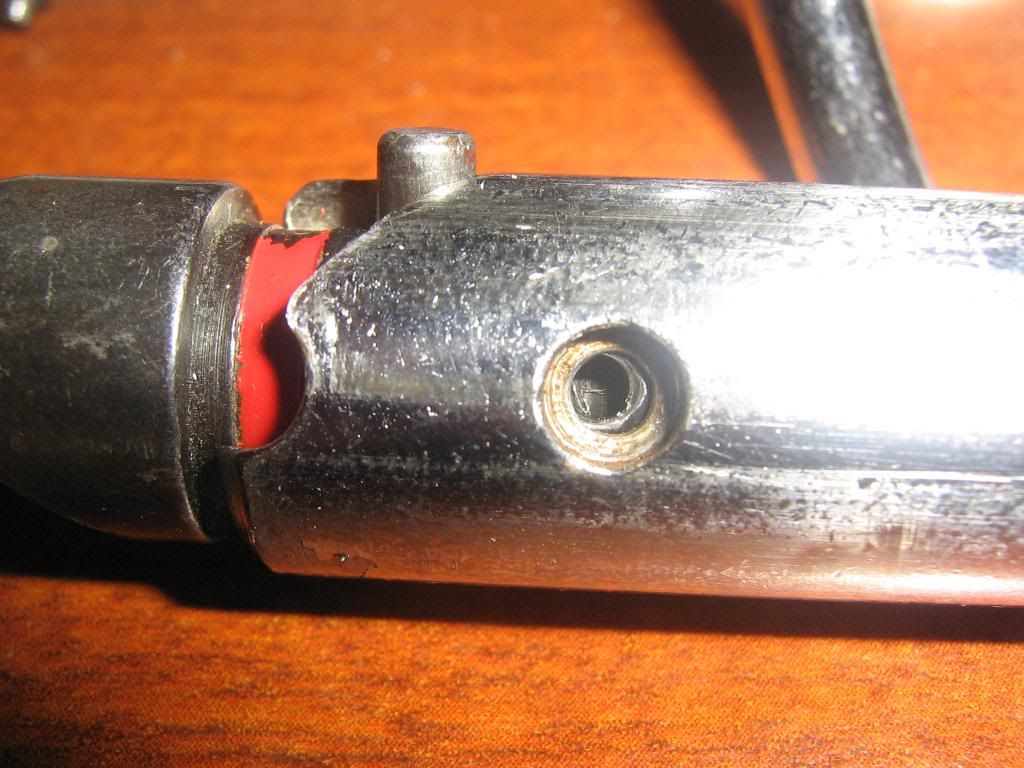
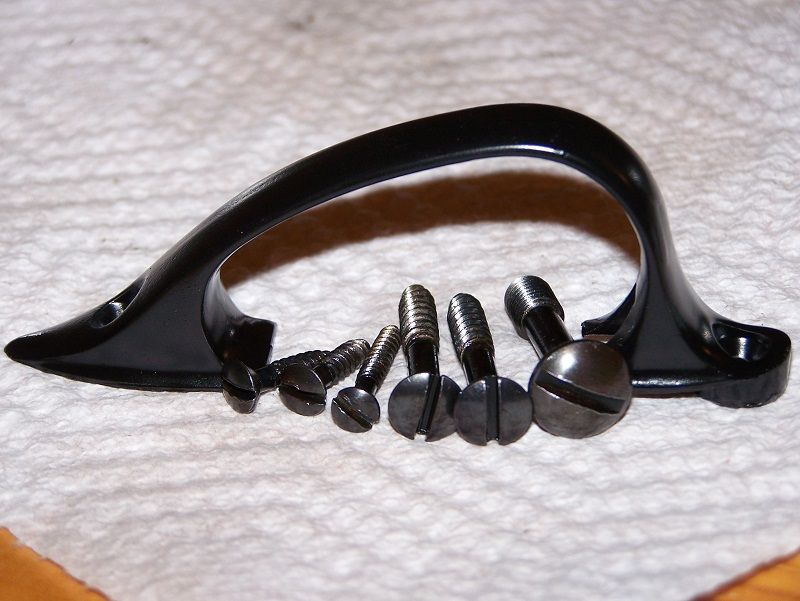
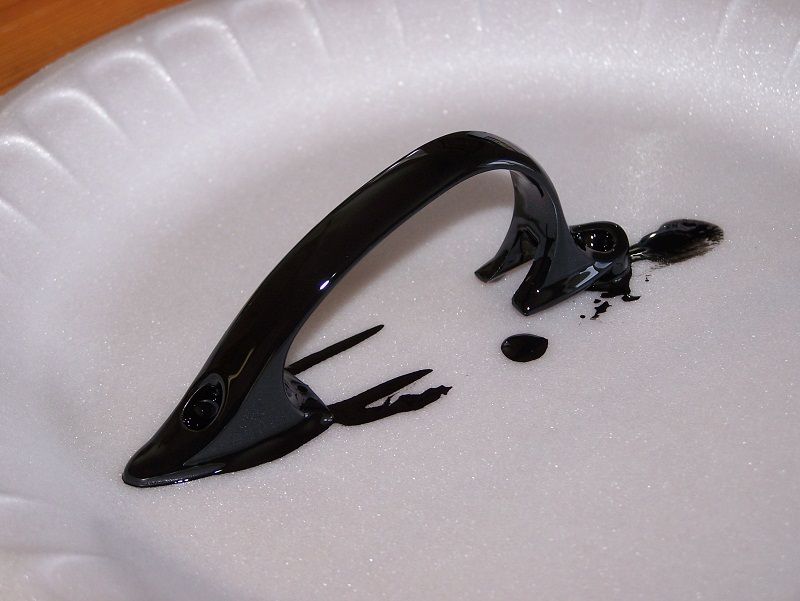
Next came the metal work. I used Birchwood-Casey do-it-at-home cold-blue kit, and if you follow the directions and the S.H.I.T. WORKS. The aluminum trigger guard was painted with high-gloss black rustoleum oil-based enamel, and the rest of the metal pieces were done up with the Birchwood-Casey blueing kit. The red safety-ring on the bolt needed to be re-done as well, so I used high-gloss red rustoleum oil-based enamel. It catches a little bit on the receiver during firing, so I think that explains why the paint is chipped/scraped off in two spots on the top of the bolt. I may re-do that bit. It was masked off with electrical tape to protect from over-painting.

|
   
   
|
|

 Reply With Quote