


OK first time doing this so if things aren't right you'll know why. First off I was pondering on buying the die set for some time strictly because of the price involved. When I finally convinced myself to just go ahead and do it I bought them. Delivery took a few weeks and I was pacing the floor like an expectant father on the arrival of the first born. Well it finally came in the mail and I was a happy camper after that.
Most people when they get something new is read the directions that came with the dies, or in my case via the P.M. I read them from top to bottom twice and understood them OK I thought and away I went. First thing that I would like to stress is the fact that the brass must be clean from debris of all sorts. I have one of the rotary tumblers that has the stainless steel pins and after 3 hours they come out looking like new.
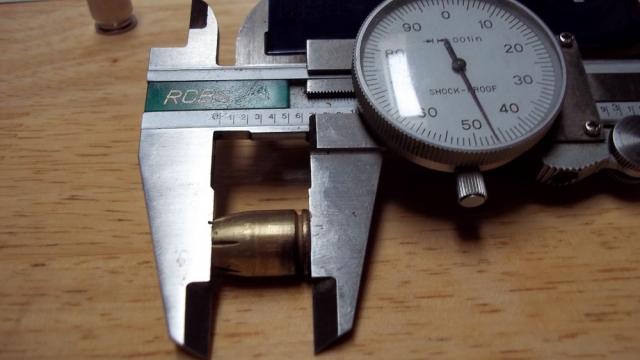
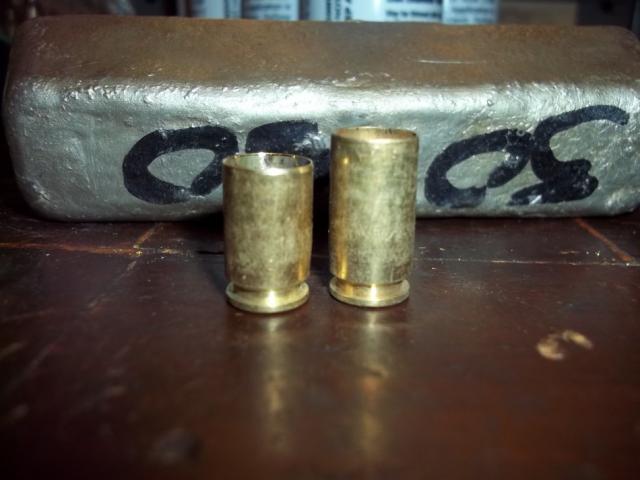
The one step die part we'll come back to later as I chose to take a different approach. I elected to trim my brass to .700 from .830 because I wanted to be as close to factory components as I can till I got better at it. First picture is just shorter that factory and the second is a before and after trimming shot.
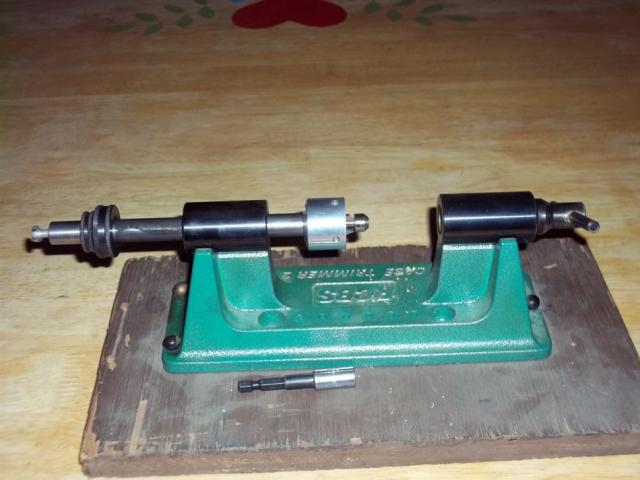
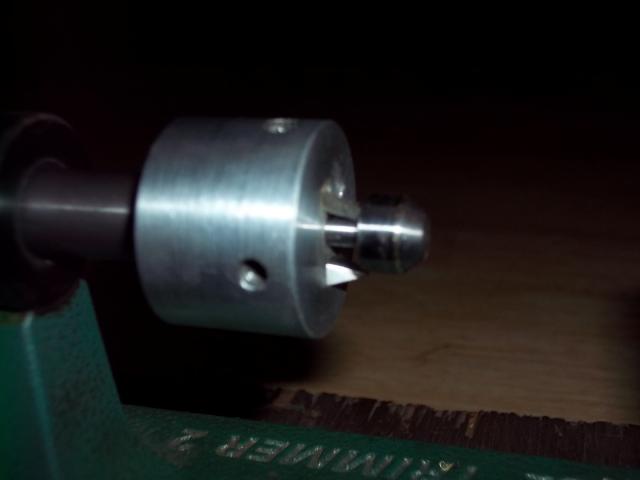
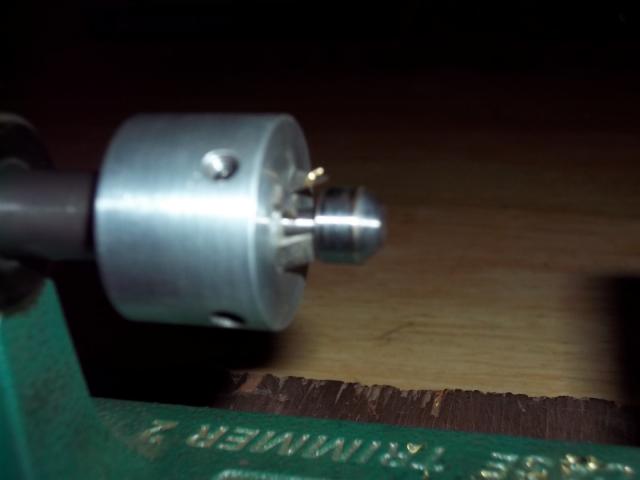
I had a custom cutter made that trims as well as deburrs the brass, I did 35 of them in 15 minutes complete with this.
I hooked up my drill to this and away I went. 2 More of just the custom cutter/trimmer.
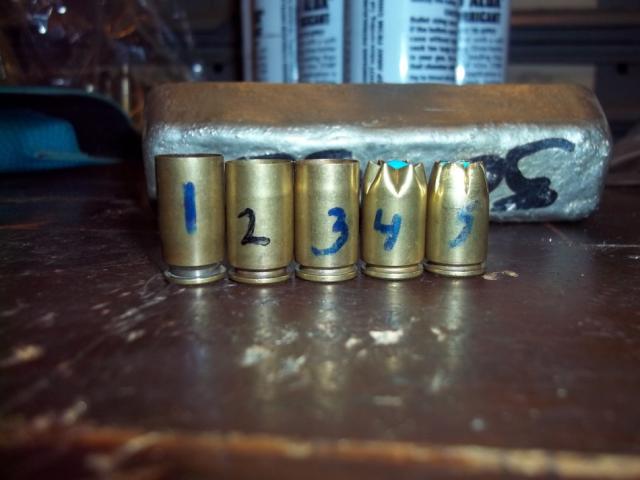
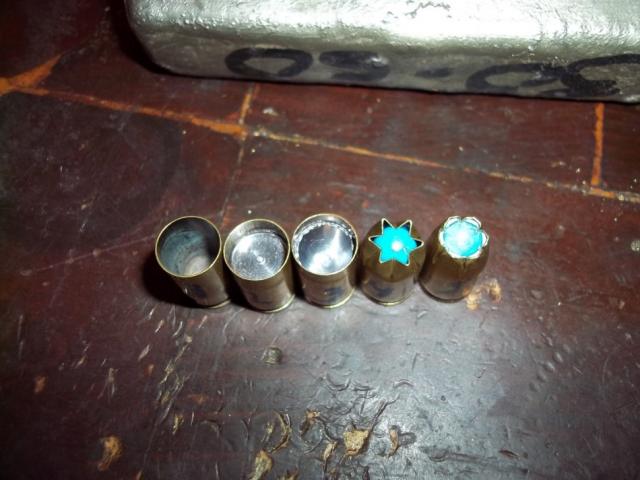
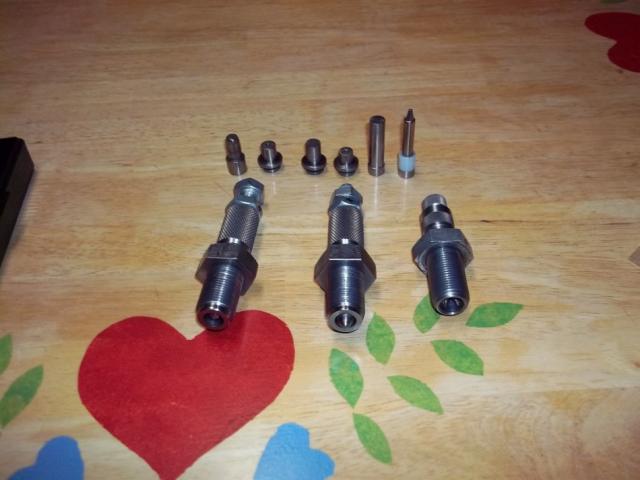
When I got my dies everything that could be thought of was already done. Like BT sent along pieces numbered 1 thru 5 to guide the user with a visual aid (as well as written instructions) thru the various steps.
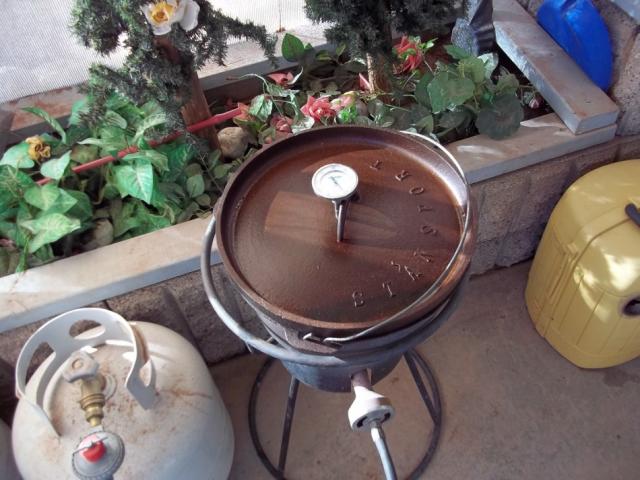
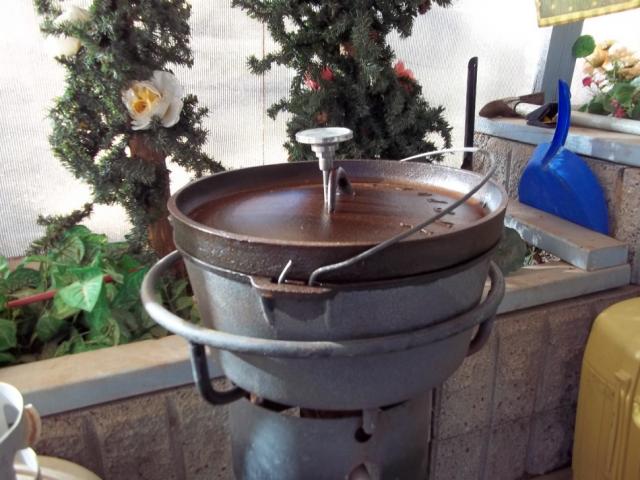
Once I got the trimming part figure out Annealing was next in the steps. I got a cast iron dutch oven and put it on a turkey fryer and it took me just about 1/2 hour till it reached 950deg according to my thermometer. Of course I let them cool for awhile and expanded the case as per instructions.
On mine I chose to BOND the cores after I tried a few without bonding them. I simply took a Q-Tip and rubbed it in some soldering flux and wiped it in the case.
Next step was to cast out some pure lead slugs with my 158gr mold and away I went. After that I simply put the pure lead 158gr boolits in the fluxed case and put them back in the dutch oven and melted the cores which only took me 12 minutes to do, and I did just over 250 pieces on that batch.
Next step was to make sure you put the lube on the case and that's in the directions as well as how much which BT provides you with enough for at least 500 pieces. I ran out of mine in no time so I made another batch, and that was real simple to do.
Then it's off to the press to seat the core. Since I melted mine in the case this step is really simple. It's #2 in the picture above, that's what it looks like when your done.
Next step was to concave the top of the bullet which is #3 in the photo above. Another real simple operation.
Next is notching the case/jacket, Very simple and that's #4 in the photo above. Just don't get in a hurry to play with your new toys and forget to insert the BB like someone else I know.
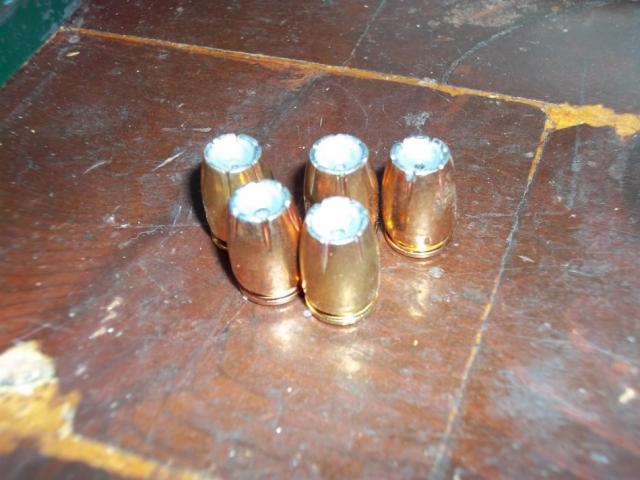
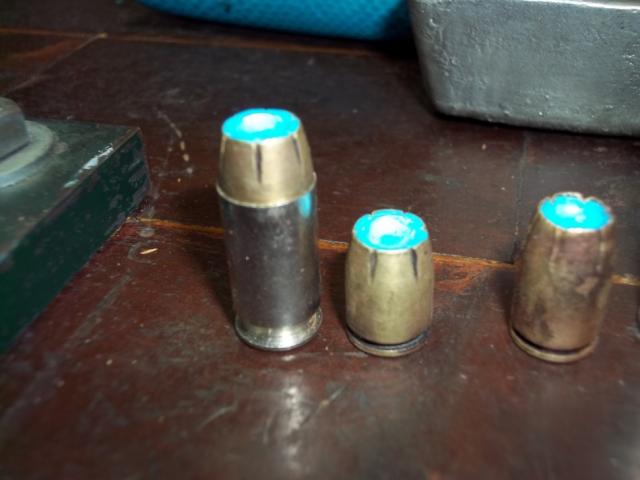
And last but not least the final forming of the bullet. Here's some of what I got done with mine.
The 2 above were from brass trimmed to .700 and the hollow point punch was used first then I used the punch you use when using the BB. I don't recall the specific name for it but you get the point.

|
   
   
|
|


 Reply With Quote


 BT Sniper


