


Woke up this morning to a rainy day with nothing particularly important on the to do list, so I decided to play with my Marlin 1894C. My rifle wouldn't feed a cartridge longer than 1.600 and 1.580 was a lot smoother. Problem is, I recently acquired a SAECO #353 that shoots great, but has a crimp to nose length of about .330. I tried to load them as short as possible, but about 1/3 of them would get hung up transitioning from the magazine and require me to clear the jam with a key, screwdriver or whatever expedient tool. So my options were either trim some dedicated brass short, or modify the cartridge stop on the shell carrier. I decided to go with the modified cartridge stop so I wouldn't have to change the die setup on my SDB dependant on what brass I was stuffing that day.
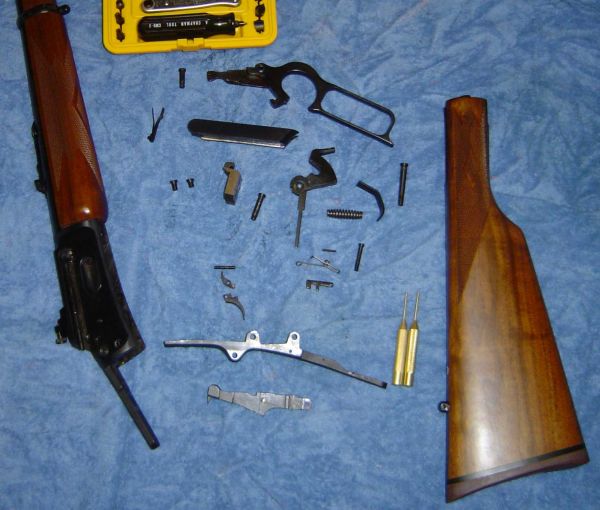
First step was to disassemble the rifle. There are pretty decent instructions at Marauder's Old Irons page. He has a nice exploded view picture linked there as well.
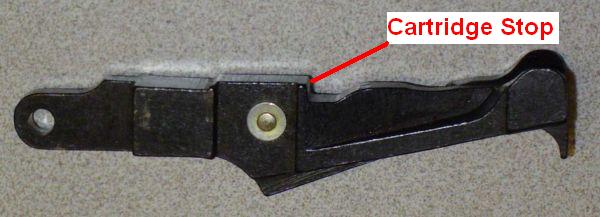
Retrieve the shell carrier from your parts pile. This is the surface that needs to be cut back to allow longer than 1.600 OAL to feed reliably.
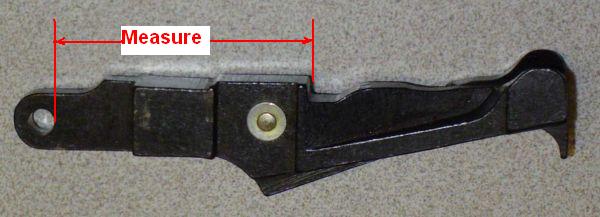
Take a measurement from the pivot hole to the face of the stop and decide how much you want to take off. I've read on Beartooth that you can remove up to .100 without issue, but since removing is easy and putting back is hard, I went with .050. That should allow smooth feeding with cartridges up to 1.630 OAL and a maximum OAL of 1.650. More than enough for my purposes.
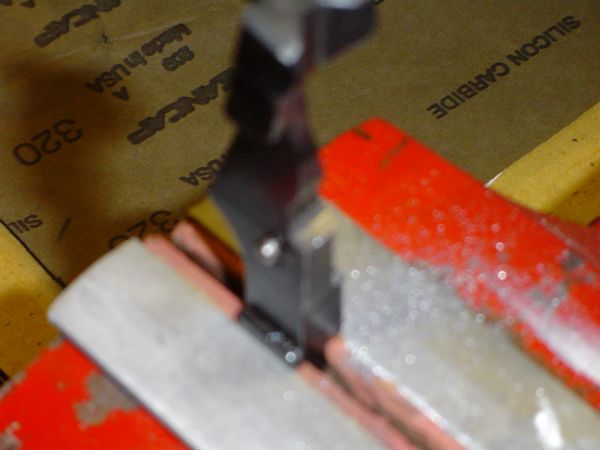
Clamp the shell carrier in a soft jaw vise and carefully remove material from the indicated surface of the cartridge stop with a mill file. Take care and keep it square. Stop often and measure from both sides to ensure you aren't getting the surface cocked. Remember, taking material off is easy, putting it back is hard. When you have removed the material you've decided on, radius the upper edge slightly as in the stock unit and deburr the edges. If you have a fine needle file, work the radius between the stop face and the body of the lifter to relieve any stress risers. When you are finished, lightly polish the worked surfaces with a little 320 paper. You could cold blue the bare metal, but I didn't bother.
Believe it or not, I took 4 pictures of the finished product. Every one is a nice focus on the 320 paper. But, since I took the picture, I'm going to make you download it anyway.
All that's left is to reassemble the rifle per Marauder's instructions and function test. I put together 3 dummy cartridges at 1.630 and gave them a try. They all feed just as smoothly as the unmodified rifle would handle 1.580.
BTW, while I had it apart, I slicked the action a bit using the instructions Marauder thoughtfully provides. The rifle cycles smooth as can be and the trigger, which was crisp but heavy from the factory is now very good.
I need to load a few and get to the range!

|
   
   
|


|

 Reply With Quote


