


Someone ...put me up to dry patching (even though I thought I was doing fine with wet ones).
Well, you can imagine trying to wet patch teensy 25 cal cores right? So, this is what I came up with (spent my whole relaxing Sunday doing it - great fun!)
The patch and the core in a base deburring/sizing tool.
The patch dry wrapped and the PPCBoo turned around using the deburring tool as a holder.
At this point the skirt gets 'twist crimped' - dry.
Here the 'other bit' has been pressed over the boolit base. The punch thing is in front.
The punch thing gets a drop of water on the tip then gets inserted down the 'other bit' where the water soaks into the 'twist crimped' patch tail which then gets flattened.
Here the boolit is about to be ejected with its tail flattened.
And here it is, flattened and ready to be dried.
And the printer patch template. Arranged to minimize scizzor strokes.


|
   
   
|


|


 Reply With Quote
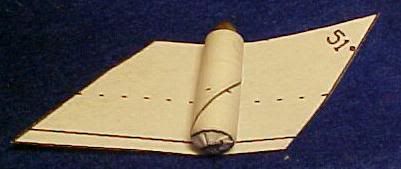
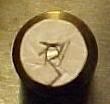 Wet flattened.
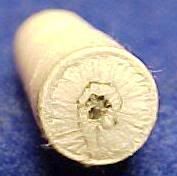 Pre-shaping of patch - see how the inner and outer wraps don't line up.
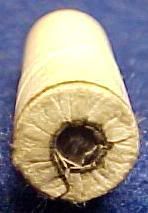 Shaped patch. Nice and round and central.


