Old Link I had that might help you out.
http://tacticalcamo.com/MARPAT/digi.php

|
   
   
|


|


Old Link I had that might help you out.
http://tacticalcamo.com/MARPAT/digi.php
Excellent link, thanks! I really appreciate all the participation. I'm a little embarrassed, I've been swamped here the last few days, but I hope to get back on this sooner rather than later. Thanks for bearing with me.
-T
OK further progress, though we're battling avian-swine flu at our home, so it's incremental prgress for now.
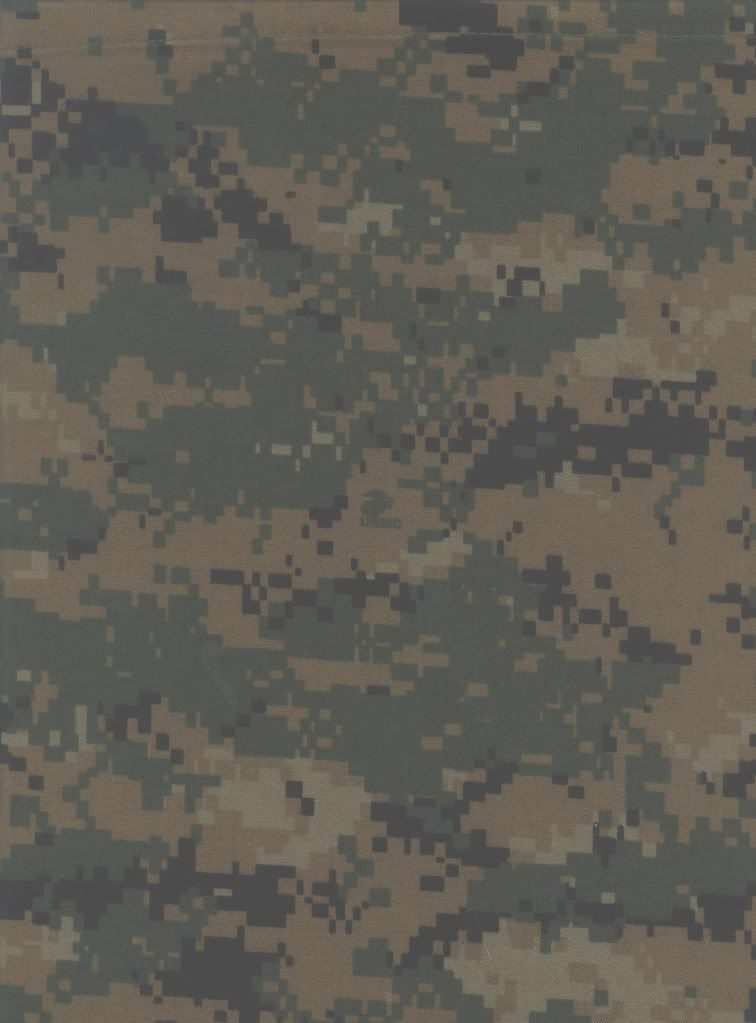
Here's a pic, I scanned my MAPAT blouse. Photbucket scaled it down, but I'll be happy to email the full-sized pic to anyone who asks. Just PM me with your email.
I printed the full-sized image on a sheet of sticker paper.
WalMart online carries Avery full sheet "project sticker paper", around $12/15 shts. My local Walmart didn't have it in stock, so I went to Fry's and got Merax full-sheet sticker paper, $20/50 shts.
Next step is to break out the x-acto knife and make male & female stencils. That EGA looks like a challenge.
great thread and project. something to keep in mind, depending on your compressor, and especially if you're using it for blasting, cleaning/blowing off parts, etc, is to drain your compressor every so often of fluid buildup in tank. moisture and/or oil from line/tank will undo all of your efforts to keep things spotlessly clean prior to paint. just thinking out loud. keep up the good work.
when painting aluminum with catalyzed coatings, it's often recommended to use a very low dft vinyl wash primer before coating. it etches the surface and allows better intercoat adhesion and less chance of delamination from substrate, when all's said and done. at less than a half mil, plus a mil + of duracoat, you might wind up with some interference fits that would have to be corrected in reassembly. a thousandth or so could be the difference between something that slides freely and does not, when the correct clearance existed prior to coating. again, thinking out loud.
real interested to see the finished project. great job.

I would sand blast the parts and paint it with a baked on finish. I used KG Coating baked on for 3 years now. Ask me for pics. 27 rifles and 90 magazines later and I'm happy.
Yep I hear ya Duke. A pistol like this is a perfect candidate for a baked-on finish, it'll fit in my oven. Remember though one of the goals here is to get my "a" game together for doing this to a couple rifles, neither of which will fit inside my oven.
I may decide to bake this one anyway, just to get around a three-week cure. But it's important to me to use the same material I'll use on the rifles.
27 rifles, you must have a commercial oven!
I pull my racks out and put the barrel in diagonally on a cleaning rod hung from the top corner.
You can pick up a vintage large el cheapo oven on craigs list and run it on propane or gas.
Duracoate is not more than just Sherwiin Williams botton of the line Polane T paint.
I've heard that about duracoat, simple paint with some kind of ceramic additive. I guess it's the only one I know of gives a good durable finish without baking, but I'm sure interested in hearing about other options.
No yard unfortunately, one of the pitfalls of living in a condo. I can just see my wife's face, if I even tried to bring a spare oven in here.
BTW I was eyeballin' those Ubertis, wish I had the scratch. Fine rifles for sure.
This is a cool thread and something I've considered doing to a basket case Winchester 94. I probably have everything needed except the duracoat itself and a blaster which I can borrow. How much was it to buy the duracoat for your project?
Keep moving forward!
I'd have to look, it was last June. Just google duracoat, I think you'll find prices are consistent among all distributors.
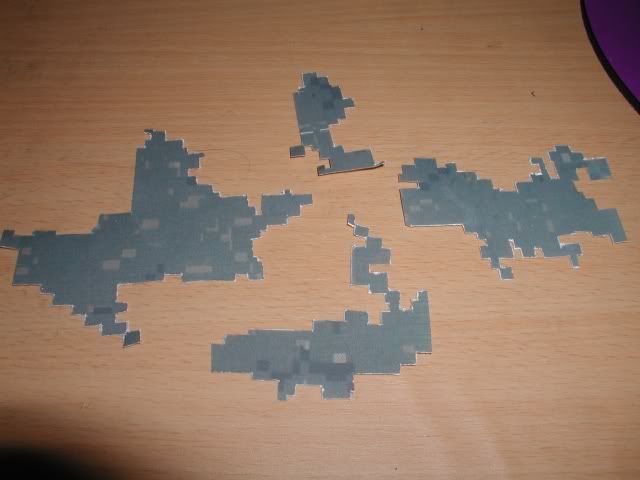
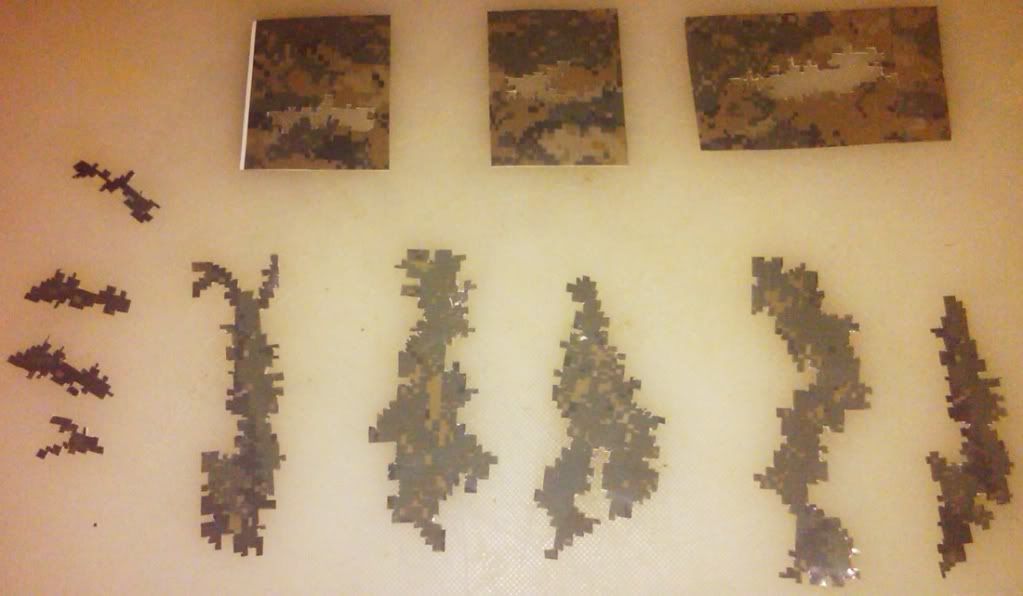
OK I manage to emerge from the fog of avian swine flu long enough to scratch out a few stencils. Let me tell you folks, this is more of a PIA than it looks. Use a very sharp knife. Frankly I'm not quite satisfied with these, I think I might start over. And I haven't even tackled the EGA yet.
I say again, use a new, sharp blade. A straight-edge helps. I'm still refining my technique, but it seems to work well using the straight-edge to get all the horizontal lines on a figure, moving from top to bottom, then rotate 90� and repeat.
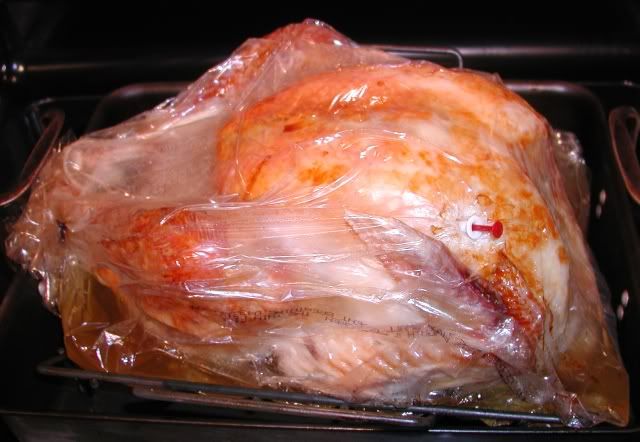
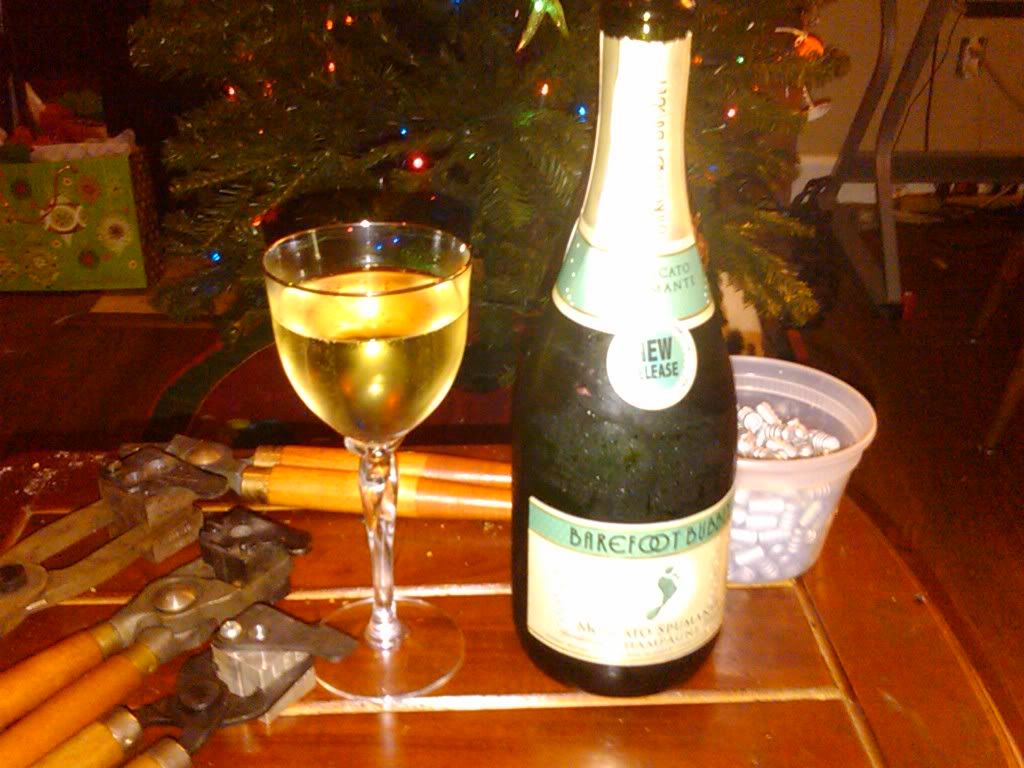
Anyway I'll get back on it, but first I'm going to deal with the other thing I've been working on tonight:
- yes, it's the fifth turkey I've done this season. Just pulled it out of the oven. I realize this has nothing to do with the project, but I'm getting good at it and I'm kinda proud. This'll give us sandwiches for a week, at least 2 nice dinners, and I'll get over a gallon of stock from the carcass, plus 1-1/2 quarts of excellent liquid from the oven bag. MMMMMM turkey noodle soup with rice.... If anyone wants any tips on cooking a turkey, making gravy or using the carcass to make soup, feel free to PM me. If there's enough interest I'll do a whole thread on it.
I'll post again when I have better looking stencils, male & female. I have a feeling this next round will go smoother than the first.
Last edited by Tippet; 12-14-2009 at 04:10 AM.
Sad say I've made no further progress yet- but happy new year everyone!

AAAAAHHHHHHH, the suspense is killing me, what could be more important than finishing that project?
Happy New Year!
Progress to report tonight. I shrunk the marpat pic in half and made all my stencils.
I have a picture, but at the moment photobucket's down for maintenance so that'll have to wait a bit.
I'm happy with the results. It was as challenging as I chose to make it. I could have spent a lot more time on it. LOL I could also have been a lot quicker about it.
I go by the same principal I learned working on wood boats. Do a good job, but don't try to make it perfect or you'll never finish. There's other work to do.
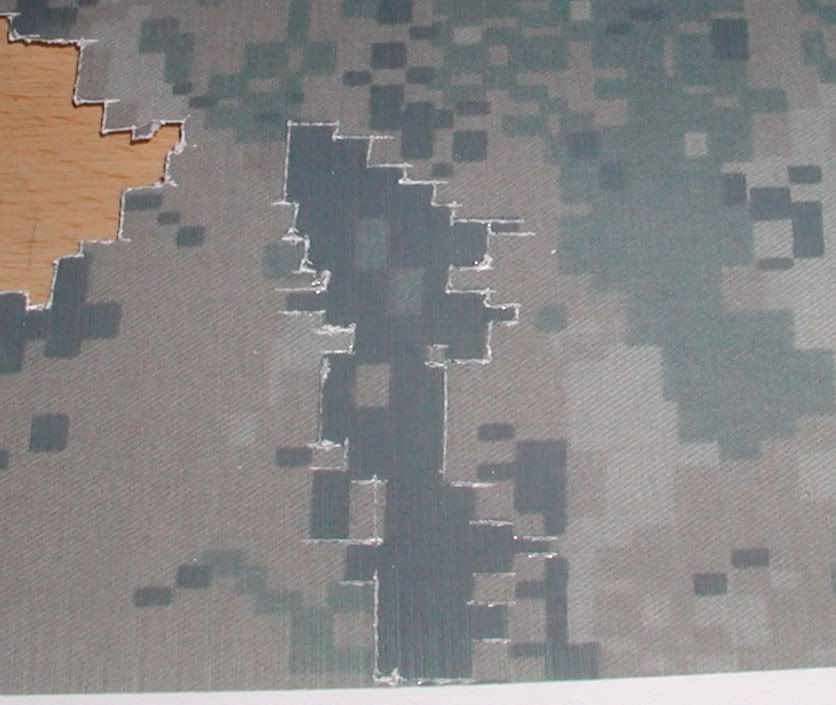
I find sharp scissors work well for the male stencils. I make all the parallel cuts I can, then rotate the sheet 90� and make the rest of the cuts.
As you might expect, the female stencils are the most difficult. Why should female stencils be any less difficult than any other kind of female? A new, sharp x-acto blade is essential. If you're careful, when you're done you'll also have a male stencil which is useful.
I plan on doing the small accents freehand, instead of making a stencil.
Well, photobucket's still down for maintenance, but the pic will be posted here ASAP
OK so next is to prep the metal surfaces. I'll be using a friend's compressor to blast the parts with aluminum oxide. We're going to wait for these San Diego storm systems to do their thing, this is an out-side chore. Looking like next week.
Last edited by Tippet; 01-20-2010 at 04:46 AM.
I haven't forgotten about this guys, I'm just trying to coordinate a time to meet with my buddy who has the air compressor so I can sandblast the surfaces.
Whew! Thank goodness you finally posted I was getting blue in the face, holding my breath.
I had almost forgot about this thread. I do look forward to seeing the end results.
It should be one fine looking piece of machinery when you are through.
I know all about the never ending projects. I've got a 1917 Savage that I look at about every other day and I never seem to get the time to make any progress.
Regards,
Everett
"There's a reason John Browning's middle name is Moses."
here's a 10/22 that i did for my girlfriends birthday 4 years ago with duracoat. it has held up very well in that time.
Rick

What did you do as far as prepping the metal?
duracaoted circa 1956 flat top 357

 Posting Permissions


| BP | Bronze Point | IMR | Improved Military Rifle | PTD | Pointed |
| BR | Bench Rest | M | Magnum | RN | Round Nose |
| BT | Boat Tail | PL | Power-Lokt | SP | Soft Point |
| C | Compressed Charge | PR | Primer | SPCL | Soft Point "Core-Lokt" |
| HP | Hollow Point | PSPCL | Pointed Soft Point "Core Lokt" | C.O.L. | Cartridge Overall Length |
| PSP | Pointed Soft Point | Spz | Spitzer Point | SBT | Spitzer Boat Tail |
| LRN | Lead Round Nose | LWC | Lead Wad Cutter | LSWC | Lead Semi Wad Cutter |
| GC | Gas Check |

 Reply With Quote