

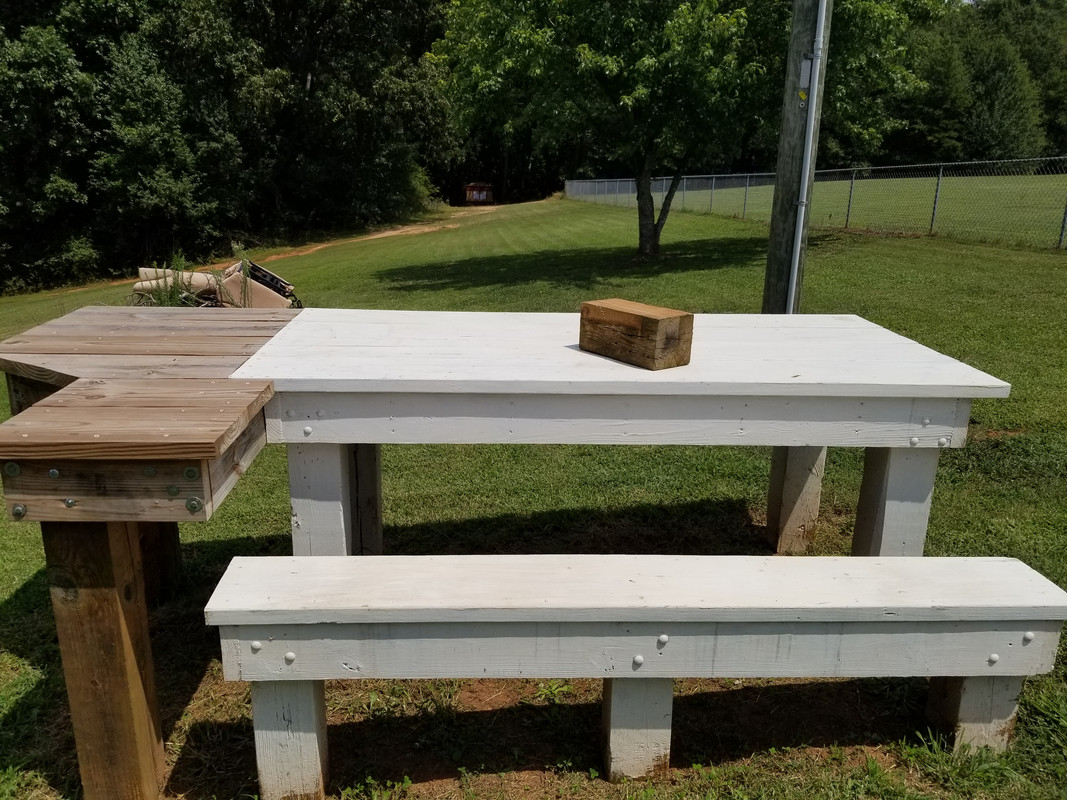
Added Picture of Bench at the bottom. Still need to add seat for rifle addition and get it all painted. If you look close you can see the backstop.
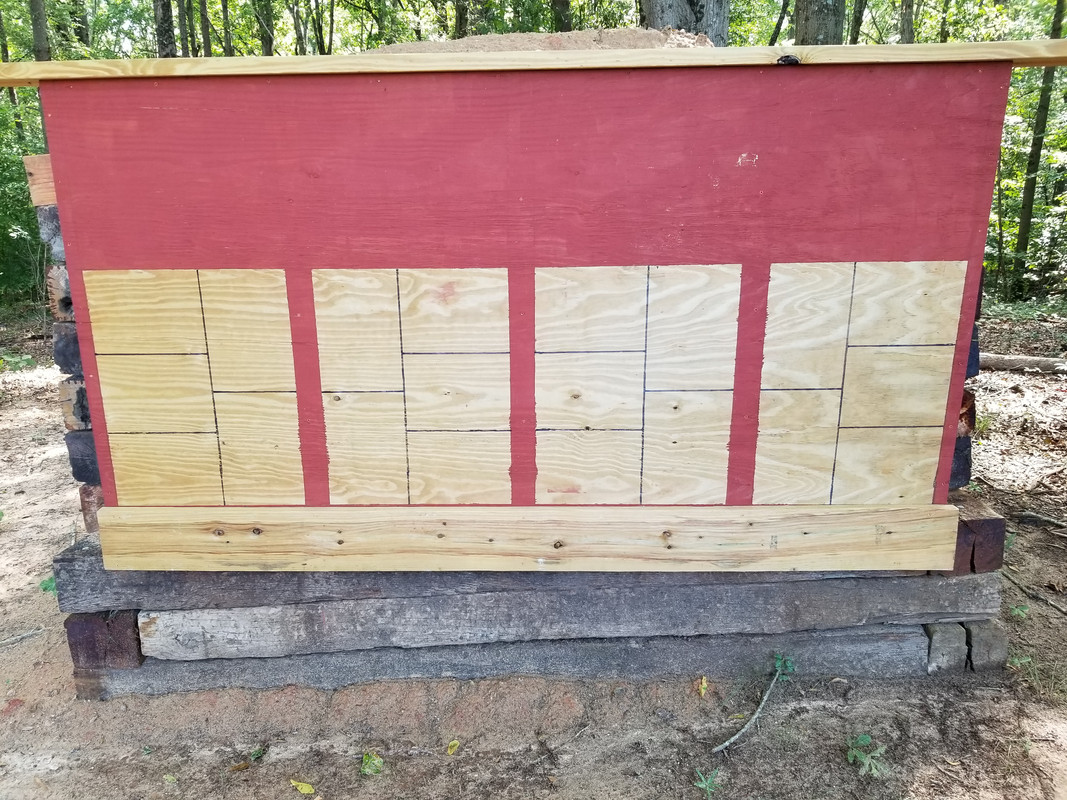
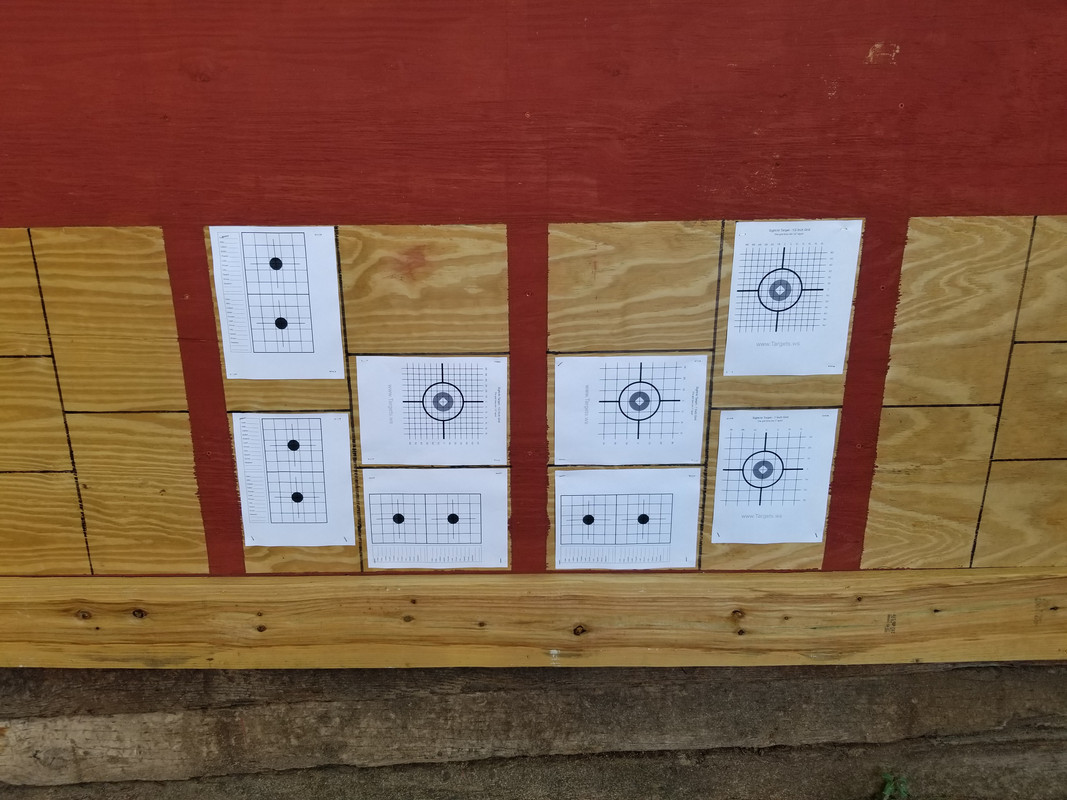
Well My Backstop is DONE and it did indeed take me a LOOOOONG time, but that is the joy of retirement NO hurry. It is about six foot tall and 8 foot square. Left side, Right side and Back are 9 layers (rows) of Railroad Ties. Front has 3 layers (rows) of Railroad ties on the bottom Each Layer (row) of Railroad ties overlap on all 4 corners. Layers of Rail road ties are secured with 3/8 x 12 inch spikes. Bottom two rows are anchored to the ground by 48 inch long 1/2 steel rebar. It is filled with a dump truck full of field dirt. The target stand (Both Plumb and Level) on the front is a 2x6 stud wall with inner and outer wall of treated ground contact plywood. Target stand is screwed together so it can be replaced if needed or just screw another sheet on the front. Top cap and bottom 2x6 of target stand will also be painted red. The RED is OFF Limits as this is the frame and studs are behind the upright red stripes. Top and bottom red is just a safety buffer. The grid of black stripes on unpainted plywood is used as a guide to place targets plumb and level.
Put first 7 layers up by myself, but finally hollered for the sons and grandsons for help. Punched a few holes in it this am but had already taken my phone in side so no pic of My pitiful shooting LOL Maybe next time. Sorry for all the rambling, maybe the pictures below will explain better.
It holds 20 8.5 x 11 printed targets or 4 HUGE ones. I am sure the Kids and Grandkids and Yes Papa too will enjoy it for years to come.
Life is GOOD
Safe shooting
Doug


|
   
   
|


|

 Reply With Quote


