I have been thinking about the different ideas that I have came up with for the a Lee APP press what have you all come up with.
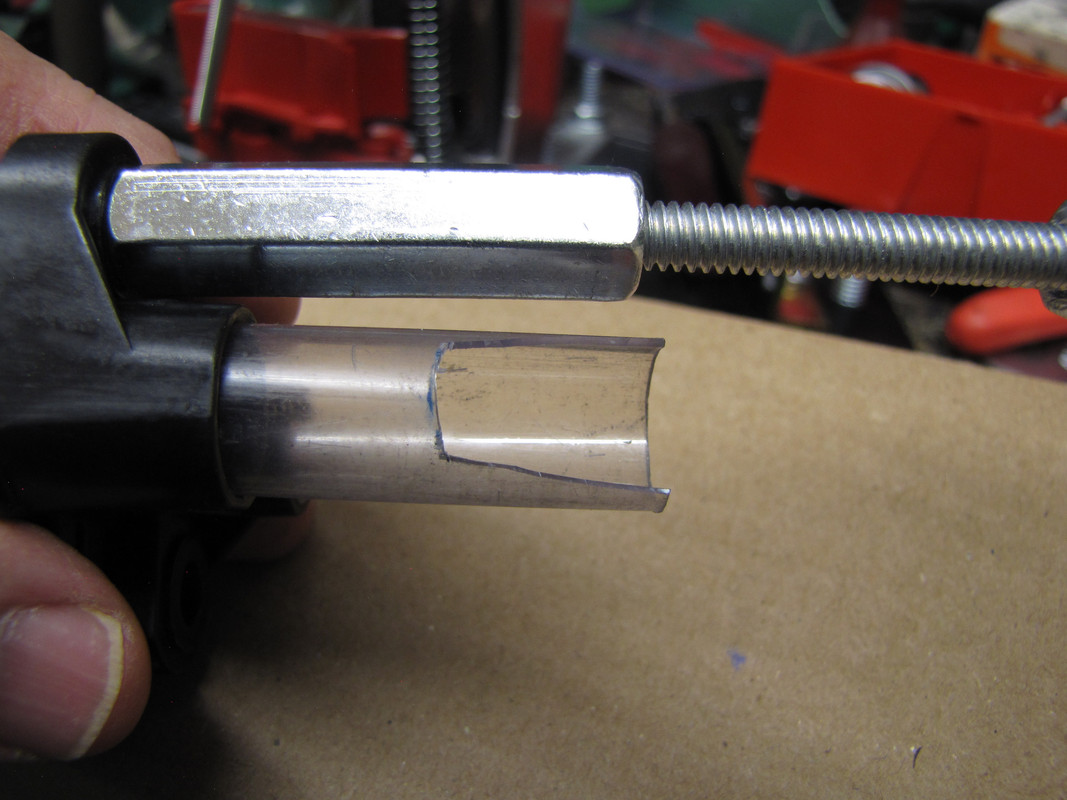
1. a 1'' inside dia. plastic hose that slips on the spline drive breech lock bushing. When sizing bullets the slide right on down to the container.
2. a 1/4" 20 coupling nut. the one I found was 7/8 of an inch wish it was longer. This makes the bottom nut much easier to work with automation package

|
   
   
|


|

 Reply With Quote