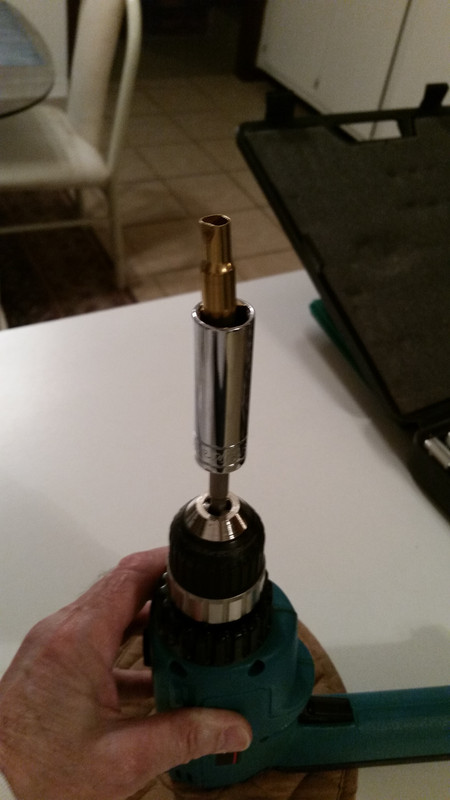
It's getting time to make more 357/44 BD cases. I have a 100 round bag of new brass. Setting here trying to figure out a way to turn the case to get even flame around the neck and quickly mount and dismount the case so not to take all week to work through the bag.
Any ideas that work or you have tried?
Ken

|
   
   
|


|

 Reply With Quote