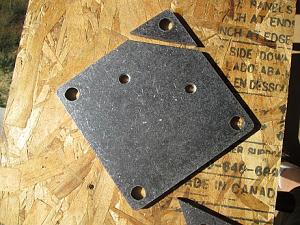
My quick change system is based on 6"x6"x1/4" plates, that have a hole in each corner, that I found at a local steel supply store at a cost of $4 each.
In comparison, the Lee bench plate base with one press plate costs $21 and $11.20 for each additional press plate.
Here's one I modified:
I have a plate bolted under everyone of my presses, thru T-nuts, so no tapping required.
Mounting them at 45 degrees gets the side holes further on the bench, not on the edge like the typical press bolt pattern and the 3rd bolt as far away from the edge so the press doesn't rock fore and aft when loading.
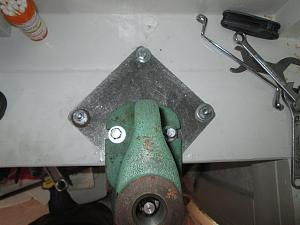
I have only 3 bolts(actually pieces of threaded rod) thru the bench, with T-nuts underneath the bench.
I only have one press on my bench at one time and store the others on a shelf, held there with one stud each.
Works for me,


 Reply With Quote


