Here are more photos and I have to say I didn't take a lot of time with this build as I originally planned on using it only once back in 2012 when the shelves were bare (Sandy Hook). I got back into casting then out of necessity and this was to be a temporary solution until bullets for purchase appeared back on the shelf. Temporary, because I hated the sticky mess of lube and the reason I got out of casting in the first place. But as it turned out I discovered powder coating and haven't bought a commercial bullet since. This old pot has melted down a couple of thousand pounds of ingots and every time I use it I think about re-doing a better job, but it works, it doesn't leak, occasionally a drip when it gets dirty.
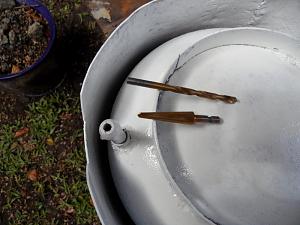
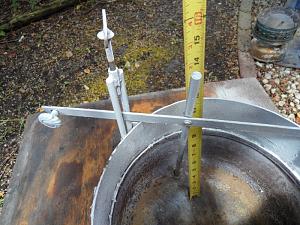
First off the bottom pour I made, but it is NOT my design, I copied the design from my RCBS Pro Melt furnace, but so far RCBS hasn't come after me for copyright infringement. Basically, the way a bottom pour works is a drop tube with a tapered ("V" shape) inside the tube. The tube is welded into the bottom of the pot. The tube seals with a round down-rod that fits inside the taper. If the bottom of the rod is cut square where the outside edge of the round rod touches the taper all the way around and if the rod is of sufficient weight it will hold it tight when in the down position and won't leak. Mine would seal out water. I will leave that one there because whether it leaks or not will depend on your mechanical ability and tools available.
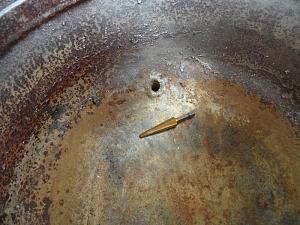
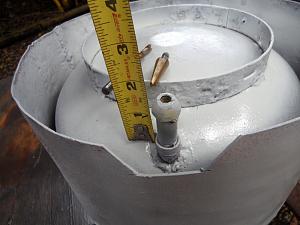
As you can see I set the bottom pour to the side of the pot not in the center for several reasons. On the outside it is easy to access for pouring your ingots; stirring the metal is easier; after the metal is poured the concave bottom of the tank retains metal that I leave in the pot as it speeds up melting on successive melts.
I used a salvaged piece of thick brass piping for the drop tube and used a Harbor Freight taper drill bit to cut the inside taper. Spinning the tube on a lathe or drill press with compound will polish out the inside. Cutting the end of the down rod square is easier with a lathe or a a short piece in a drill press and welding it to a longer rod.
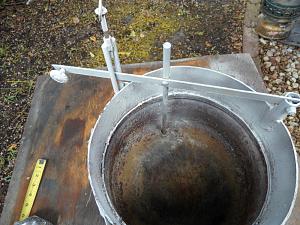
I formed a sheetmetal skirt around and 1/2" out from the tank to hold in the heat.
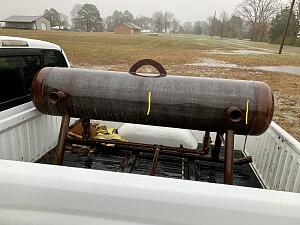
If you have more questions let me know and if anyone lives in the Katy, Texas area I have an out of date propane tank you can have. BTW: For safety, fill the tank with water first to purge any gas that remains before cutting into it.


 Reply With Quote


