RotoMetals2Titan ReloadingSnyders JerkyRepackbox
MidSouth Shooters SupplyInline FabricationReloading EverythingLee Precision
Load Data Wideners
Page 4 of 7 FirstFirst 1234567 LastLast
Results 61 to 80 of 140

Thread: Making my own single stage press ...

  1. #61
    Boolit Master BigEyeBob's Avatar
    Join Date
    Apr 2014
    Location
    South of the Equator and North of Capricorn
    Posts
    508
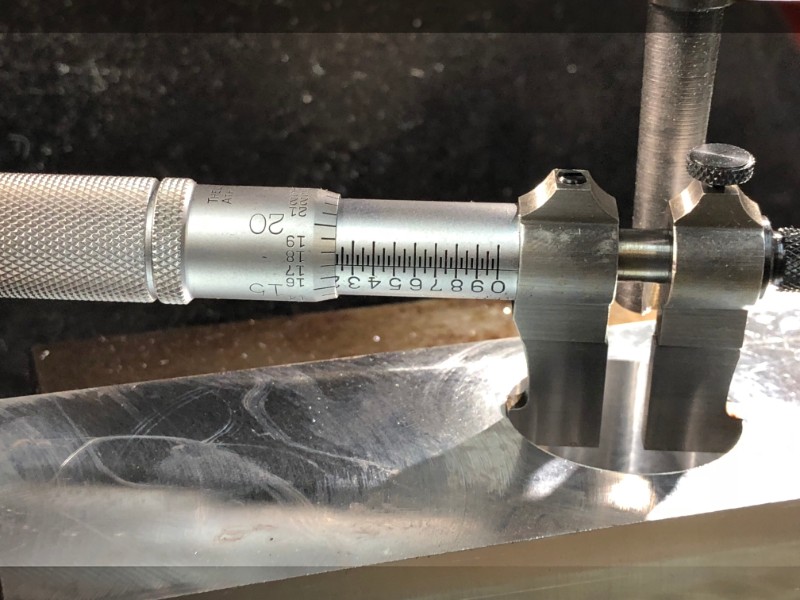
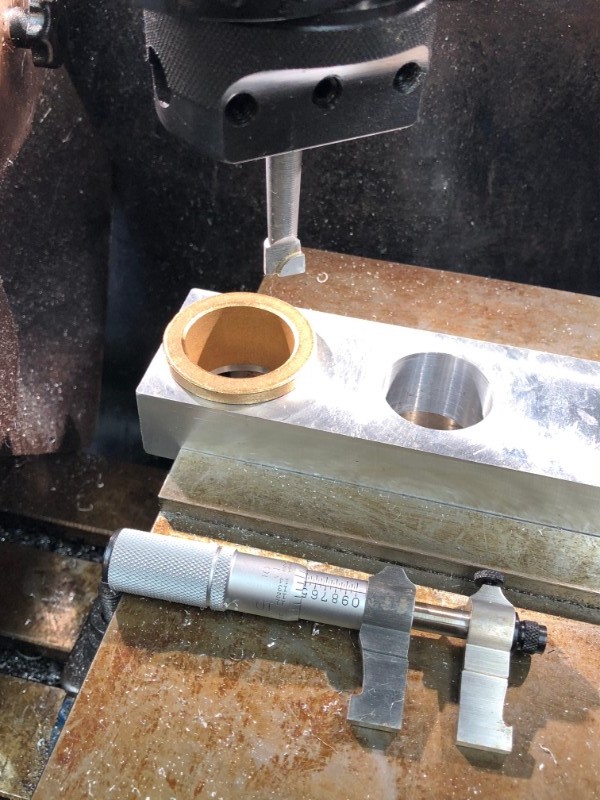
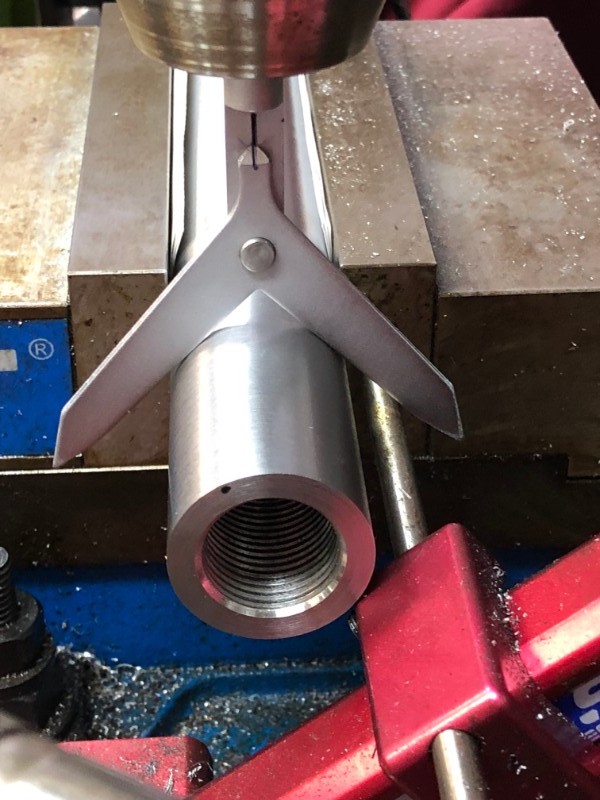
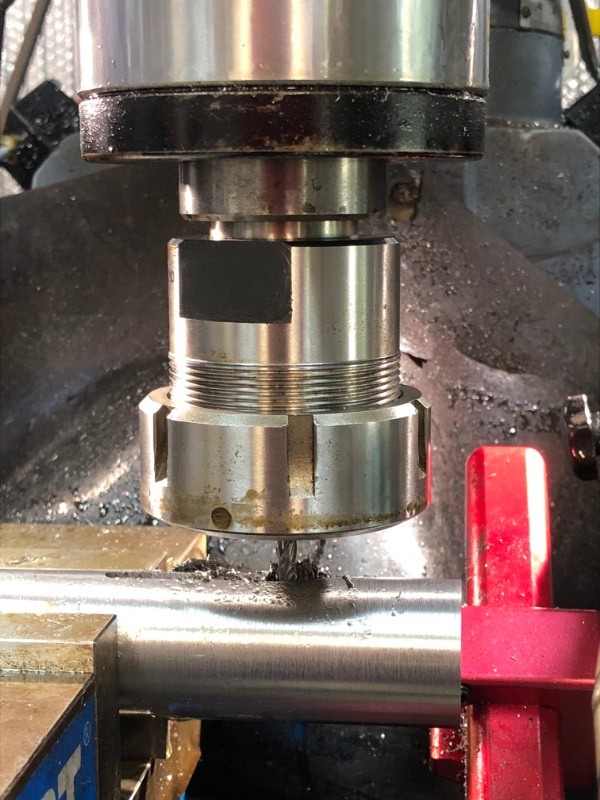
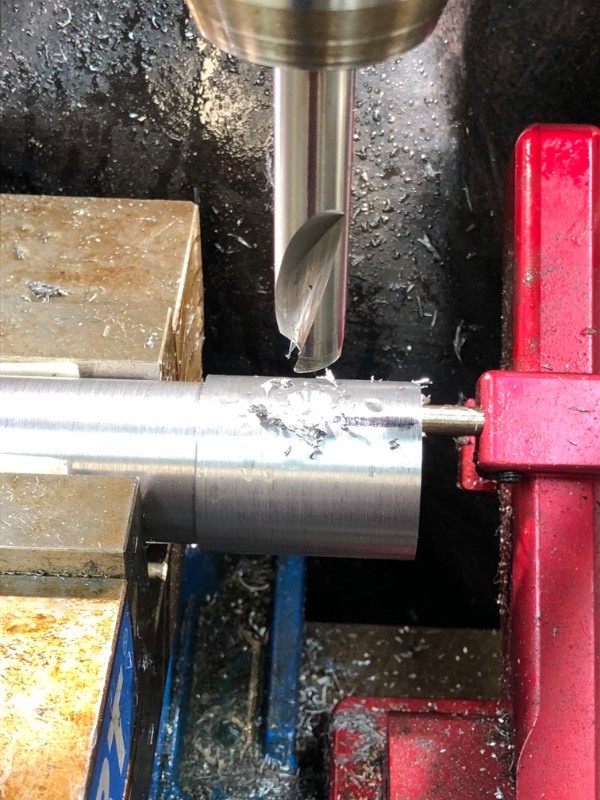
    Thanks for the info on the lazer center finder .I'll look for one online Currently I use a precision ground 60deg pointer i guess you would call it ,I just mount it in a collect and follow my mark out lines ,I mark out with a vernier hieght gauge to get the accuracy . My mill has metric dials ,fortunately Im able to work in the imperial system and metric .One of my lathes is Imperial ,the bigger one has metric and imperial graduated dials .I guess it would not be too difficult to fit a dro and glass scales on the mill.

  2. #62
    Boolit Buddy
    Join Date
    May 2014
    Location
    DFW
    Posts
    381
    I must admit I am 100% spoiled with the DRO's. I got one on my knee mill (Enco 8x28, I think), and my lathe PM12x36. They certainly make life easier and I can concentrate more on the task at hand than on counting revolutions by hand and remembering everything in my head
    Last edited by wquiles; 08-05-2018 at 08:21 AM.

  3. #63
    Boolit Buddy
    Join Date
    May 2014
    Location
    DFW
    Posts
    381
    Big day yesterday, good progress

    I started with making a new guide from another scrap piece of Aluminum:


    Get everything flat:


    Use laser to center, center drill, drill 1" hole, then bore to size (1.251" for the ram):


    Then repeat for the two guide rod bushings (1.501"):


  4. #64
    Boolit Buddy
    Join Date
    May 2014
    Location
    DFW
    Posts
    381
    At this point I must admit I was worried since I had no idea if all of the pieces would align (and not bind!) as designed. So I got my welding table, clamped the base, and assembled the press for the first time (I have a small aluminum piece holding the guide in place):


    Noticed how I have a blank die threaded through the top and through the ram to test for alignment. To me this was the most rewarding part, as even with these "tied" everything aligned and moved smoothly:
    Last edited by wquiles; 08-05-2018 at 08:17 AM.

  5. #65
    Boolit Buddy
    Join Date
    May 2014
    Location
    DFW
    Posts
    381
    Today I need to drill and tap two opposing set screws on the guide to keep it tied to the ram, and that will be pretty much all needed on the aluminum guide.

    But I also did a little more work on the ram itself yesterday. Even though I am not yet interested in swaging, since the press is inherently over-built for reloading, I keep looking at ANeat's swaging press for inspiration, and decided to deepen the hole through the ram so that it might be possible to use with shorter swaging dies, by making a little bit more room for the ejector punch by drilling a 3/4" hole through the ram:


    Unfortunately my large 3/4" drill bit is not long enough, so this is all I was able to do. It might work with "short" dies only for now:

  6. #66
    Boolit Buddy
    Join Date
    May 2014
    Location
    DFW
    Posts
    381
    I still can't use the press since there is no way to move the ram yet, but now it is a good point to share my initial drawings from back in April, basically 3-4 months before I actually started cutting metal, just so you get an idea of what I was thinking at the time:


    Before I decided to use scrap material I already had at hand, I even priced the steel to make the press:


    And this press (posted in ANeat's thread), was one of the two inspirations for the variation for the 30 degree offset, even I don't know if it is really 30 degres:


    And this was the other, commercial/custom press that confirmed the 30 degree offset was a viable idea (although I am not sure it is really 30 degrees either):


    Last edited by wquiles; 08-05-2018 at 08:23 AM.

  7. #67
    Boolit Buddy
    Join Date
    May 2014
    Location
    DFW
    Posts
    381
    I will admit that although I have several ideas, I am almost finished with the basic press, and I have not decided how I will proceed with the ram and the linkage(s) and the air/oil cylinder. According the Corbin's ebook (awesome reference by the way!), with 120psi and a 4" piston, I should be able to easily swag .224 though .243 bullets without any additional mechanical leverage, and almost .308 bullets. If using certain types of soft lead, I should be able to form .224 to .357 bullets nicely. So I am debating on:
    - Attach cylinder directly to ram, or
    - Some sort of linkage to provide adjustable 1-to-1 to at least 2-to-1


    To be honest, I am leaning towards the direct connection at this point


    So far I got the cylinder (6" travel), the flow control valve, the 1 gallon tank, and 1 gallon of hydraulic fluid:


  8. #68
    Boolit Grand Master jmorris's Avatar
    Join Date
    Aug 2007
    Posts
    5,284
    I don’t know what you have air wise but that cylinder looks like much more than 120 psi max. If you can develop more pressure you shouldn’t need to complicate things with linkages.

    Your twin guide/center ram design reminds me of some pneumatic actuators that came in a lot of stuff I won in a auction.


  9. #69
    Boolit Buddy
    Join Date
    May 2014
    Location
    DFW
    Posts
    381
    Quote Originally Posted by jmorris View Post
    I don’t know what you have air wise but that cylinder looks like much more than 120 psi max.
    Yup, 2500psi working pressure. But trying air/oil for now


    Quote Originally Posted by jmorris View Post
    If you can develop more pressure you shouldn’t need to complicate things with linkages.
    Agreed. I however have one thing to work out. Since the press/ram and the cylinder are separate assemblies, and even if I try to align things well, I have to assume that the cylinder will not be 100% in-line with the ram's axis. So, how can I attach the ram to the cylinder in a way that I am not forcing mis-alignment in the ram and premature wear on the bushings on the press? I guess I need some sort of coupling that can take a little bit of play and self-center?

    Ideas/suggestions?
    Last edited by wquiles; 08-05-2018 at 12:25 PM.

  10. #70
    Boolit Grand Master jmorris's Avatar
    Join Date
    Aug 2007
    Posts
    5,284
    Well you already have a clevis on the cylinder all you need is a flat milled into both sides of the shaft and a hole cross ways for the pin.

  11. #71
    Boolit Buddy
    Join Date
    May 2014
    Location
    DFW
    Posts
    381
    Quote Originally Posted by jmorris View Post
    Well you already have a clevis on the cylinder all you need is a flat milled into both sides of the shaft and a hole cross ways for the pin.
    Gotcha. The pin on the clevis is about 1" dia, and the ram's OD is 1.250", so I don't want to drill the ram and end up with that thin of a wall. I will have to make an "adapter" to mate the two of them.
    Last edited by wquiles; 08-05-2018 at 06:21 PM.

  12. #72
    Boolit Master
    AZ Pete's Avatar
    Join Date
    May 2005
    Location
    Arizona
    Posts
    543
    quite a project!


    Sent from my iPad using Tapatalk
    NRA Endowment Life Member

  13. #73
    Boolit Grand Master jmorris's Avatar
    Join Date
    Aug 2007
    Posts
    5,284
    . The pin on the clevis is about 1" dia, and the ram's OD is 1.250", so I don't want to drill the ram and end up with that thin of a wall.
    All you need is to machine two bushings about 1” OD and whatever ID you want and use two washers larger than 1” on either side of the clevis pin.

  14. #74
    Boolit Buddy
    Join Date
    May 2014
    Location
    DFW
    Posts
    381
    Quote Originally Posted by jmorris View Post
    All you need is to machine two bushings about 1” OD and whatever ID you want and use two washers larger than 1” on either side of the clevis pin.
    Ahh, OK, I do see it now. So simple

    The OD of the ram is bigger than the ID of the clevis, but that is a quick fix on the milling machine, since I have to still mill the flats. Thanks again!

  15. #75
    Boolit Buddy
    Join Date
    May 2014
    Location
    DFW
    Posts
    381
    Thanks to jmorris I now how to proceed on the piston/ram part, so I hope to work on that soon. For now, I will share the additional work I did yesterday (Sunday).

    I did buy an extra bushing (I only needed 3x), but when I got looking at the base (1.3" thick) I realized I cut trim the 4th one, and install it on the bottom side:


    So I measured and noted that I needed about .4", so I cut it on the lathe:


    After cleaning the rough edges, it went in:

  16. #76
    Boolit Buddy
    Join Date
    May 2014
    Location
    DFW
    Posts
    381
    There is a little bit of room left, but the bushings have not yet been pressed in place until I decide how to protect the steel from rust (which I will do later on):
    After cleaning the rough edges, it went in:


    I then worked on the set screws to keep the ram and the guide together. I went with that I had on hand (M8 set screws):


  17. #77
    Boolit Buddy
    Join Date
    May 2014
    Location
    DFW
    Posts
    381
    Once all is done, I will drill two matching dots on the ram so that it is not just pure screw tension holding it together:


    I worked on the ejection slot in the ram, in case I do want to try some swaging - cleaned the sharp edges with a small diamond file:


    I then drill an 3/8" hole on the ram for attaching to the clevis. Per feedback from jmorris, I now realize I should have made a larger hole and milled the flats at the same time, so I hope to work on it next:


  18. #78
    Boolit Buddy
    Join Date
    May 2014
    Location
    DFW
    Posts
    381
    I reassembled the press to check how well the set screws in the guide work:


    Still great alignment with the top plate:


    And this is where I stopped on Sunday:

  19. #79
    Boolit Mold
    Join Date
    Jun 2018
    Posts
    20
    Wow that is amazing. I've been contemplating getting a lathe. They just seem so useful. Thanks for the posts I'm eager to see the finished press.

    On a side note, has anyone tried to cast a press, at least the body of it.

  20. #80
    Boolit Buddy
    Join Date
    May 2014
    Location
    DFW
    Posts
    381
    Quote Originally Posted by alicevirgin View Post
    Wow that is amazing. I've been contemplating getting a lathe. They just seem so useful.
    Having a lathe is truly amazing. I started with a 7x12, then 8x12, and this PM12x36 now for almost 10years. I use it to make things, fix things, make tools, etc..


    Quote Originally Posted by alicevirgin View Post
    Thanks for the posts I'm eager to see the finished press.
    Thank you. It has been fun and a great learning experience. I am noticing how heavy the assembled press is to move around, so I decided to check the weight. As is, with no linkages/handle, it is close to 27-1/2 pounds.
    Last edited by wquiles; 08-06-2018 at 01:15 PM.

Page 4 of 7 FirstFirst 1234567 LastLast

Posting Permissions

  • You may not post new threads
  • You may not post replies
  • You may not post attachments
  • You may not edit your posts
  •  
Abbreviations used in Reloading

BP Bronze Point IMR Improved Military Rifle PTD Pointed
BR Bench Rest M Magnum RN Round Nose
BT Boat Tail PL Power-Lokt SP Soft Point
C Compressed Charge PR Primer SPCL Soft Point "Core-Lokt"
HP Hollow Point PSPCL Pointed Soft Point "Core Lokt" C.O.L. Cartridge Overall Length
PSP Pointed Soft Point Spz Spitzer Point SBT Spitzer Boat Tail
LRN Lead Round Nose LWC Lead Wad Cutter LSWC Lead Semi Wad Cutter
GC Gas Check