


I was asked by a fellow caster to share my technique, which is a bit different than other Lee-menting/Honing posts that I've read on our website. I have used this technique many times on many molds (alum, brass or Iron), some expensive molds. One old Ideal mold that I knowingly acquired damaged, had sticking issues as well as other problems. My Lee-menting technique smoothed out some scratches/gouges in that old Ideal mold, enough for it to drop a boolit nicely, even though I couldn't completely remove all the imperfections, those were luckily at the bottom of the boolit, so those issue get removed during sizing.
I've found that about 20+% of the time, when buying a brand new boolit mold (from any manufacturer) that it doesn't drop boolits as easily as I'd like...my thoughts are, if you have to whack the mold multiple times, something needs fixin'
First thing I do (after cleaning the mold with Hot water, dish soap, and toothbrush), is to cast with it multiple times. If after three or four casting sessions, if things do not improve (even a little), then I start to consider to Lee-ment it, BECAUSE, some new molds, even if they were manufactured by one of the great mold makers we have in business today, can have "sticky cavities due to sharp edges" or there could be burr's caused by the trailing edge of a Cherry or CNC cutting tool. Depending on the design, some new molds are worse than others, meaning some mold designs have more sharp edges than others. Squarish lube grooves and a sharp angled crimp groove are the main culprits. I have found that if I can 'DULL" those sharp edges, the boolits drop easier, sometimes a mold can be made so the boolits will fall out of the cavities with even tapping the hinge of the handle. So, this is how I deburr a new mold.
Lee-menting: the spinning of boolits.
This is the recipe
A. Cast some boolits, I usually try to use wrinkled bullets (to hold the polish/compound) better, but that may or may not matter.
B. I use a sheetrock [drywall] screw. I bust the head off. They are different from deck screws or other screws, they are thin and designed to break off when bottomed out. I think that is advantageous (the thin part), because you can drill a small hole and Lee-ment a small caliber mold. The smallest I have lee-mented was a 6.5 but I could easily do a 243 mold, if I wanted to. Now a 22 cal might be difficult.
C. The tricky part, drill a hole in the sprue area of the boolits (one for each cavity). I drill them, while the boolits are in the moldI use a 3/32 drill, as that is the size of the screw shank of the particular screw I've used (I've used the same one over and over, I haven't broke one yet). I use some tape as a drill stop, I only want to drill about 1/2 the length of a rifle boolit. I might drill deeper into a pistol boolit. I use a battery powered hand drill and drill very slow, pull out often and remove the lead chips. Read part D if you think you can't drill a straight hole.
D. I chuck the busted end of the screw into the battery drill, and slowly screw it into the boolit while I hold the boolit in my hand. I'm not too worried about a slightly crooked hole. When Lee-menting, I hold the drill in one hand and the mold in the other hand. It will wobble a bit if not perfectly aligned. I actually think a small amount of wobble is better than perfect alignment. I surely don't think that a minor wobble hurts anything, in fact I think it accentuates the rubbing of the sharp edges to make them dull. Just to calm your fears of what I just said, years ago, when I Lee-mented four different Lee 2 cavity 30 cal molds, some needed multiple lee-mentings, and I didn't see any change in size of that soft aluminum Lee uses, nor did I measure any new oval-ness due to the wobble. In fact one of those molds was Lee-mented 4 times, and let me tell you, that fourth time, I lee-mented the heck out of it, out of frustration.
E. I use Automotive "polishing compound" (paste) ...well that is what I use first, it's pretty mild. I've also used the red automotive "Rubbing Compound" (paste), it has Rouge in it and is a bit more aggressive. Again, even when that was used, I didn't see any change in size of the cavity.
This is the procedure:
With the screw in the boolit and the other end in the battery drill, I have handles installed on the mold. I remove the sprue plates on any mold where it's easily removed, I don't remove Lee's sprue plates, since I don't like to "mess" with Lee's torqued sprue screws.
1. Put some polish compound on the boolit.
2. Put the bullet in the cavity.
3. Gently close the mold, it may not close all the way until you start spinning.
4. Start spinning slowly, speed up if you are comfortable. My drill has two speed ranges, I leave it in the slower speed range and will ramp up to full speed of that slower range (trigger fully depressed). You may not be comfortable doing that, especially for your first mold, find a speed you are comfortable with and try to be consistent. I will spin at full speed for 15 to 30 seconds. I try to do each cavity the same amount of time.
5. Remove the boolit, clean the mold faces with a paper towel, so when you spin the next cavity, the mold will close without obstruction.
6. Repeat 1-5 for each cavity, using a new boolit for each cavity.
7. When done with all the cavities, completely clean the mold, toothbrush and hot water and dish soap...then preheat and do a test cast.
8. depending on results of test cast, you may need to repeat the entire process.
This can take part of an afternoon...I learned to never cleanup my setup, til I have success during casting, many times a mold needs more than one Lee-menting.
Well that's all there is to it. Below are some photos taken while Lee-menting a Stubborn Iron Lyman 410610 mold.
Before
During
During "closeup"
After "Left block"
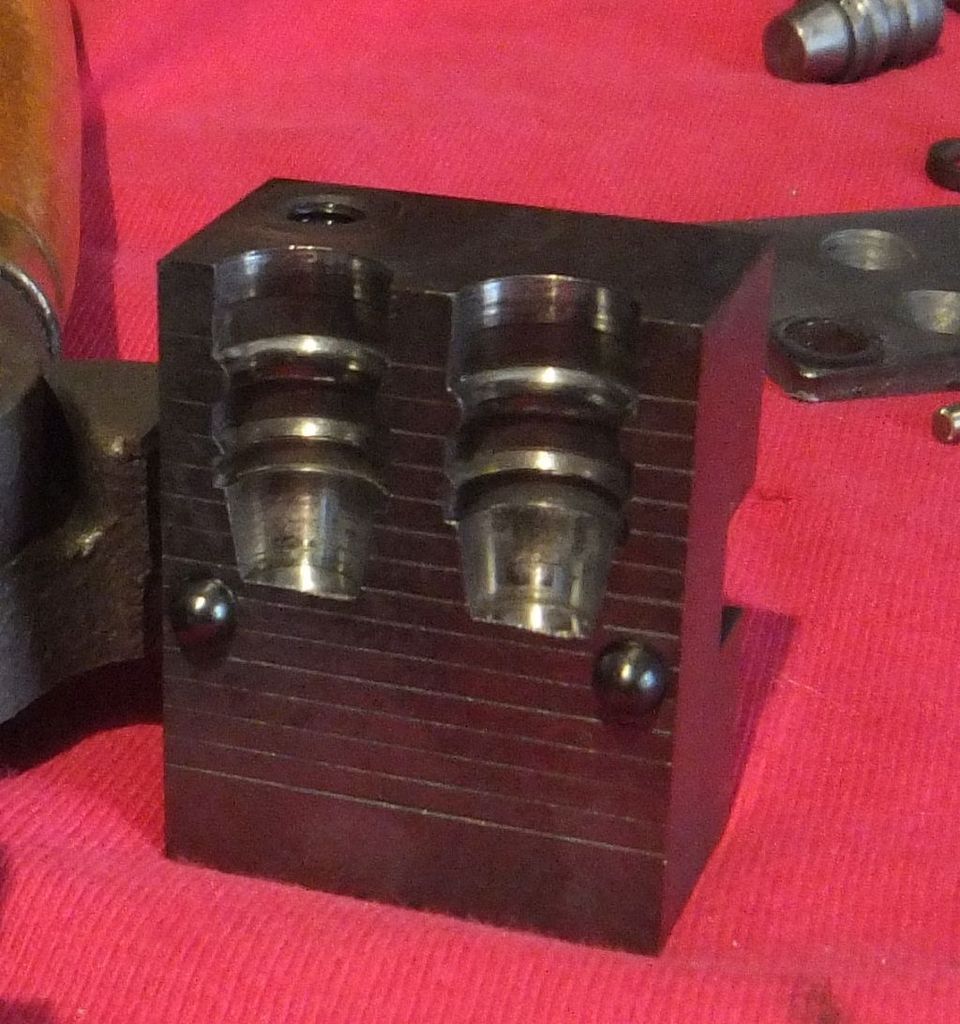
After "Right Block"
Samples cast afterward


|
   
   
|


|


 Reply With Quote


