Inline FabricationWidenersRepackboxRotoMetals2
Snyders JerkyLee PrecisionMidSouth Shooters SupplyLoad Data
Reloading Everything Titan Reloading
Results 1 to 7 of 7

Thread: Another homemade mold

  1. #1
    Boolit Buddy arclight's Avatar
    Join Date
    May 2006
    Location
    Orange County, CA
    Posts
    149

    Another homemade mold

    Gunfreak25 and I have been discussing 43 Mauser paper patch molds. I still have the custom cutter I made for mine, so I decided to try reaming out a Lee mold for him to work with. This time, I made a slightly longer bullet to get close to the original 370gr 71/84 paper patch load. It should drop at around .435, depending on alloy.

    A couple of notes:

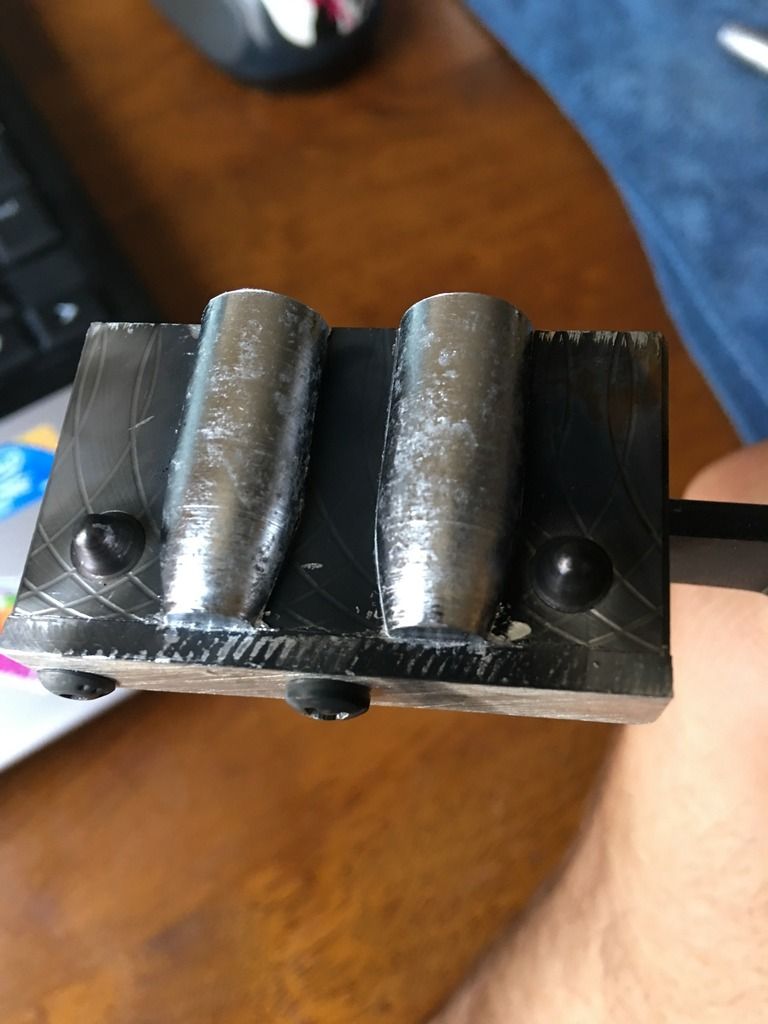
    1. Lee does not leave much extra meat on their 2-cavity Aluminum molds. I ended up machining a bolt-on bottom plate to make this 30cal mold block work.
    2. The Aluminum they use is bit gummy. It required a fair amount of deburring post-machining and may still need more.
    3. Indicating in the original parting line is critical. I used an edge finder and took my time.
    4. The Sprue plate is held on with a left-hand threaded fastener. This threw me off a bit.
    5. Good luck getting the handle bolts out. I think they're staked in. I ended up just leaving the handles on. Unfortunately, the Aluminum bulges a bit where the are screwed in, so I had to use a special setup to have a square surface to indicate on.

    Check out the attached pics:

    Mold block and tools indicated in for the first cut:
    Click image for larger version. 

Name:	mold_al1.jpg 
Views:	109 
Size:	46.6 KB 
ID:	198230

    Doing the reaming:
    Click image for larger version. 

Name:	mold_al2.jpg 
Views:	110 
Size:	59.7 KB 
ID:	198231

    Finished article:
    Click image for larger version. 

Name:	mold_al3.jpg 
Views:	148 
Size:	39.9 KB 
ID:	198232

    Closeup of the bottom plate arragement:
    Click image for larger version. 

Name:	mold_al4.jpg 
Views:	128 
Size:	42.6 KB 
ID:	198233

    Arclight

  2. #2
    Boolit Buddy MaLar's Avatar
    Join Date
    Oct 2013
    Location
    Free state of Idaho
    Posts
    462
    Where are the boolits?
    Those who choose violence as a first option are typically confronted by somebody else using violence as a last resort.

    Live a good, honorable life. Then when you get older and think back, you’ll enjoy it a second time.

    Do not confuse my being polite for weakness.
    Using MX Linux 21


    From the free state of Idaho

  3. #3
    Super Moderator


    Buckshot's Avatar
    Join Date
    Mar 2005
    Location
    So. California
    Posts
    11,833
    ..............Very nice work. Possibly if you were not using a lube, this might make the aluminum appear to be 'Gummy'? After all Lee does lathe bore the mould cavities. Possibly single edge tooling, but it's still cutting aluminum. I use WD40 or paint thinner, Tiki Torch fuel or Kerosene. The Lee handles are not retained by screws, staked in or otherwise. They're 'Drive Rivets'. While having a head with a square, or hex type drive (I don't recall) their thread pitch is very shallow at possibly 3 TPI or a bit faster. When pressed in and rotated they're easy to set. But to remove one is a real cast iron puppy mother.

    I prefer to make my own blocks and use 3/4 x 1.5" extruded 6061-T6 Aluminum bar. I used to buy it at ENCO, but it's now merged with it's former owner MSC.


    Blocks are cut off in a band saw, set up in the mill and both ends milled flat, brought to the desired length, and the handle grooves milled. After that the alignment pin and receiver holes are drilled, with the steel bushings driven in.


    After that the majority of the remaining metal that doesn't look like the projectile I want is eliminated. After that OP, at this point a 'Half drill' or 'D' reamer had been made up and is now in a boring head, boring each cavity. The slug design is very simple and designed for a 20 ga shotgun. My milling machine has a DRO on the X, Y, & Z axis so these ops are repeatable to 2 tenths.


    The 'D' reamer. On the right is the finished blocks. Visible are the alignment pins and the steel inserts on the female side.


    A closer view of the cavities. The finished mould with it's handle screws, SP, and SP hinge bolt. Yes, the 7th sp hole was eventually chamfered in place. Why it wasn't then, escapes me now these many years past!

    .............Buckshot
    Father Grand Caster watches over you my brother. Go now and pour yourself a hot one. May the Sacred Silver Stream be with you always

    Proud former Shooters.Com Cast Bullet alumnus and plank owner.

    "The Republic can survive a Barack Obama, who is, after all, merely a fool. It is less likely to survive a multitude of fools such as those who made him their president."

    Shrink the State End the Fed Balance the budget Make a profit Leave an inheritance

  4. #4
    Boolit Buddy Gunfreak25's Avatar
    Join Date
    Nov 2008
    Location
    Arizona
    Posts
    265
    I can't wait to try the mold, I really think a proper patched bullet will wake this 71/84 up. I want to mention that Arclight did not charge me for labor, only what he was out for postage. I just had the mold mailed directly to him from Ebay.

    Your a good soul Arclight, pics will ensue
    "The tree of liberty must be refreshed from time to time, with the blood of patriots and tyrants. It is its natural manure." -Thomas Jefferson

  5. #5
    Boolit Buddy arclight's Avatar
    Join Date
    May 2006
    Location
    Orange County, CA
    Posts
    149
    Buckshot, that's some nice work. Do you run a fly cutter or surface grinder over the mold parting surfaces before cutting the cavities? Have you found a need for vent lines?

    Arclight

  6. #6
    Boolit Buddy Gunfreak25's Avatar
    Join Date
    Nov 2008
    Location
    Arizona
    Posts
    265
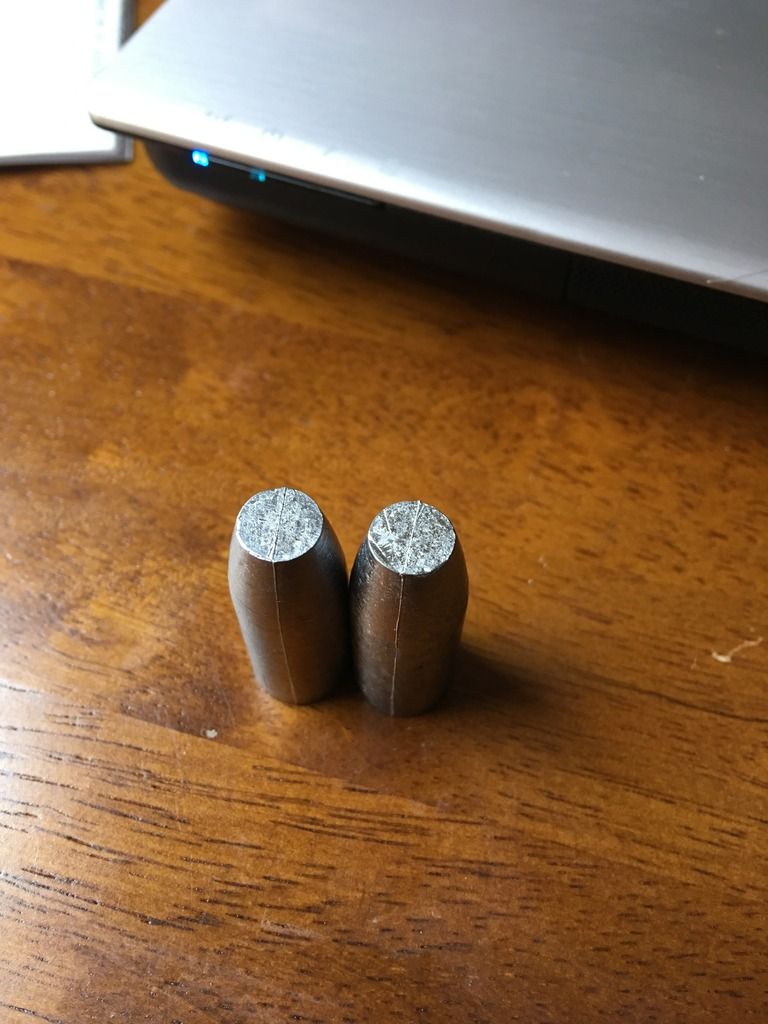
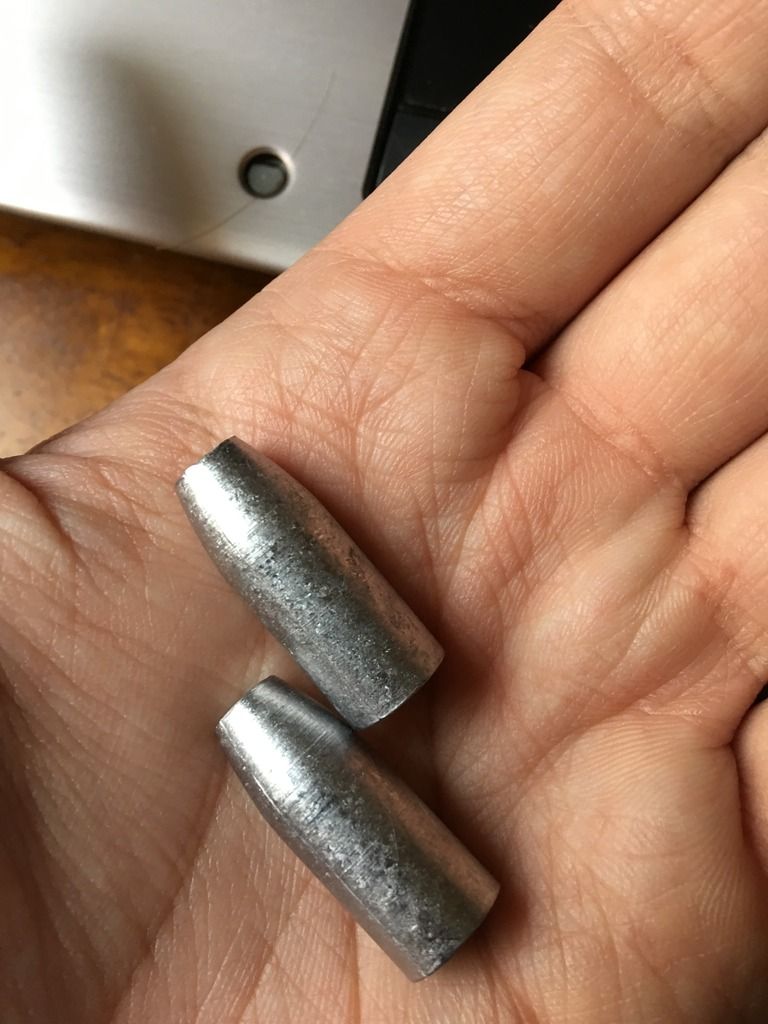
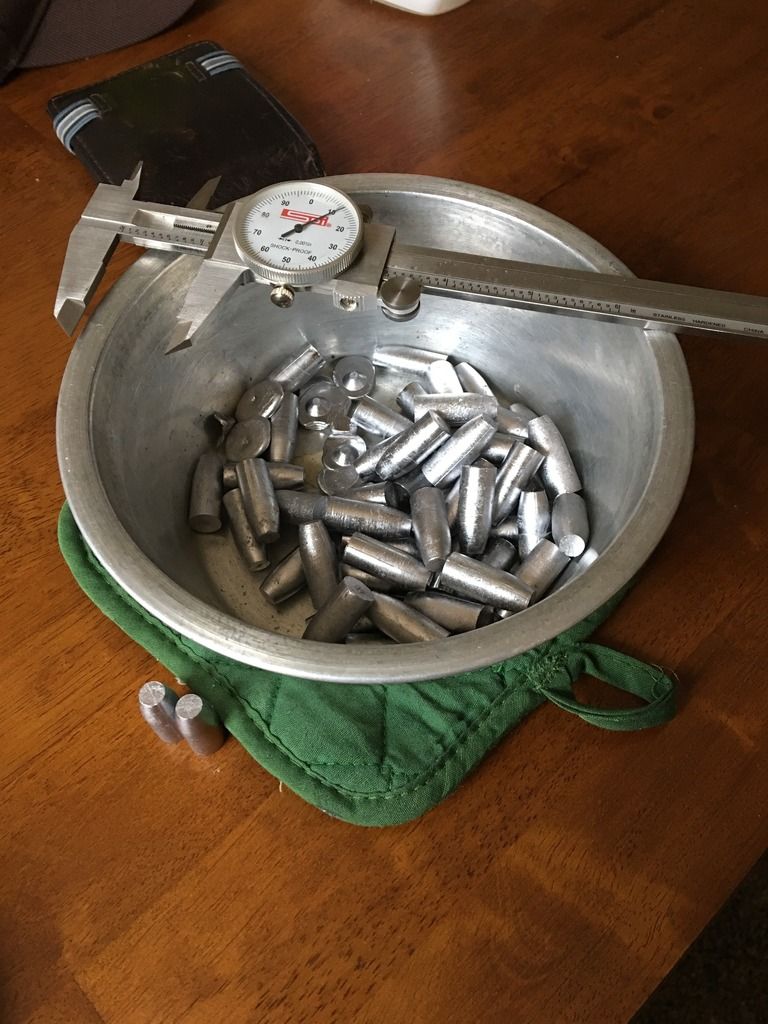
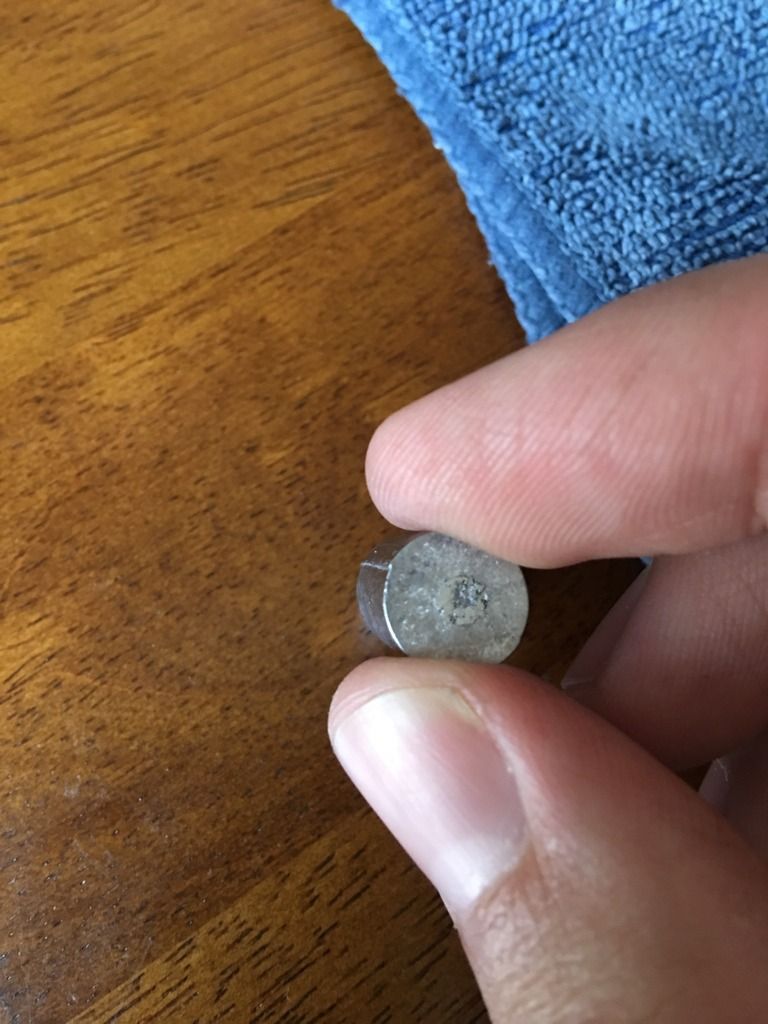
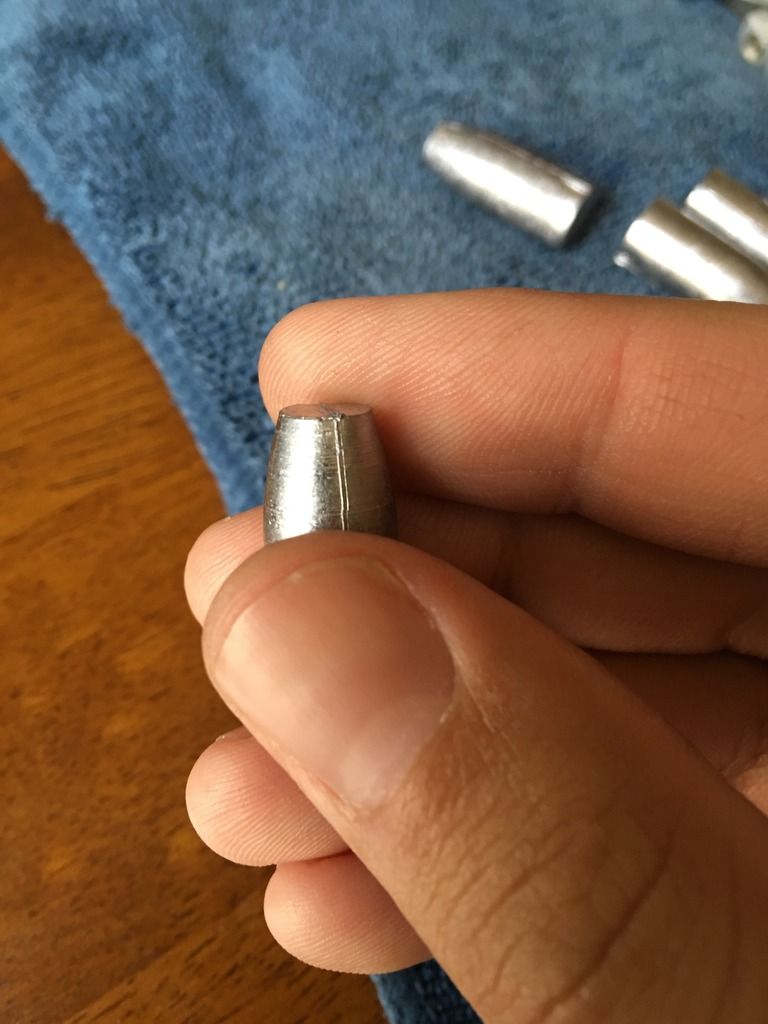
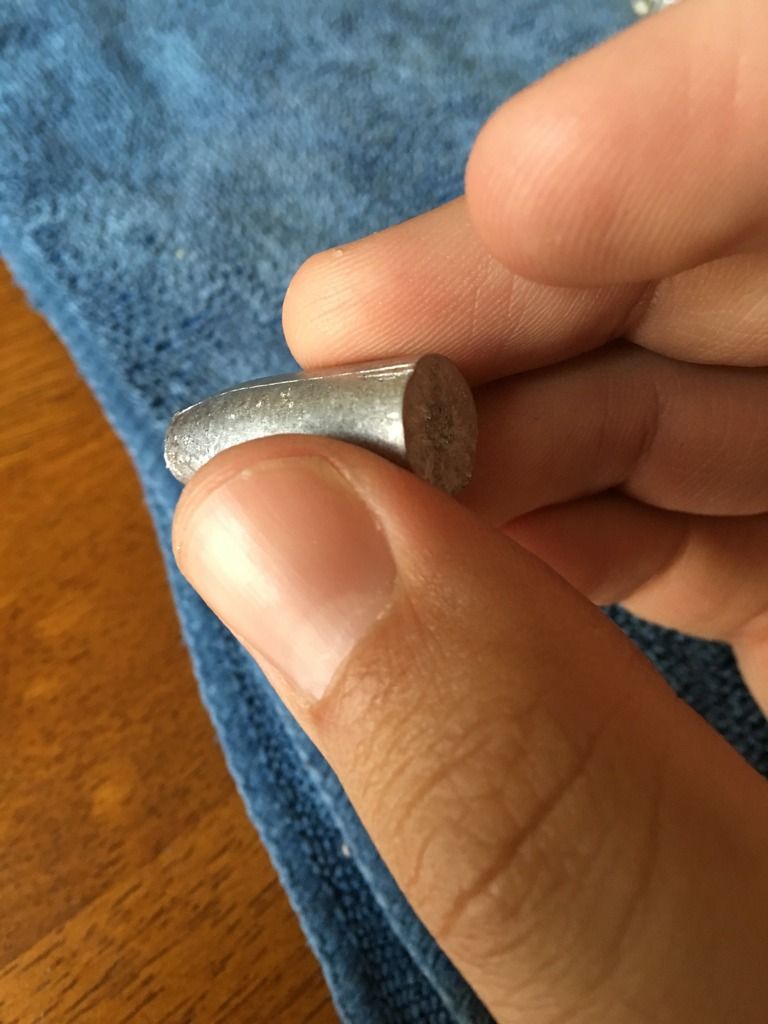
    The mould did indeed require deburring. The first quick cast session yielded heavily out of round boolits and flashing. I worked it over with a razor and 1000 grit. It cast much nicer today. 405 to 409 grains and a diameter of .433 to .436 close to the mould lines. I think I will lap it to finish it off and call it perfect. These boolits are going to be patched to .446 for my 71/84. They will be the closest modern reproduction of the original cartridge you can find today. A little heavier than original but no worries there.


    Here was a few before any deburring was done.


    "The tree of liberty must be refreshed from time to time, with the blood of patriots and tyrants. It is its natural manure." -Thomas Jefferson

  7. #7
    Super Moderator


    Buckshot's Avatar
    Join Date
    Mar 2005
    Location
    So. California
    Posts
    11,833
    Quote Originally Posted by arclight View Post
    Buckshot, that's some nice work. Do you run a fly cutter or surface grinder over the mold parting surfaces before cutting the cavities? Have you found a need for vent lines?

    Arclight
    ............For those simple short 'n' fat slugs venting wasn't a problem at all.


    I did for this 12 ga slug mould since it was a HB with fairly 'thinnish' skirts. Just used a fly cutter.

    .............Buckshot
    Father Grand Caster watches over you my brother. Go now and pour yourself a hot one. May the Sacred Silver Stream be with you always

    Proud former Shooters.Com Cast Bullet alumnus and plank owner.

    "The Republic can survive a Barack Obama, who is, after all, merely a fool. It is less likely to survive a multitude of fools such as those who made him their president."

    Shrink the State End the Fed Balance the budget Make a profit Leave an inheritance

Posting Permissions

  • You may not post new threads
  • You may not post replies
  • You may not post attachments
  • You may not edit your posts
  •  
Abbreviations used in Reloading

BP Bronze Point IMR Improved Military Rifle PTD Pointed
BR Bench Rest M Magnum RN Round Nose
BT Boat Tail PL Power-Lokt SP Soft Point
C Compressed Charge PR Primer SPCL Soft Point "Core-Lokt"
HP Hollow Point PSPCL Pointed Soft Point "Core Lokt" C.O.L. Cartridge Overall Length
PSP Pointed Soft Point Spz Spitzer Point SBT Spitzer Boat Tail
LRN Lead Round Nose LWC Lead Wad Cutter LSWC Lead Semi Wad Cutter
GC Gas Check