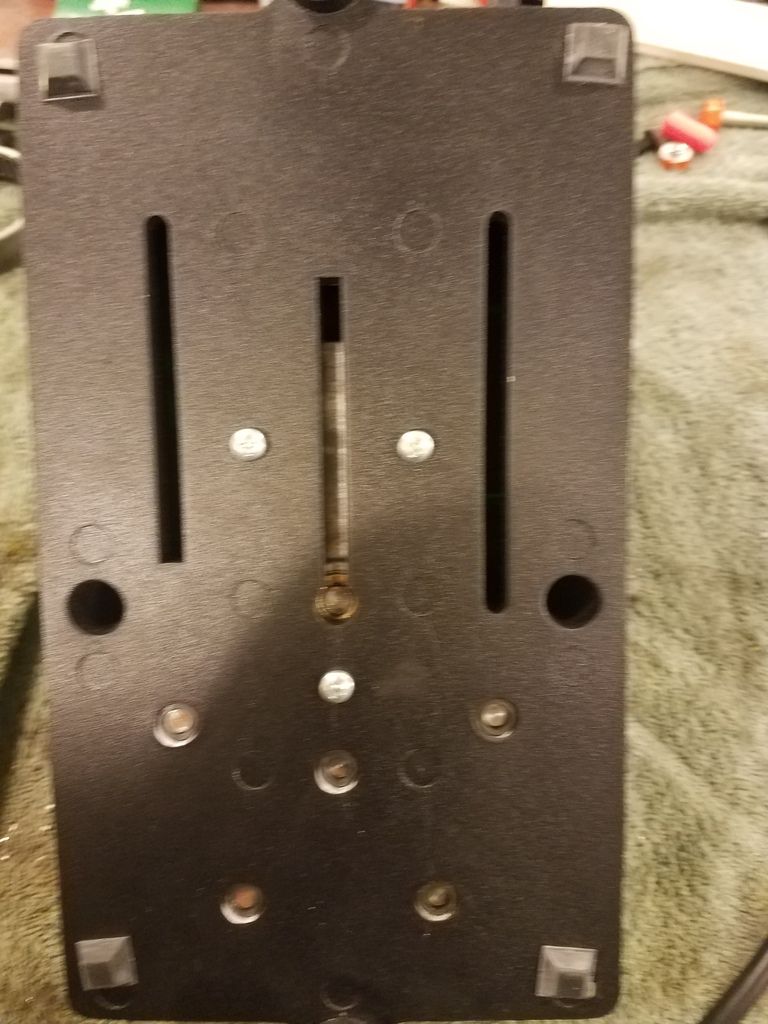
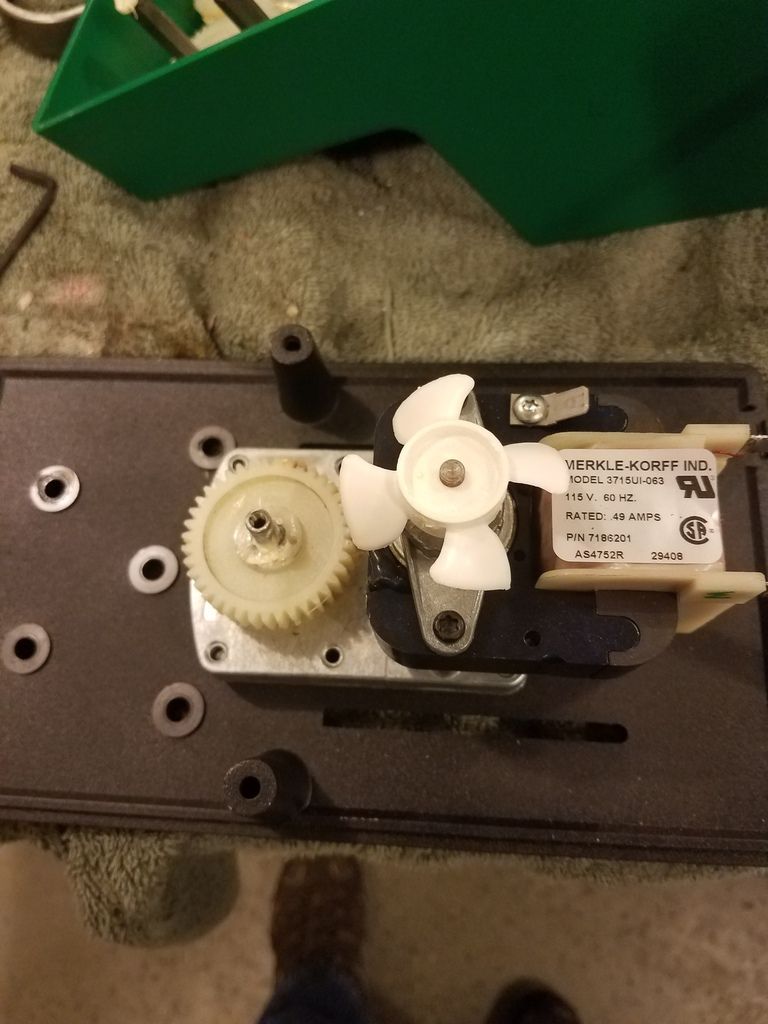
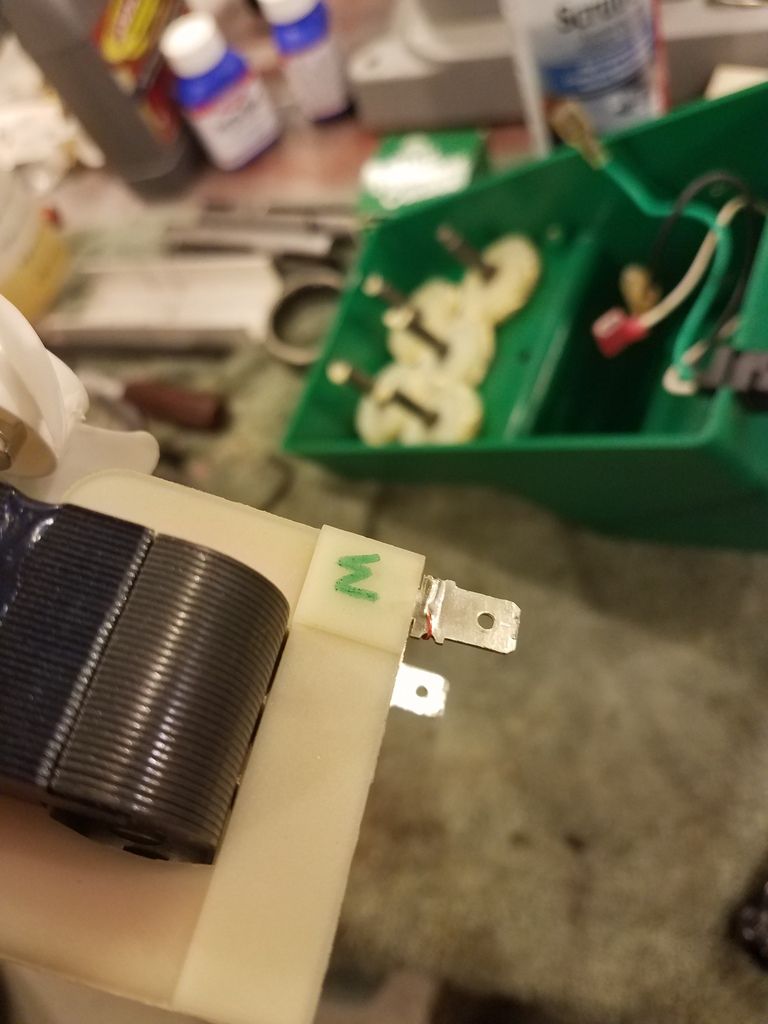
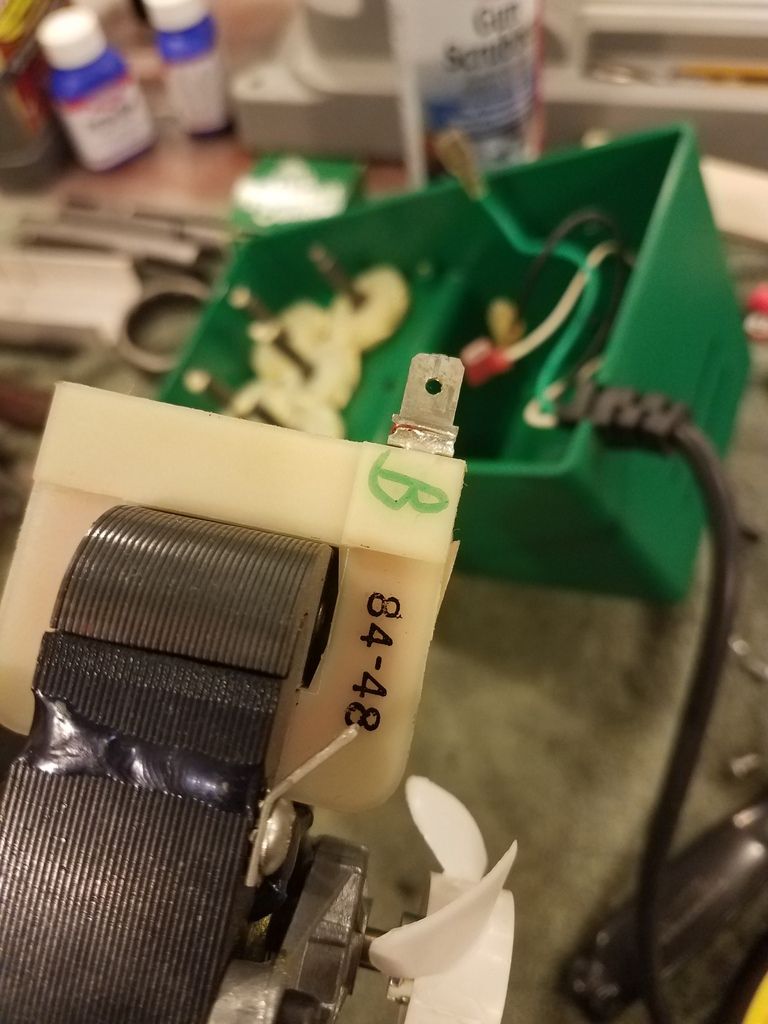
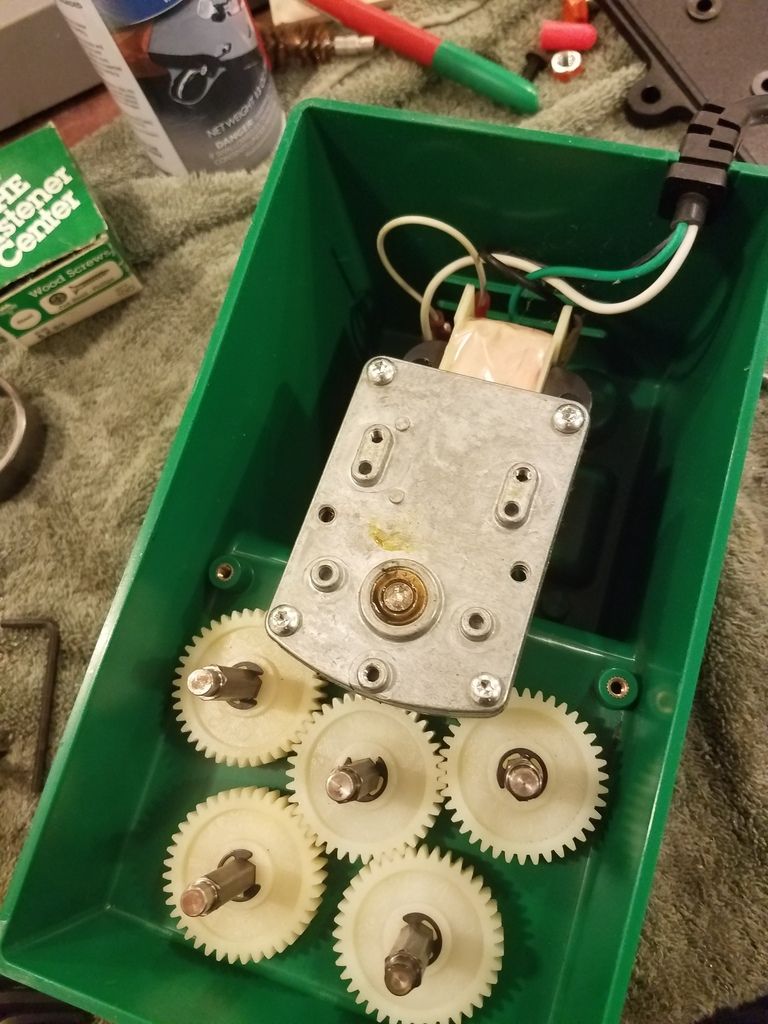
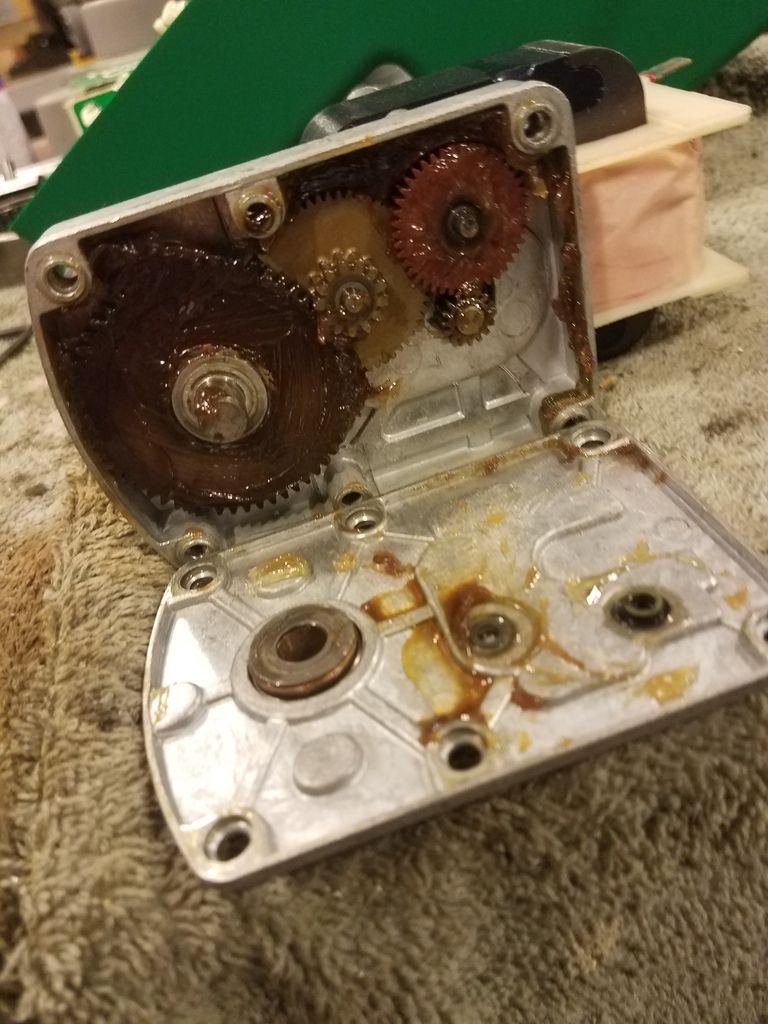
My very old Trim Mate case prep center has gotten very noisy. It works fine. I just think its time for some new lube.
Has anyone taken theirs apart? I you-tubed it but nothing came up. It says its not serviceable in the owners manual but I'm a mechanic, I doubt that will stop me. But my concerns are, what kind of can of worms am I opening up.

|
   
   
|


|

 Reply With Quote