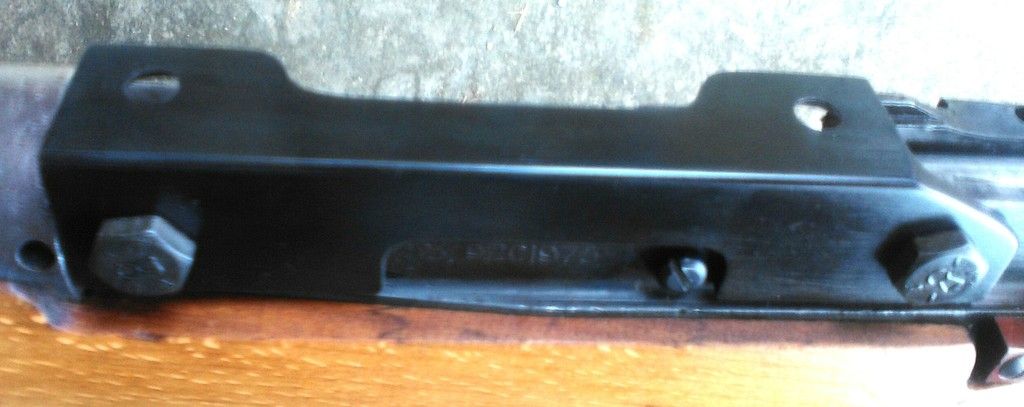
BIS - You make some good points. I used countersunk screws to hold the rings but it would be better to use them for the side too. However, I do have the front of the mount bearing on the receiver to help keep it in place during recoil. I'll watch it as I develop loads.
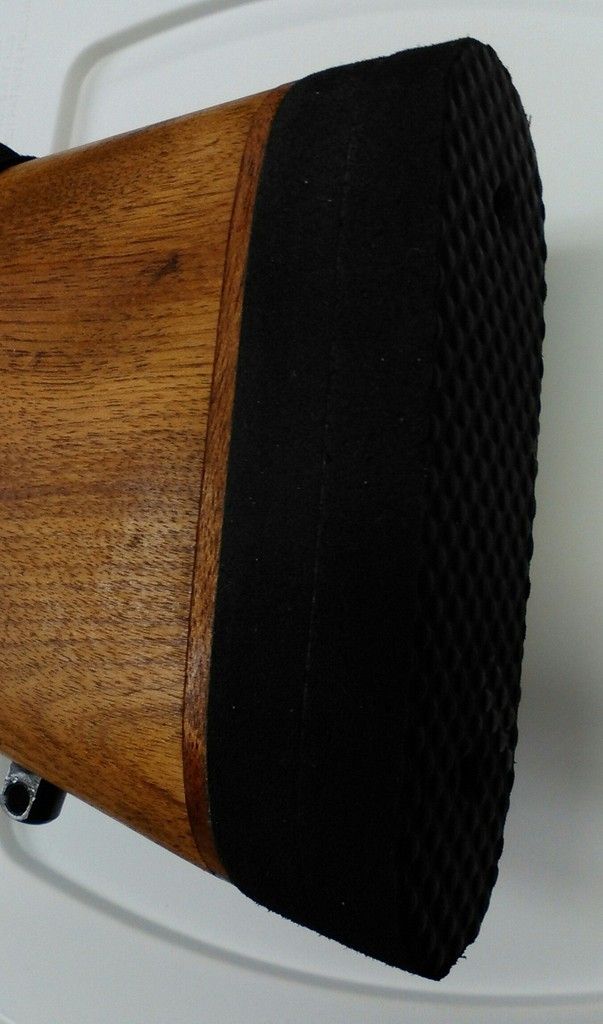
RustyReel - To make the recoil pad:
Cut off about an inch of the stock.
Screw a thin piece of wood to the buttstock. I used the two hole locations that held the original aluminum butt plate.
Sand wood to match buttstock.
Remove thin piece of wood and glue two pieces of flip-flop to it. I used superglue. I sanded the texture off the flip-flop before gluing to each other and the wood plate. Trim flip-flop to match wood plate. I used a serrated bread knife.
Use a .22 shell to cut a plug out of the flip-flops at the screw locations.
Attach to buttstock.
Use a palm sander to sand to match butt stock.
Apply Tru-oil to buttstock.
Thanks again for the compliments, guys.


 Reply With Quote


