Thank you much, but I think I have a plan in motion now. Very kind offer!Originally Posted by CLAYPOOL


|
   
   
|


|


Thank you much, but I think I have a plan in motion now. Very kind offer!
Precision in the wrong place is only a placebo.
Well, I made a crimper of sorts. finished crimps look like hammered horse hockey, but they are fold crimped.
Attachment 156161
BTW, My buddy JT videoed me shooting shot #2 from test load #6 back in post #62 of this thread and I managed to get it uploaded. I was surprised at the apparent recoil obvious in the video:
http://vid1382.photobucket.com/album...ps7nomyvzi.mp4
I forgot to bring my load book with me so I recorded every shot with the note function in my Iphone, and that's what I am retrieving from my right shirt pocket in the video.
I didn't know I could upload videos............this is going to be interesting!
Last edited by MBTcustom; 12-21-2015 at 09:33 PM.
Precision in the wrong place is only a placebo.

I think to get consistent wad pressure/opening resistance you will have to work on that a bit. You need that tight fold at the outside to set the fold down about 1/32" or so and make the powder work a bit to open it.
The wad column needs to be a bit shorter and/or a plug is needed to push that fold down and roll the outside edge a bit. My old Lee Loader 12 ga. did okay if things were right so you could make something that would finish that up I am sure.
And, not trying to be critical, you are doing well Tim. Keep it up!
You must be using up lead at a rapid rate. I am surprised the price of lead is so low with you shooting so many 10 ga. balls! Surely stockpiles muct be dwindling.
Longbow
I have an adjustable plug punch for the center of the hull. It could be that the ball is still too high, but I've already got it sitting 1/2" below the mouth of the hull.
I'll experiment more as time permits.
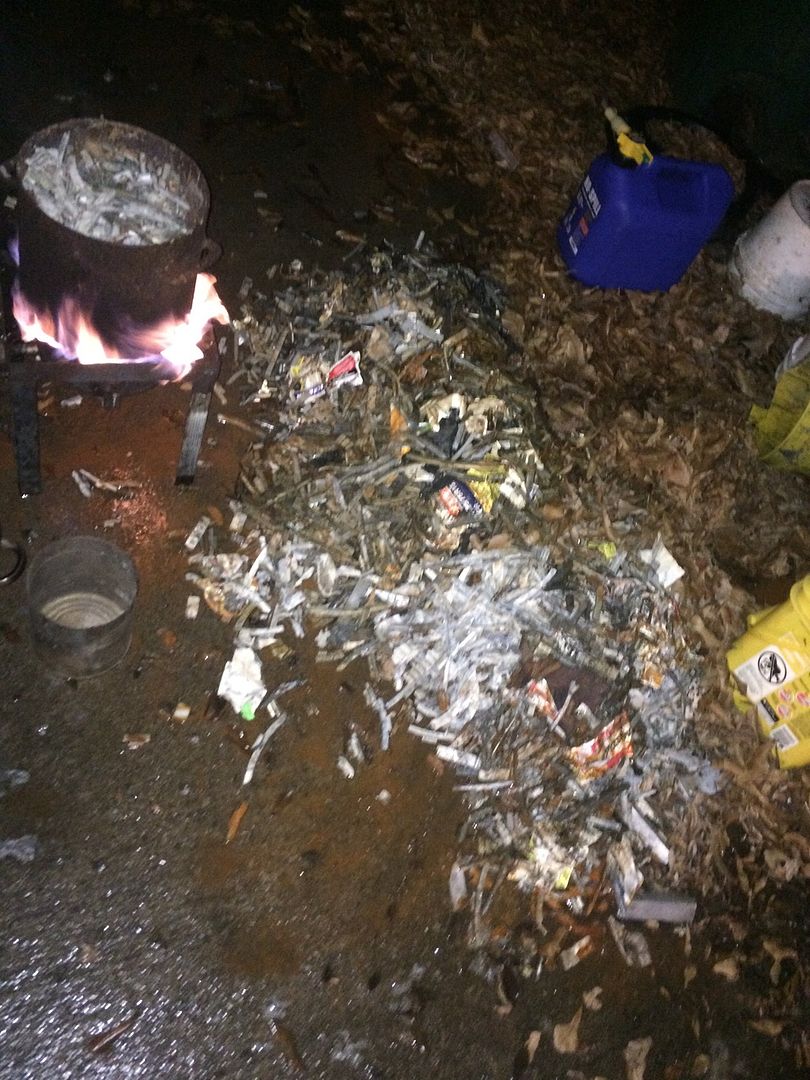
Lead usage. Yeeees. It has taken a bit of a toll. I started smelting down a few more COWW to replenish my stash.
Unfortunately, it started to rain so I shut it down till after Christmas.
Precision in the wrong place is only a placebo.
I just tried a few more shells with the fold crimp. It's a big fat bust.
I tried seating the ball deeper and the shell and the crimp collapsed. Then I tried buffering the ball above as well as below and it still didn't get that gorgeous crimp. I tried adjusting the depth of the punch too. I pressed hard enough to buckle the hull just above the brass.
I'm almost out of fresh hulls at this point, so I'm going back to the roll crimp.
Precision in the wrong place is only a placebo.


Several years back, I played with making a copy of the 410 Lee Loader. I came up with a couple of variations that worked pretty good. Loading a hull that was already fold crimped was fairly easy to get the crimp back. The biggest part was getting the shot/wad column the right length to be just short enough so that the folded crimp would be pushed in just a little bit. The sizer die body was long enough to support the entire length of the hull with a radiused edge at the top. The radiused part at the top would start to refold the star crimp, then it had a plunger that would push the folded petals down into place. Finish up with holding the sizer body all the way down and run the plunger down a couple of times leaning on it until the crimp was pressed into place. I never tried making a larger one, so I've no idea if a 10 ga one would work well or not.
Here's a Utube video of a 12ga one, you can skip ahead to min 16 to get to the crimp part.
https://www.youtube.com/watch?v=8uJfG81hQDA
Last edited by lar45; 12-22-2015 at 09:08 AM.
I'll bring this one out and show you next time we get together and see what you think of it. I tried to copy what I saw in my MEC casting, and I thought I did well, but maybe not.
Thanks again for the shotgun Glenn. As you can see I am making good use of it.
Precision in the wrong place is only a placebo.
Yes, bring it over with some of those huge 10 ga balls to shoot.
I'm glad that you got her cleaned up and running
I think that we should convert my other one to 600NE

As I understand, to get a good star-crimp the mouth of the hull needs to be skived down to about half thickness for the last 1/4" or so. I'll bet your Cheddite hulls are straight-walls, especially for roll crimp.so I'm going back to the roll crimp.
Cap'n Morgan

I believe the final crimp station holds onto the shell enough to prevent buckling, it is similar to a barrel chamber.
I looked at my loaders and the final crimp station does in fact have shell holder for extraction.
Likely that the final station die holds a slight taper to final size the hull mouth, as well as to prevent collapse.
capn morgan,
ive used brand new hulls in my 10 ga MEC steel master and the crimps are just fine. I even use federal slug fired hulls and they crimp fine too
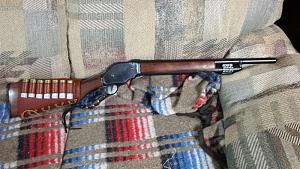
Now that I have a load worked up, I'll be doing some accuracy testing soon.
I made a small modification to the shotgun:
Attachment 156320
Precision in the wrong place is only a placebo.
Excellent, looks great.
I blew the bead off the front of the 1887 12ga, so I'm looking for some new sight options, maybe a ghost ring with a big bead or tall post up front?
Well, I took the ten gauge out today with the scope installed to see what might happen on paper. I am gaining more and more respect for this firearm as I go along. All I can say is that I successfully got the scope lined up (eventually), and past that, it was getting harder and harder to squeeze off an accurate shot devoid of any sort of flinch.
One of the things I noticed when I was bore sighting the scope, was that the barrels didn't seem to have any regulation to cross at 50 yards, and this was born out on paper as the right barrel would shoot to the right, and the left barrel would shoot to the left. Each of them was about 2.5"-3" off the point of aim in their respected directions. This made me waste quite a few shots chasing my tail around the target till I found out what was going on. Once I got it figured out, I set the zero point and tried to tuck in and ride the gun a few more times in spite of the physical assault I was experiencing in my upper torso.
Once I had it, I intentionally held off for each barrel, and put two shots very close to center on the target.
Here's the target, but bear in mind, I was trying to get the scope set and was cranking all over the place trying to find zero. Pay attention to the two vertical strings of shots to the left and right of center. That's when I realized what was going on, and from there, I adjusted elevation and my final two shots are the ones closest to center.
Attachment 156359
Here's a video of JT letting fly with a couple shots:
http://vid1382.photobucket.com/album...psrkzz70dt.mp4
After enjoying this target practice, we shot at clays for a while. I had brought a box of those old 2oz #2 shot loads and the effect those have on a clay bird looks like a black mushroom cloud in the sky. Simply amazing!
Attachment 156360
All in all, it was a wonderful day! However, next time I go out to shoot at targets, I'm bringing less than 10 shots with me. I think the trick with this gun is to get in, get it done, and get out before the flinch sets in.
Precision in the wrong place is only a placebo.

Get a PAST recoil shield. No sense in taking a beating. I won't make fun of you if you use one.
Funny you should mention the PAST. I bought one years ago in case I might need it, and I actually took it with me yesterday and tried it for the first time. However, the fact that it added 3/4" to the LOP, and also the fact that it just didn't pocket in my shoulder right made it effect accuracy pretty badly. I threw it down and continued shooting the gun as it was supposed to be used.
Like I said, I think I can make ten good shots before I start getting punchy, and that's all that is really required to see what the accuracy potential of a certain load is. I'll just work within those parameters from now on.
Precision in the wrong place is only a placebo.


Sounds like a wise idea. No sense intentionally developing a flinch.All in all, it was a wonderful day! However, next time I go out to shoot at targets, I'm bringing less than 10 shots with me. I think the trick with this gun is to get in, get it done, and get out before the flinch sets in.
One trick I have used in the past when dealing with rifles that are at or above my recoil comfort level was to warm up with the smaller guns, then do what was necessary. If I still felt like shooting after the big boomer, I had the option of still shooting more of the smaller guns.
Your target doesn't look too bad for a gun that wasn't regulated for ball ammo. Assuming (there is that word again) the balls' POI would be in the center of a shot pattern, the slight difference between left and right barrel patterns would not be noticed.
Robert
I agree. I think the trick now is going to be just learning how to shoot it. Now that I have established a zero, next time I go out, I'll be getting a much better feel for what's really going on.
Precision in the wrong place is only a placebo.
Goodsteel I agree 100 % with the PAST being thick. I was going to mention it, but forgot. Main reason I DON"T use mine!!! In the excitement of a big giant charging whitetail deer you won't even feel the recoil LOL


Aww Tim, just shoot a 50bmg for about 40 shots then when you go to the 10ga it will seem like a kitten
 Posting Permissions


| BP | Bronze Point | IMR | Improved Military Rifle | PTD | Pointed |
| BR | Bench Rest | M | Magnum | RN | Round Nose |
| BT | Boat Tail | PL | Power-Lokt | SP | Soft Point |
| C | Compressed Charge | PR | Primer | SPCL | Soft Point "Core-Lokt" |
| HP | Hollow Point | PSPCL | Pointed Soft Point "Core Lokt" | C.O.L. | Cartridge Overall Length |
| PSP | Pointed Soft Point | Spz | Spitzer Point | SBT | Spitzer Boat Tail |
| LRN | Lead Round Nose | LWC | Lead Wad Cutter | LSWC | Lead Semi Wad Cutter |
| GC | Gas Check |

 Reply With Quote