Of you guy that have tried several methods how many just drop the bullets, i.e. dont set them on end to heat? I know a couple guys that just pour them out...as long as they are not touching, they claim they are fine.

|
   
   
|


|


Of you guy that have tried several methods how many just drop the bullets, i.e. dont set them on end to heat? I know a couple guys that just pour them out...as long as they are not touching, they claim they are fine.
Yes, with the caveat that you need to give them a quick shake as soon as you take them out of the oven...it's almost impossible to pour them out and not have any touching. I size all my boolits after baking to keep them uniform, and that helps to smooth out any big divots on the driving bands from where the boolits lie down or touch each other; as long as you're not looking for tack-driver accuracy any defects on the nose or ogive won't hurt.
Times when I dump are few and far between, usually I've got time to kill while one batch is baking to stand the next batch up, but dumping and baking works fine as long as you don't need a perfect finish.
"Silence is golden. Duct tape is silver. "


I agree, you are going to have rolling/touching problems transferring your sheets to the oven, won't get as many bullets on a sheet and lose the aesthetics of a smooth finish. I am always looking for a way to better my production and still maintain quality, but I haven't found a better way for me than standing the bullets on the base.Originally Posted by coffeeguy


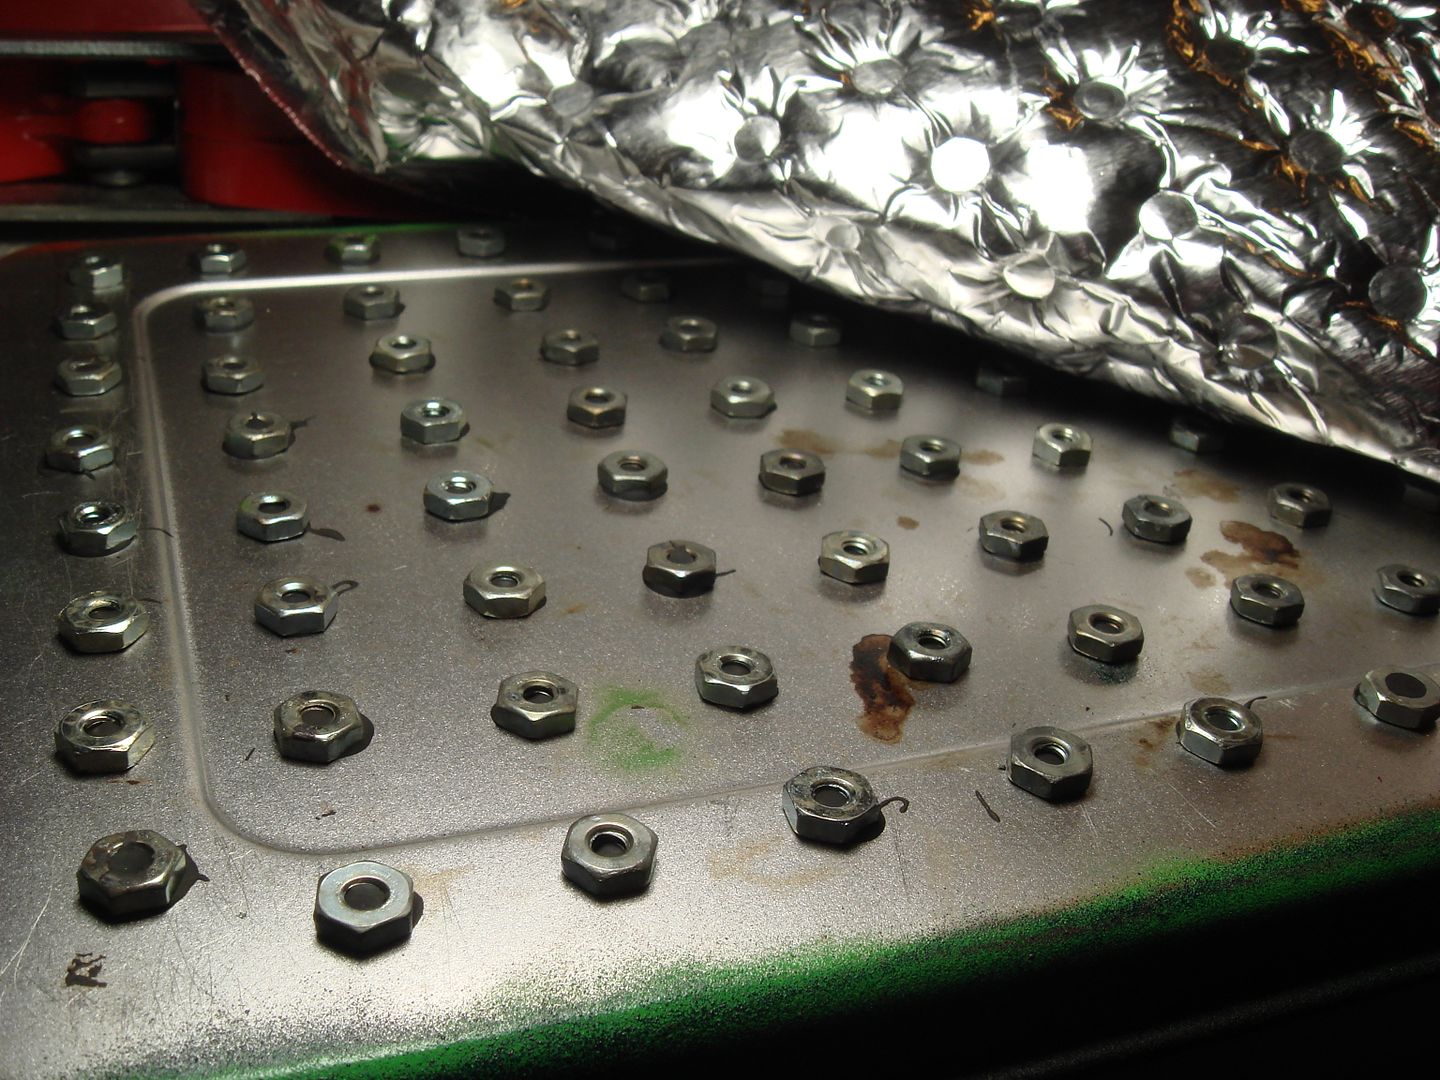
After having seen Retread's method above, I had to try something similar. I used self-tapping sheet metal screws in a half of a cookie sheet (cut it in half). It turns out that if I bend in the rolled edges just a bit, the tray will fit the slots a rack would normally occupy in my toaster oven:
There's a bit of fudging and racking and other expressions of disdain directed at the sheet to get it to lie flat, but it mostly does.
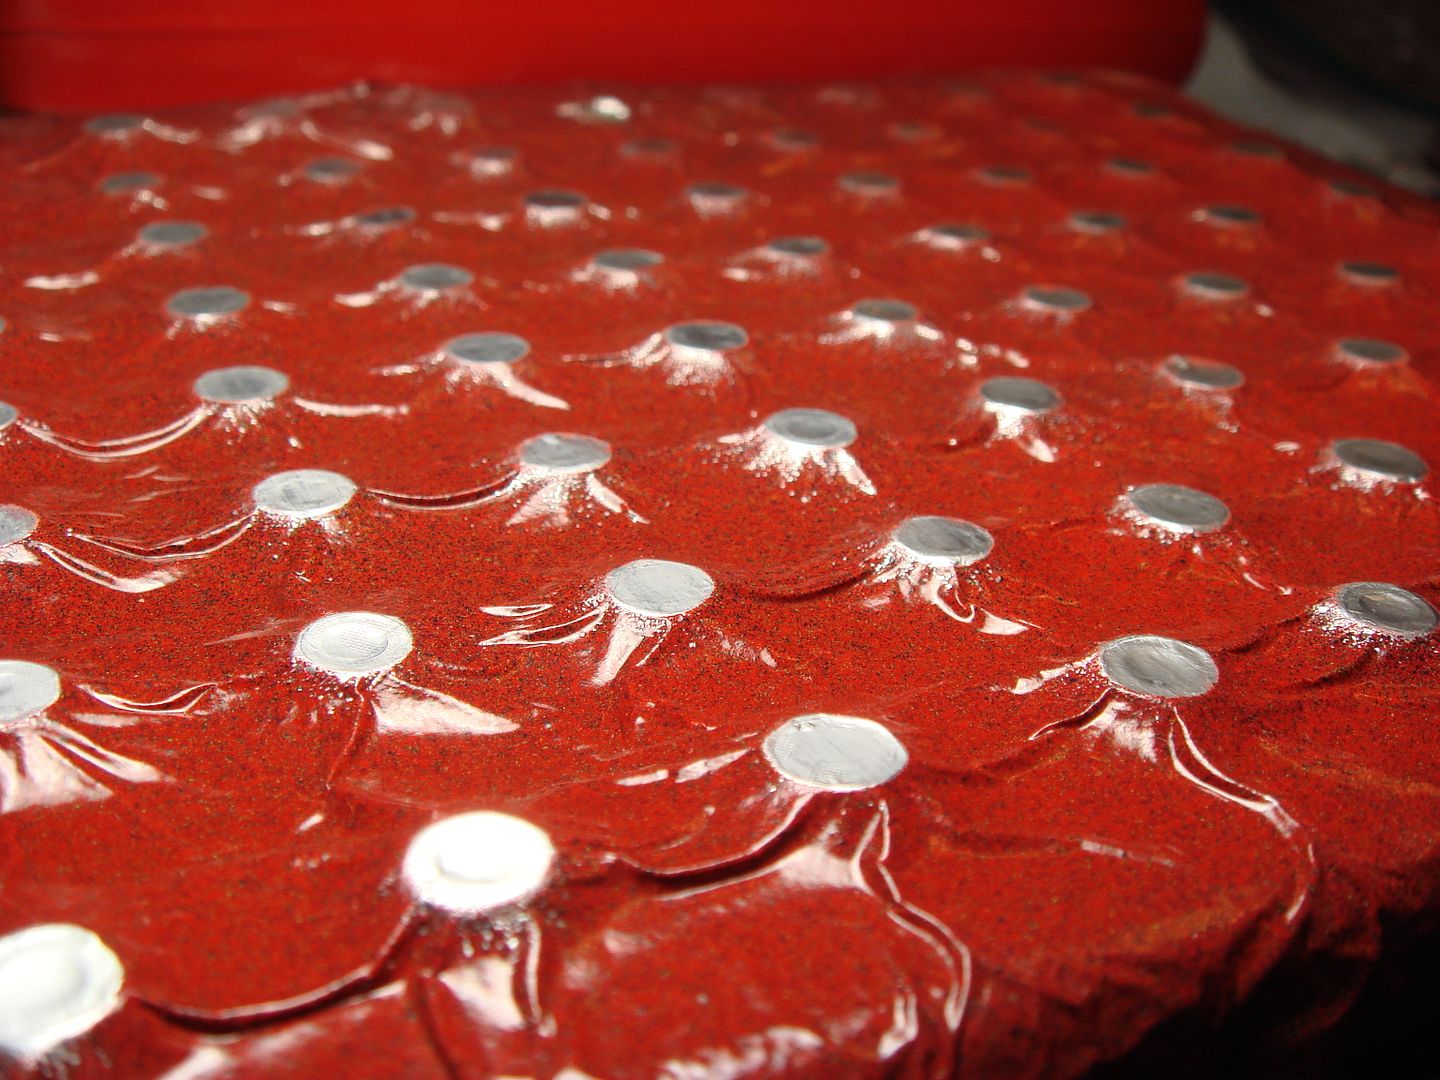
This is the spray setup. I use the nonstick aluminum foil and press down over the screw tops. If I didn't use that, it wouldn't take long to have a big layer of powder, cured, and the boolits would be sitting on that powder, and probably not making electrostatic connection.
I have the cardboard mask over the tray because overspray will land on the edges of the tray, and that powder will be transferred to the inside of the oven, which I do not want:
Here's the tray loaded w/ boolits after 20 minutes in the toaster oven:
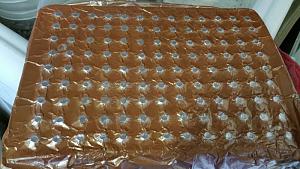
Here's what it looks like after; it's doing what I mostly want it to do which is PC the boolits without the tags. A couple tend to slide around but mostly the tray works. I want a second one ready to go so I can load and coat one while the other is in the oven. I have the other half of the cookie sheet; it's next on the list, though a buddy has a larger toaster oven I might be able to score cheap, and if so, then another setup may work better.


Pretty cool. It looks like the end result of my tray with the 6-32 nuts, but your screws are probably much easier to install on the grid!(The nuts are JB-Welded in place)
KE4GWE - - - - - - Colt 1860, it just feels right.
Beagle, that was the one I originally saw, and I was all ready to do the same thing but one thing gave me pause: JBWeld is supposed to have a max temp of 300 degrees. I stood in Menards and looked at all the epoxies, hoping for a high-temp one that would not break loose at higher temps and couldn't find one.
Are you using a special hi-temp version?
I used to make custom golf clubs. Golf shafts are affixed to the head by epoxy, and the way you break the heads loose when you need to change shafts or make a repair is to heat the epoxy up to about 300 degrees. It turns to a sort of dry paste and is easy to break free.
I like the way it works for you--there is more of a pedestal effect with yours than with mine. Perhaps if the head of the screw was thicker/higher it would look like yours.
Mostly it worked, but I still like how yours looks.
JB-Weld can go to 550�. http://www.jbweld.com/collections/me...weld-twin-tube
But I have also used JB-Kwik, which goes to 300� but it doesn't have to hold anything that would test it hard, it's just a little nut sitting on a tray.
http://www.jbweld.com/collections/me...weld-twin-tube
I have also used Loctite Weld, which is about the same thing. Rated to about 300�.
When I want to move one or straighten up one that I let dry when it wasn't level, a quick twist with some pliers pops it right off. It isn't a really strong bond, but it doesn't have much of a job to do.
I do scratch a small "X" on the tray with a nail before applying, so the stuff has something to cling to on the tray. I had a couple of incidences where some them popped loose when I dropped the tray, until I started making the "X" and that seems to let them get a good grip.
A metal screw with a head the same size as a 6-32 nut would be really much better, but I haven't searched for them yet.
KE4GWE - - - - - - Colt 1860, it just feels right.
The screw heads I have are very close to the same size as the 6-32 nut.
The downside to the screws is that pressing on the cookie sheet to drill them through allows the sheet to flex, and it became less than perfectly flat and true.
The advantage to the nuts instead of the screws is that you don't distort the sheet when you put them on.
I'm thinking the next size larger screw head might work better, or if I could get a style that stood prouder from the sheet.
Here are my screws with a 10-32 nut for reference:
Last edited by mongoose33; 05-04-2015 at 01:17 AM.
Have you considered using a washer under the screw to gain more height? I would think drilling out the holes first would eliminate the distortion in the sheet.
Thought about it--not sure if I can get the right ones or not, but it only costs a little to try.
I hadn't done anything with these yet because I may get a different toaster oven, and might end up making new curing 'pans.' I may do some more PC'ing soon; won't take much to put washers under some and not others.
I think you're right about pre-drilling the holes. I'd also thought about attaching something like thin angle iron to the bottom to square everything up.
************************
A friend suggested putting down a silicon baking sheet before installing the screws. The idea was that the powder wouldn't stick to the sheet, and the screw tops would be protected by the boolit. Take off the PC'd boolits and peel off the powdercoat.
I also wonder how much of this has to do with the spacing of the screws. Mine are 3/4" on center; I'm guessing Beagle's are an inch. I wish I had something on the tray that would cause the aluminum foil to stick to the tray so it would created that pedestal effect.
My pattern is 3/4". It isn't as wide as I'd like for .45's, but I do a lot more .38 cal stuff than .45
KE4GWE - - - - - - Colt 1860, it just feels right.
I want to bump and add another discovery I made that goes hand n hand with the parchment paper.
I am spraying with the ES gun on foil. As such there's a fair amount of excess powder on the foil.
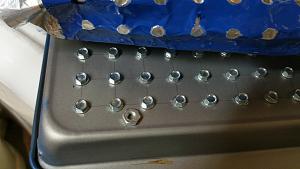
I discovered that when I pick up a bullet to move it to the parchment paper lined tray if I drag the base along the powder covered foil enough powder will stick to the bullet base to coat it too.
100% coverage with the gun is possible
This shows some bullets that I drag coated the bases and some I didn't.
 Posting Permissions


| BP | Bronze Point | IMR | Improved Military Rifle | PTD | Pointed |
| BR | Bench Rest | M | Magnum | RN | Round Nose |
| BT | Boat Tail | PL | Power-Lokt | SP | Soft Point |
| C | Compressed Charge | PR | Primer | SPCL | Soft Point "Core-Lokt" |
| HP | Hollow Point | PSPCL | Pointed Soft Point "Core Lokt" | C.O.L. | Cartridge Overall Length |
| PSP | Pointed Soft Point | Spz | Spitzer Point | SBT | Spitzer Boat Tail |
| LRN | Lead Round Nose | LWC | Lead Wad Cutter | LSWC | Lead Semi Wad Cutter |
| GC | Gas Check |

 Reply With Quote