RepackboxWidenersTitan ReloadingRotoMetals2
Lee PrecisionMidSouth Shooters SupplySnyders JerkyInline Fabrication
Reloading Everything Load Data
Page 3 of 8 FirstFirst 12345678 LastLast
Results 41 to 60 of 159

Thread: Tappers for the Master Caster

  1. #41
    ADMIN


    HATCH's Avatar
    Join Date
    Sep 2008
    Location
    Lexington, SC
    Posts
    6,711
    Just responding cause I been on a boat for the past week.

    My plan right now is a extra limit switch at the bottom of the stroke. Use a repeat relay at the bottom.
    Gonna be a busy week for projects
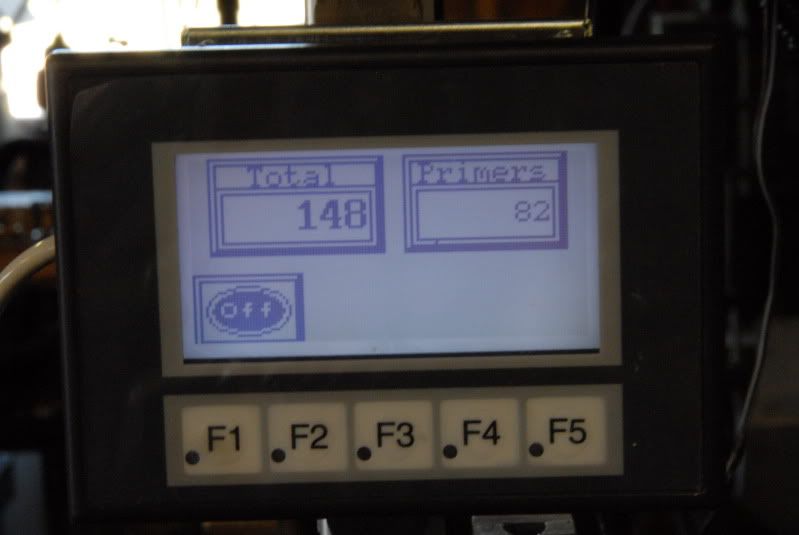
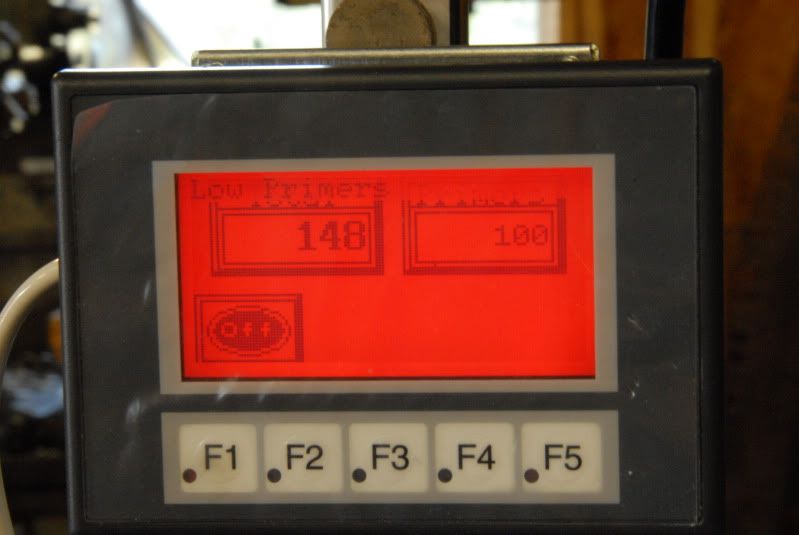
    Got the touchscreen, tappers and double acting air cylinder to deal with.
    Don't like being hammered by the Cast Boolits Staff, then don't be a nail.
    The rules are simple to follow.

  2. #42
    Boolit Master
    Join Date
    Oct 2013
    Location
    Brisbane, Australia
    Posts
    1,775
    Hope the trip was fun, good excuse to not do anything

    Looking forward to seeing how the experiment with the touch screen goes.

  3. #43
    ADMIN


    HATCH's Avatar
    Join Date
    Sep 2008
    Location
    Lexington, SC
    Posts
    6,711
    Touchscreen isn't a experiment. Its just gonna take the hr or so to program the function blocks in the ts and that's it. No PLC programming changes
    Don't like being hammered by the Cast Boolits Staff, then don't be a nail.
    The rules are simple to follow.

  4. #44
    Boolit Master
    Join Date
    Oct 2013
    Location
    Brisbane, Australia
    Posts
    1,775
    True, i'd like to see how it works, but i guess again, that is just programming to change the look and feel of the interface.

  5. #45
    Boolit Grand Master jmorris's Avatar
    Join Date
    Aug 2007
    Posts
    5,284
    Hope you had a good trip. Looking forward to see what you put together.

  6. #46
    ADMIN


    HATCH's Avatar
    Join Date
    Sep 2008
    Location
    Lexington, SC
    Posts
    6,711
    Its funny how things go. I got home last night at 11pm. Exhausted. Took a pain pill and ended up not falling asleep till almost two.
    The mind wouldn't shut up.

    In order to control lead pour with the touch screen I am going to make changes to the program.
    As it sits right now I can (theoretically speaking) be able to control all the other timers.
    Lead Pour is a output isn't timed in the PLC. Its basically a on command after the oh **** timer (a 1 sec pause before lead pour). The timing is done externally via the timing relay. The output stays on until the limit switch is released after the lead cool timer counts down and the movement timer activates

    Another issue that came up is that when move lead pour control 100% to the PLC then I lose the ability to operate it manually with auto lead drop.
    So I am going to use a input that basically allows lead to drop via PLC yet doesn't activate anything else.

    So to recap, I have to totally rewrite the program if I want to control lead pour using the touchscreen. If all I want to do is change everything but lead pour then I just need to program the touchscreen itself.

    So right now I am gonna just program the touchscreen then I will rewrite the program
    Don't like being hammered by the Cast Boolits Staff, then don't be a nail.
    The rules are simple to follow.

  7. #47
    Boolit Master
    Join Date
    Oct 2013
    Location
    Brisbane, Australia
    Posts
    1,775
    I have too many nights like that. ..... you go to bed and the brain will not stop. I think about projects im working on and how I should do it. Far too many hours of sleep are missed because of this.

    Is it a big deal to have the plc running the lead pour? When setup there really is no reason why it needs the external timer.

    Good idea getting it going and alter the code later if you wish to control the lead with the touch screen

  8. #48
    ADMIN


    HATCH's Avatar
    Join Date
    Sep 2008
    Location
    Lexington, SC
    Posts
    6,711
    The touch screen is a $250 option.
    Anyone that spends that kind of money will want total control.
    I picked up the screen for $150. Cost me another $50 for the stupid programming cable.

    What I ultimately want is a setup that I can control 100% with the touchscreen and repeat the setup easily.
    I want to be able to easily setup 125gr 38s by just punching in 3 sets of numbers.
    Lead pour amount
    Lead Cool timer
    Mold cool timer

    Those are the only items that really I need to change regardless of boolit being cast.
    If you use a known alloy cast at a known temp then those #s will be the same every time you cast that size boolit.
    For the most part the ambient temp is close enough that it doesn't come into play.

    I am sure that I am not the only one that wants this type of setup.

    I am guessing that it will take me about two hours or so to redo the program

    Touchscreen programming is done already just need the stupid cable to dump it into the screen
    Don't like being hammered by the Cast Boolits Staff, then don't be a nail.
    The rules are simple to follow.

  9. #49
    Boolit Master
    Join Date
    Oct 2013
    Location
    Brisbane, Australia
    Posts
    1,775
    I think it's a great idea. Makes it easy to set up a known set of values for each mold. That and these days we love our gadgets. So a touch screen is perfect. It also means it is an option that you can hook up later. Not spend so much to get the automation happening

  10. #50
    ADMIN


    HATCH's Avatar
    Join Date
    Sep 2008
    Location
    Lexington, SC
    Posts
    6,711
    I would say its easier to add it to the beginning of the build then as a after thought.

    If you don't want to control lead pour then adding the touchscreen is basically plug and play once its programmed regardless of the version of the Hatch Automation program that you have.
    If you don't want the manual/auto lead pour then adding touchscreen lead pour is as simple as moving a ground wire and dumping a new program into the PLC (as well as the touchscreen itself)

    The only time its gonna require more work if you want the manual/auto lead pour feature.

    I can do this two ways.
    (1) If you have the double tap feature then I could make DT a virtual button on the touchscreen and then use that switched input to select the manual auto lead pour. This would require only the ground wire on the lead pour valve to be moved which you have to do anyway
    (2) remove and replace the existing auto/off/manual switch with a off/on toggle. Wire in 24vdc to one side and send the other one to the next avail input (x5 or x6 depending on if you have double tap)

    Or heck.... I just thought of this as I was typing this response.....

    I could totally make it all plug and play with just one wire change and even that's optional.
    I can make a virtual switch to do the manual/auto.
    You would crank the lead control pot wide open.
    Then you would use the PLC to control lead pour with the exisiting external lead pour as a backup safety.
    The external relay will shut down if power is killed so having it set to a longer time then the PLC will have no effect on lead pour except that it will mean if for some reason you fudge a number it will not pour a pound of lead out of the pot.

    Now I am really torn.
    Do a virtual manual/auto switch or rewire the panel and use a input to control.

    I am keeping a real input for start/stop.
    You must have a physical stop switch for safety purposes.
    The double tap feature may go away because of the tappers being installed.
    But I think I will keep it as a virtual switch so you will have that option in case you need it.
    Don't like being hammered by the Cast Boolits Staff, then don't be a nail.
    The rules are simple to follow.

  11. #51
    Boolit Master
    Join Date
    Oct 2013
    Location
    Brisbane, Australia
    Posts
    1,775
    Yes, it would be easier to do it at the start of the build, but $250 plus a fee for programming just for a panel does make the idea of automation a little less appealing. It would also save the cost of the lead pour timer that you currently use, so doing it from the get go saves buying it then later not using it if it was to be controlled by the PLC.

    The idea of plug and play sounds interesting. Gives more options that can be changed easily, if you want them hook it up, if not leave it alone.

    The other thing is, not everyone is as mechanically/electronically minded as you are. For the people that want to keep it simple, offer them a kit that works with minimal options and ease of setting up. For those that are up for a challenge, go the complicated all bells and whistles way.

    I understand that your setup is pretty straight forward, even with the display it only adds a few wires.

  12. #52
    Boolit Grand Master jmorris's Avatar
    Join Date
    Aug 2007
    Posts
    5,284
    You could use the non touch screen Cmore ($160) and use two of the function keys as an up/ down control to increment the timer (say .1 second per "click") and have the output trigger a time delay relay. With the option of delay on/off with both, then you could do just about anything you want, as far as control from the panel for time or the external relay.

    Set the external for zero after the trigger is gone and you have full panel control, set the panel for .1 seconds and adjust the external to delay off what ever time you want.

  13. #53
    ADMIN


    HATCH's Avatar
    Join Date
    Sep 2008
    Location
    Lexington, SC
    Posts
    6,711
    Its $45 difference between touch and non-touch.
    I would pick touch.

    Your right. It would save $50 on a new build to leave off the external timer and pot.
    Don't like being hammered by the Cast Boolits Staff, then don't be a nail.
    The rules are simple to follow.

  14. #54
    ADMIN


    HATCH's Avatar
    Join Date
    Sep 2008
    Location
    Lexington, SC
    Posts
    6,711


    Don't like being hammered by the Cast Boolits Staff, then don't be a nail.
    The rules are simple to follow.

  15. #55
    ADMIN


    HATCH's Avatar
    Join Date
    Sep 2008
    Location
    Lexington, SC
    Posts
    6,711
    I like the yellow background
    Don't like being hammered by the Cast Boolits Staff, then don't be a nail.
    The rules are simple to follow.

  16. #56
    Boolit Master
    Join Date
    Oct 2013
    Location
    Brisbane, Australia
    Posts
    1,775
    Yellow looks easier to read than the green.

    Looks good.

    How do you adjust the timing figures? is there a way to put buttons on the screen for up and down?

  17. #57
    Boolit Grand Master jmorris's Avatar
    Join Date
    Aug 2007
    Posts
    5,284
    I use white for the one on my automated reloaders that switched to red and displayed the fault when one occurred.


  18. #58
    ADMIN


    HATCH's Avatar
    Join Date
    Sep 2008
    Location
    Lexington, SC
    Posts
    6,711
    When you touch the item you want to change it pops up a keypad.

    Don't like being hammered by the Cast Boolits Staff, then don't be a nail.
    The rules are simple to follow.

  19. #59
    Boolit Master
    Join Date
    Oct 2013
    Location
    Brisbane, Australia
    Posts
    1,775
    Jmorris: i like that setup, easy to know if a fault has occurred. I was thinking of a buzzer to alert me of an issue, but when things go quiet, it's time to check what's up.

    Hatch: Can't get much easier than that. You were talking about getting it to save pre-sets, is that complicated or does the PLC have a file system of sorts that you can save files to it for later retrieval? I'm thinking PC based where you can easily store files and load the data from, i'm just not sure how or if a PLC can work this way or not.

  20. #60
    Boolit Grand Master jmorris's Avatar
    Join Date
    Aug 2007
    Posts
    5,284
    Quote Originally Posted by HATCH View Post
    When you touch the item you want to change it pops up a keypad.


    Oh, I like that!

    Sure wish I knew more about programming them than I do. Any good resources you would suggest?

Page 3 of 8 FirstFirst 12345678 LastLast

Posting Permissions

  • You may not post new threads
  • You may not post replies
  • You may not post attachments
  • You may not edit your posts
  •  
Abbreviations used in Reloading

BP Bronze Point IMR Improved Military Rifle PTD Pointed
BR Bench Rest M Magnum RN Round Nose
BT Boat Tail PL Power-Lokt SP Soft Point
C Compressed Charge PR Primer SPCL Soft Point "Core-Lokt"
HP Hollow Point PSPCL Pointed Soft Point "Core Lokt" C.O.L. Cartridge Overall Length
PSP Pointed Soft Point Spz Spitzer Point SBT Spitzer Boat Tail
LRN Lead Round Nose LWC Lead Wad Cutter LSWC Lead Semi Wad Cutter
GC Gas Check