Well, yeah,but . . .
It's not a seal plug - it's properly threaded to act as a nut and it served in that capacity for more than a few years, even without O-rings. Apparently, with a tube of grease under, it there is enough resistance to rotation of the nut to allow it to work its way down the screw rather than rotate freely.
To be sure, I wound up with some lube (well, more than some, but not a lot) atop it when used, but it did function. Ignorance was bliss - it wasn't till I started overhauling the machine and reading stuff here that I realized something was amiss.
I don't recall if I bought the 450 new or from some reloader friend, so the provenance of the piece is uncertain.
It's good to see that there's a rebuild kit and silly to think that heavily-greased metal parts need be replaced, but there it is. I think before I order it I'll do some clearance measurement and try putting a couple O-rings on that weird piece; maybe even get a machinist friend to cut a groove. Can't hurt (I guess) and anyway, I never screwed anything up so bad I couldn't throw it away.

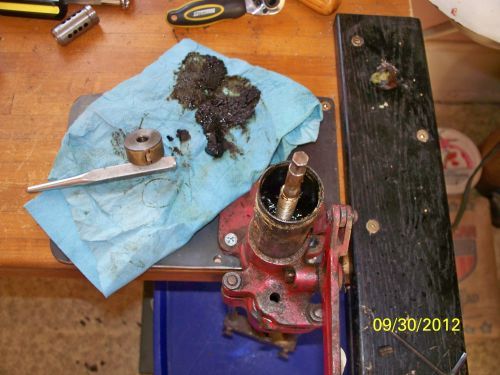
As to a seal plug . . . here's a pic of the base of my 450. I note the piece staked in; I read that the factory did that. My question is this: is that staked-in piece the seal plug or is that fine circular line part way to the center the rim of the seal plug? And if it is, can it be driven out from inside the grease reservoir with a brass or hardwood drift?
Pilgrim


 Reply With Quote


 GP100man


